It’s a lot easier than most anglers think to start making your own fishing baits. You don’t need a full shop, years of experience, or a major investment to get rolling.
With a small workspace and a few basic tools, anglers can make baits that flat-out catch fish and often cost less than store-bought tackle. Just as important, making your own baits gives you control over the details — color, weight, balance, and action — that can make a difference when fish get pressured. Plus, it can be a lot of fun!
Popular Types of DIY Fishing Lures
Two of the most common entry points into DIY lure-making are soft plastic baits and jigheads, but they’re far from the only options. Many anglers also cast their own fishing weights, and take things a step further by finishing crankbaits from kits. Each of these bait-making projects is approachable for beginners and builds skills that carry into other areas of making custom lures.
Modern lure-making isn’t limited to factories or specialty shops. Today, anglers regularly make soft plastic worms, craws, swimbaits, and grubs at home, along with jigheads and sinkers for bass, crappie, walleye, and even saltwater fishing. Purpose-built molds, including those from Do-it Molds, are designed for home use, making the process far more straightforward than most people expect — even on a first attempt.
Making Soft Plastic Fishing Baits
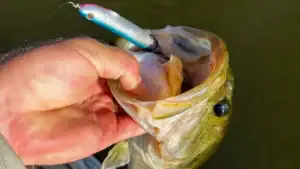
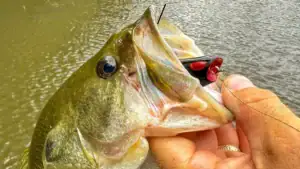
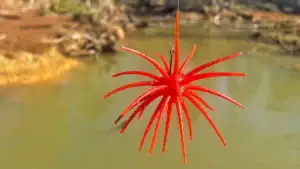
Anglers’ starting point for DIY lures is often soft plastics because the process is both forgiving and flexible. Making soft plastic baits typically involves heating plastisol, adding color or flake, and pouring or injecting the material into a mold. If something doesn’t turn out right, the bait usually can be remelted and poured again, which makes it easy to learn through trial and error.
Soft plastic molds cover many of the same bait styles anglers already rely on, from straight-tail worms and creature baits to paddle-tail swimbaits. Pouring your own soft plastics allows you to fine-tune colors to match local forage, adjust softness for more action or durability, and tweak designs based on how fish respond. Over time, many anglers find they’re able to dial in subtle changes that give them confidence in specific situations.
This step-by-step guide to pouring your own soft plastic baits should help you get started, from what you’ll need to what you’ll need to know.
Safety First
Soft plastic (plastisol) gets extremely hot (350°F+). Treat it like hot oil.
Before you even start, the safety gear you’ll need includes:
- Heat-resistant gloves
- Long sleeves
- Safety glasses
- Respirator (recommended)
- Well-ventilated workspace (garage with door open, exhaust fan, etc.)
Never overheat plastisol. If it smokes heavily, it’s too hot.
Equipment
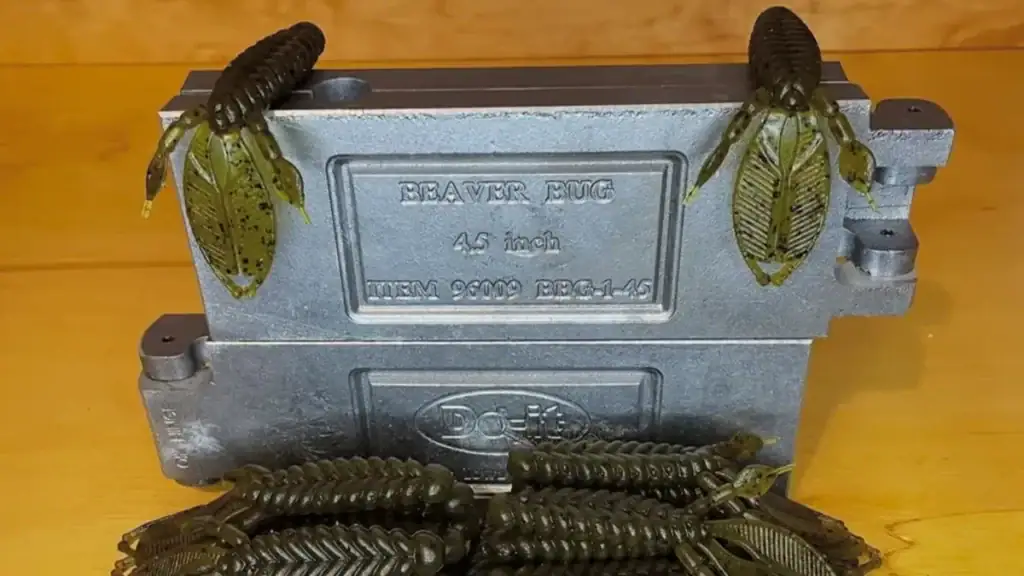
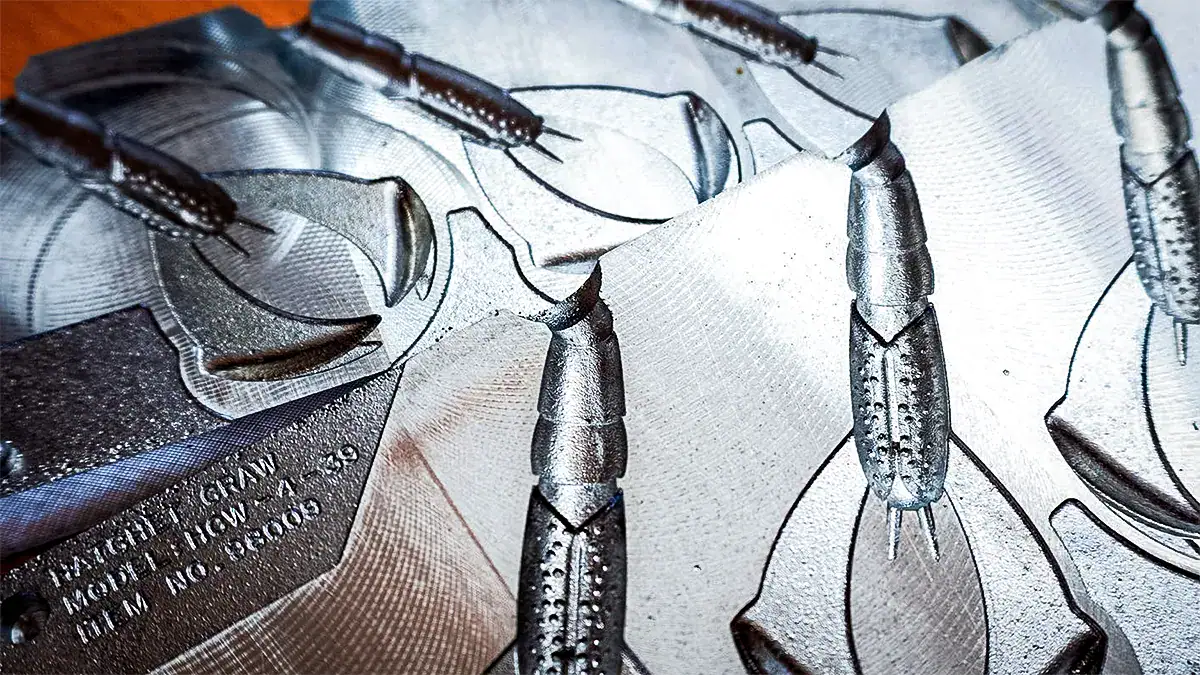
- Soft bait mold (e.g., Do-It Essential Series Senko Mold, ES Craw Mold, ES Beaver Style Bug Mold)
- Pyrex glass measuring cup (2-4 cup)
- Microwave (or hot plate)
- Infrared thermometer (recommended)
- Stirring rod (metal or silicone)
- Injector, if you’re using injection molds like Do-It Dual Injector or Single Injector
Materials
- Liquid plastisol
- Colorant (liquid bait dye)
- Softener (optional)
- Glitter (various sizes)
- Worm oil (for storage)
- Salt (optional for stick baits)
- Stabilizer (optional but recommended)
Prepare the Mold
- Clean your mold thoroughly.
- Ensure the mold halves are aligned.
- Clamp securely (especially important for injection molds).
- Preheat the mold slightly (optional but helpful in cold weather).
Pro tip: CNC aluminum molds, like those made by Do-It, do not require mold release in most cases.
Heating the Plastisol
- Shake plastisol thoroughly before pouring.
- Pour desired amount into a Pyrex cup.
- Heat in the microwave in 30–45 second intervals.
- Stir between intervals.
When it comes to the target temperature, keep in mind:
- The ideal range is 325°F – 350°F
- Fully heated plastisol turns clear (not milky)
- Use an infrared thermometer for best accuracy
Color and Additives
Once the plastisol reaches about 330°F:
- Add liquid color (a few drops at a time).
- Stir thoroughly.
- Add glitter.
- Add salt (for Senko-style baits).
- Add scent (optional).
- Add stabilizer (optional, but improves durability).
Mix completely before pouring.
Pouring with an Open Mold (Beginner Friendly)
- Slowly pour plastisol into mold cavity.
- Slightly overfill (plastisol shrinks as it cools).
- Let sit for 3–5 minutes.
- Trim excess plastic (called “flash”).
An example made with this method is the Do-It 6-inch Flippin’ Stick OP.
Pouring with an Injection Mold
- Fill the injector with hot plastisol.
- Insert injector tip into mold sprue.
- Apply steady pressure until cavity is full
- Hold pressure for 5-10 seconds.
- Allow 2-4 minutes to cool.
- Open mold carefully and remove bait.
The Do-It ES Senko Injection Mold is an example of this method.
For laminated (two-color) baits:
- Use a Do-It Dual Injector
- Fill each side with different colors
- Inject simultaneously
Cooling and Removal
Let baits fully set before handling. Then:
- Remove gently.
- Trim sprue and flashing.
- Place on flat surface to finish curing.
Your full cure time should be 24 hours for the best durability.
Finish and Store
- Lightly coat with worm oil.
- Store in zip bags or clamshells.
- Keep out of heat and direct sunlight.
Pro Tips for Better Results
- Preheat molds in cooler weather.
- Inject slightly hotter plastisol for better detail.
- Add salt slowly (it thickens plastisol quickly).
- Keep injector warm between pours.
- Remelt scraps — plastisol is reusable.
- Keep detailed notes on color recipes.
Common Mistakes to Avoid
- Overheating plastisol enough to burn it
- Not stirring enough
- Opening mold too early
- Forgetting to clamp mold
- Pouring too slowly with injector
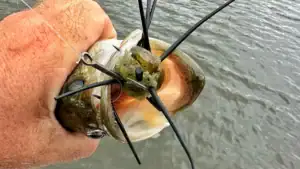
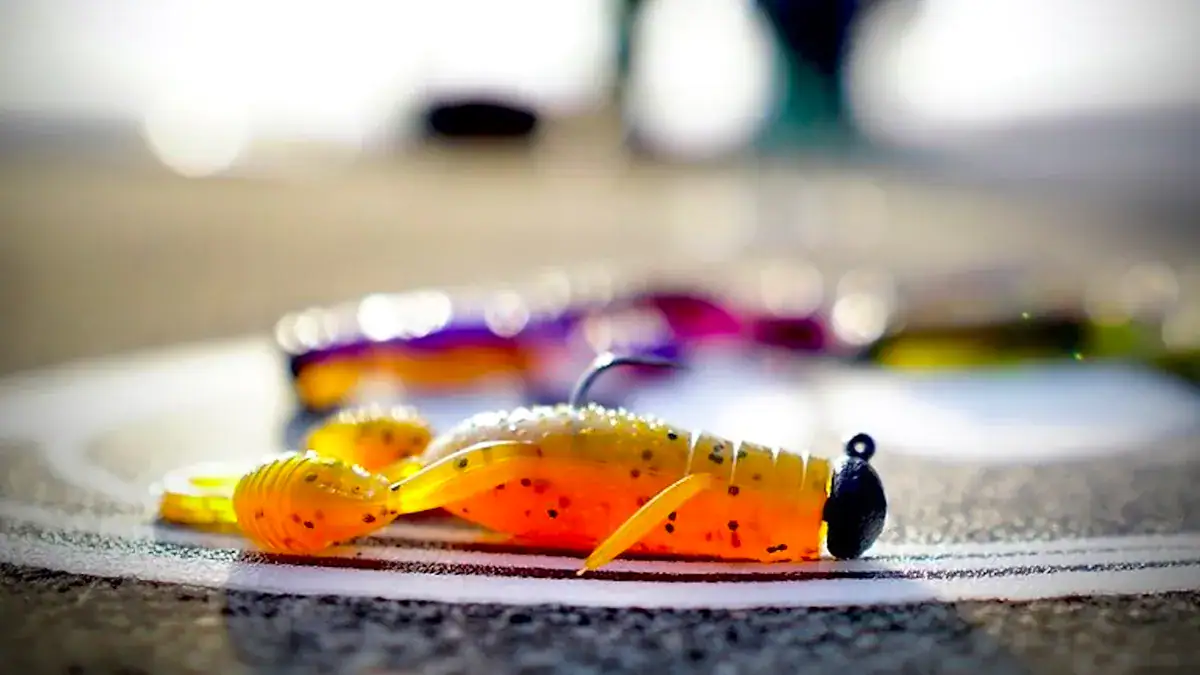
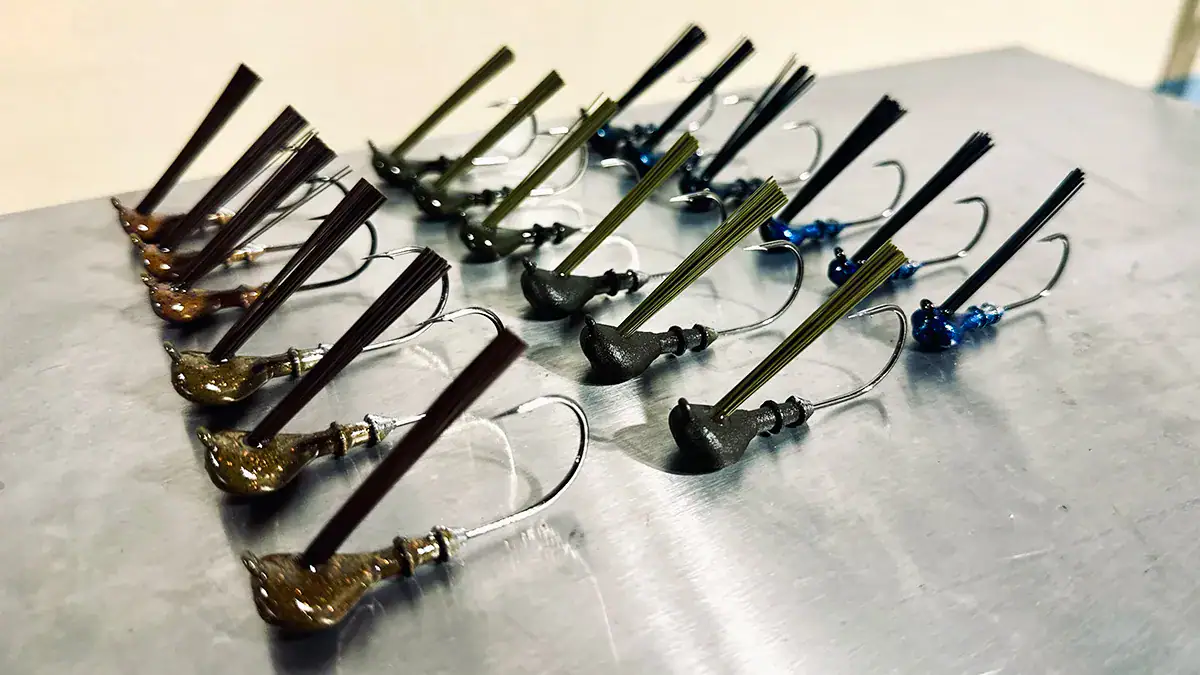
Making Jigheads for Bass and Crappie Fishing
Jigheads are another practical and popular DIY bait-making project. For anglers who fish jigs regularly, making your own jigheads makes sense. The process involves melting lead or a lead alternative and pouring it into a mold that holds the hook in place. Once cooled, the jighead is ready to be painted and paired with a skirt or soft plastic.
Jig molds are available in a wide range of styles that mirror what anglers already buy off the shelf, including ball heads, flipping jigs, finesse heads, and specialty designs for panfish and walleye. Using a quality mold helps ensure consistent weights and proper hook alignment, which are critical for presentation, fall rate, and hooksets.
In this step-by-step guide to casting your own jigheads, safety is again the most important step. Melting lead is serious business, so remember:
- Always work in a well-ventilated area
- Never allow moisture near molten lead
- Wear gloves, eye protection, and a respirator
- Never eat or drink while working
- Keep kids and pets away from your work station
Choose Your Jig Mold
Start by selecting the correct mold for your application. Things to consider include target species (bass, walleye, crappie, saltwater), hook-style compatibility, and weight sizes needed (1/16 oz to 1 oz+). Some popular options are:
- Do-It Round Head Jig Mold – Great all-purpose jig for soft plastics
- Do-It Aspirin Head Mold – Ideal for finesse presentations
- Do-it Weedless Football Jig Mold — For fishing the thick stuff
- Do-It Midwest Finesse Mold – Perfect for Ned-style rigs
- Do-It SWM Jig Mold – For bass swim jigs
- Do-It Ultra Minnow Mold – For swimbaits
Always check the mold’s hook compatibility chart before buying hooks.
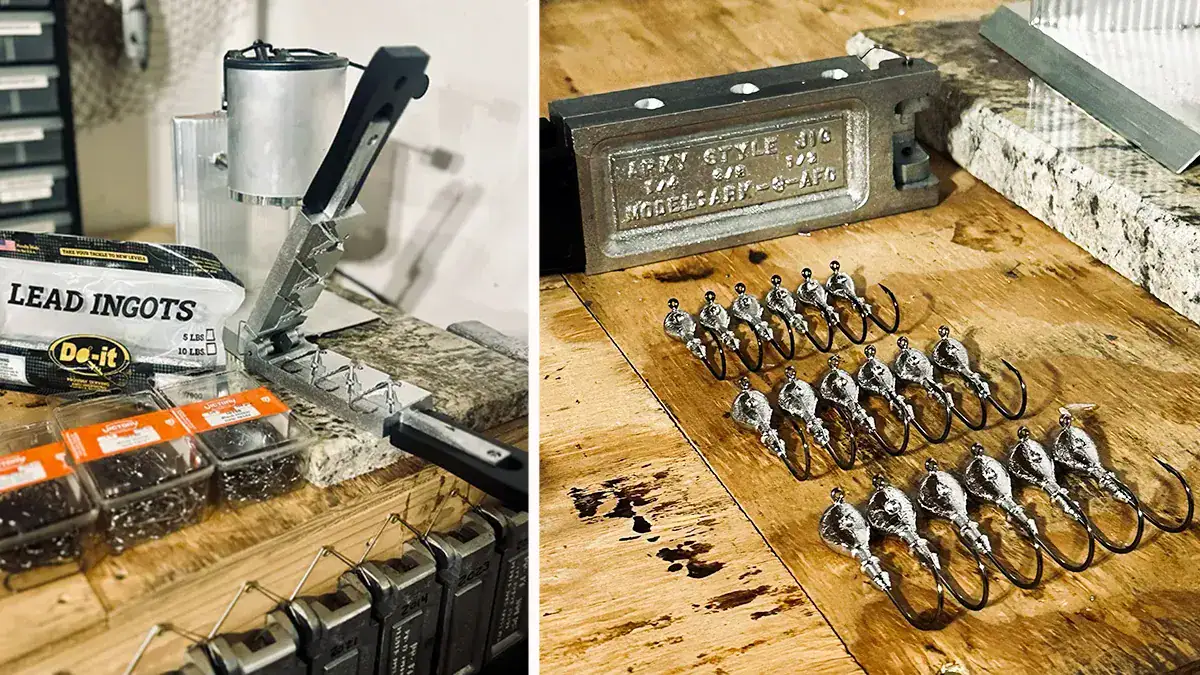
Essential Tools
When you gather the required equipment, you’ll need:
- Jig mold
- Recommended hooks (per mold specs)
- Lead-melting pot
- Electric bottom-pour furnace (Lee Production Pot is recommended)
- A ladle and a cast iron pot (this is less efficient, but it still works)
- Lead (clean, soft lead preferred)
- Pliers
- Heat-resistant gloves
- Safety glasses
- Respirator rated for lead fumes
- Long sleeves and closed-toe shoes
Optional Finishing Supplies
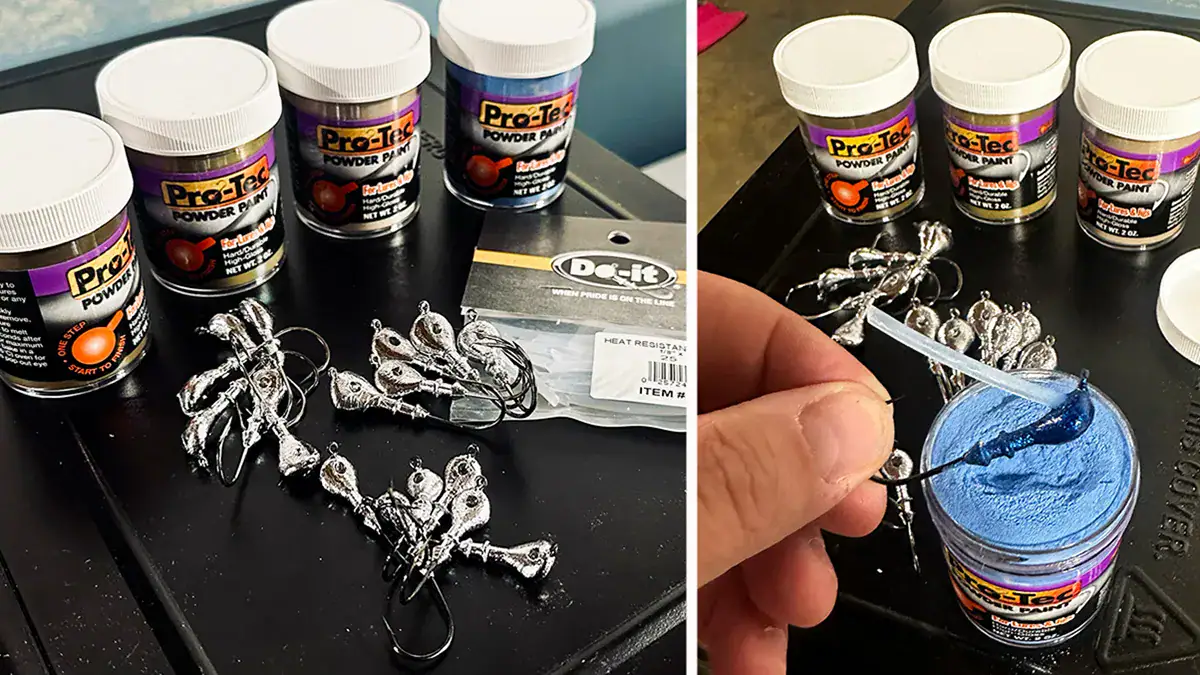
- Powder paint (Pro-Tec or similar)
- Fluid bed (for professional coating)
- Toaster oven (dedicated to lure making)
- Wire brush or file
- Weed guards (if mold supports them)
- Skirts (for swim jigs)
Prepare the Mold
- Clean the mold cavities (remove oil if new).
- Smoke cavities lightly with a candle or butane lighter (optional but helps release).
- Preheat the mold:
- Let it sit on top of the melting pot
- Or make a few test pours until lead fills cleanly
Warming you mold is essential, as cold molds result in wrinkles and poor pours.
Melt the Lead
- Fill your melting pot with clean lead.
- Heat to about 650-700°F.
- Skim off impurities from the top.
Pro tip: Clean lead produces better fills and smoother jigheads.
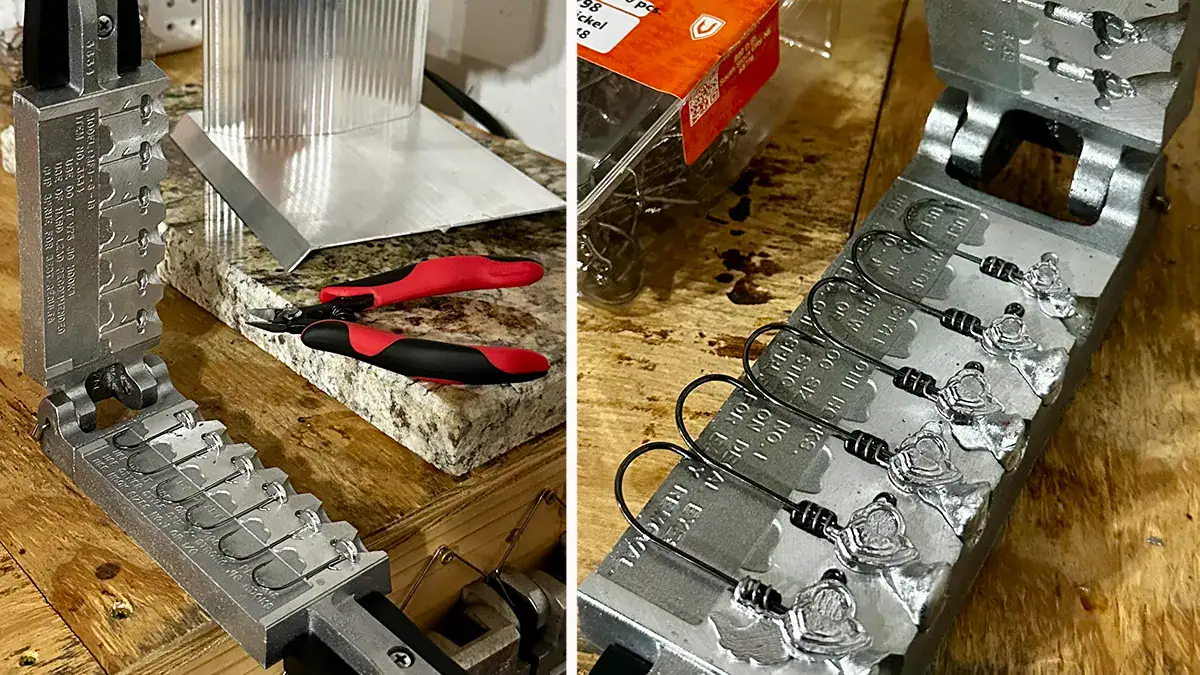
Insert Hooks
This is also where you’ll include weed guards, if applicable.
- Open mold.
- Place hook in the designated hook slot.
- Insert weed guard pin, if required.
- Close mold firmly and hold handles tight.
You’ll want to make sure hook eyes align properly in the cavity.
Pour the Jigheads
For the bottom-pour method (which is the best option):
- Hold mold under spout.
- Pour a steady stream into sprue hole.
- Slightly overfill to allow shrinkage.
For the ladle method:
- Scoop molten lead.
- Pour quickly and steadily into cavity.
Hold the mold closed firmly during the pour.
Let Cool and Remove
- Wait 10-20 seconds.
- Open mold.
- Tap hinge bolt lightly if jig sticks.
- Drop jig onto a towel or metal tray.
Clip sprue, or excess lead, with side cutters while still slightly warm.
Clean and Inspect
- Trim excess lead (sprue).
- File any flashing.
- Ensure hook eye is clear (use eye cleaner tool if needed).
- Discard imperfect pours back into melting pot.
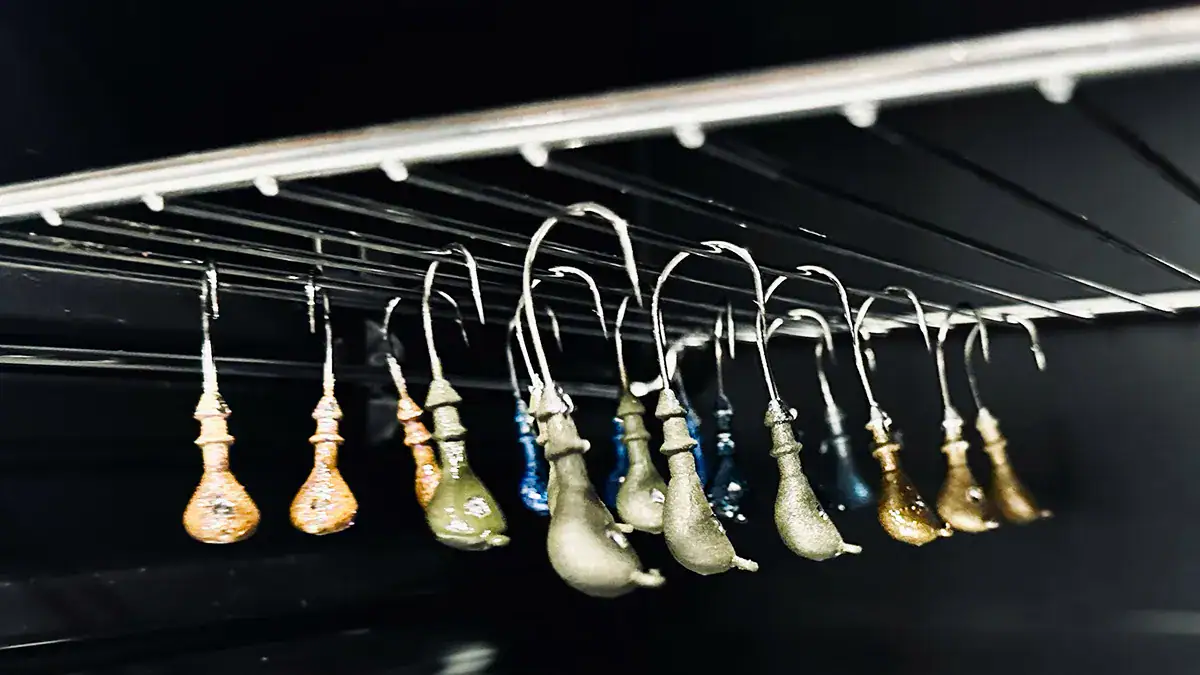
Paint Your Jigheads
This is an optional step, but also a recommended one.
For the powder painting method, which is the most durable:
- Heat jig with heat gun for 5-10 seconds.
- Dip into powder paint.
- Tap off excess.
- Clear hook eye immediately.
To cure the paint, which dramatically improves durability, place jigs in toaster oven at 350°F for 15-20 minutes. Be sure to check the paint manufacturer’s instructions.
Add Skirts or Final Touches
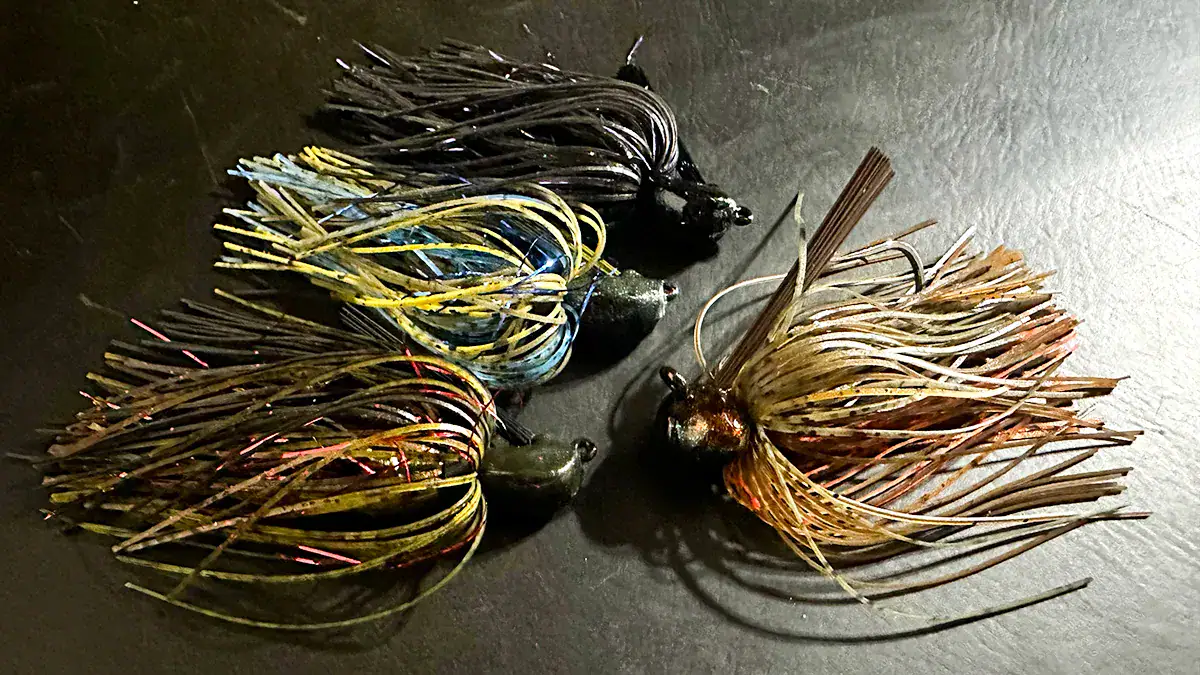
For swim jigs or flipping jigs:
- Add silicone skirt
- Install weed guard with epoxy
- Add trailer keeper (if separate)
Casting Your Own Fishing Weights and Sinkers
Casting your own fishing weights is one of the easiest ways to get started with lure making, especially for anglers who fish bottom-contact techniques. Bullet weights, drop-shot weights, bank sinkers, and other common styles can all be poured at home. The process is similar to making jigheads, but even simpler since hooks aren’t involved.
Making your own sinkers allows anglers to customize sizes that aren’t always easy to find, whether it’s lighter weights for shallow water or heavier options for current and deep structure. For anglers who fish Texas rigs, Carolina rigs, or vertical presentations, pouring weights at home can be a practical way to stay stocked throughout the season.
Finishing Custom Crankbaits Using Lure Kits
For anglers interested in hard baits, finishing crankbaits from kits is a great way to start building custom lures without starting from scratch. Crankbait kits typically come with unfinished bodies that are already shaped and weighted, leaving the angler to focus on painting, detailing, and installing hardware.
Finishing crankbaits offers an opportunity to experiment with custom color patterns, contrast, and small details that can make a bait stand out in pressured water. It’s also a useful way to learn how paint, clear coats, and hardware placement affect a crankbait’s durability and performance.
Why More Anglers Are Making Lures
Beyond saving money, making your own fishing lures offers flexibility that store-bought tackle can’t always provide. You can experiment with colors fish haven’t seen, adjust weights for specific depths or conditions, and restock your tackle box on your own schedule. Many anglers find that once they start making one type of bait, it naturally leads to trying others.
Getting started doesn’t require much. A single mold or crankbait kit is often enough to begin, and skills build quickly with hands-on experience. What starts as a small side project often turns into a regular part of an angler’s routine. And once you catch fish on something you made yourself, it adds a level of confidence and satisfaction that’s hard to match.