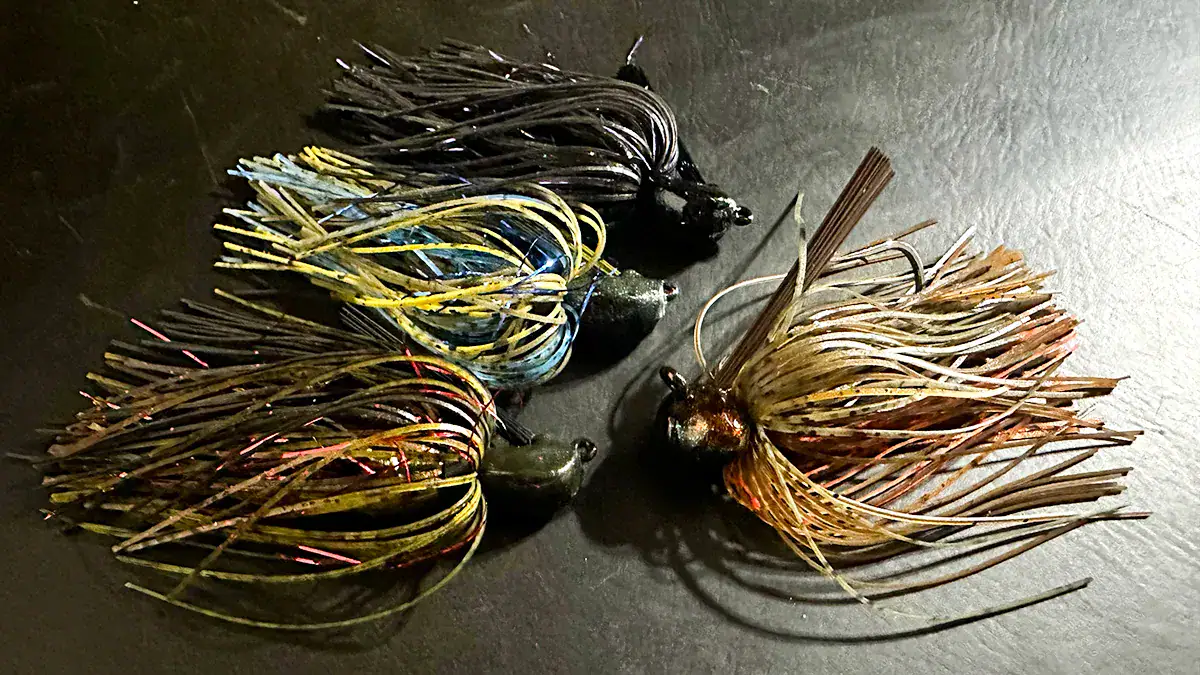
If you’ve spent any amount of time bass fishing in the last few years, you’ve probably felt it on your wallet. And let’s face it, tackle prices aren’t getting any cheaper. A quick stop at the local shop for “just a few things” can easily turn into a triple-digit receipt.
The good news? You don’t have to rely entirely on store-bought gear. With a little effort and a small upfront investment, making your own tackle can save serious money. Plus, having custom tackle specifically designed for the water you fish can give you a serious edge.
A Few Ways to Start Saving
Some of the most commonly used items in bass fishing are also the easiest to produce at home, and the savings add up fast. From recycling worn-out plastics to pouring your own weights and assembling reaction baits, a little time in the garage can stretch your tackle budget a whole lot further. All without sacrificing performance on the water.
Soft Plastics
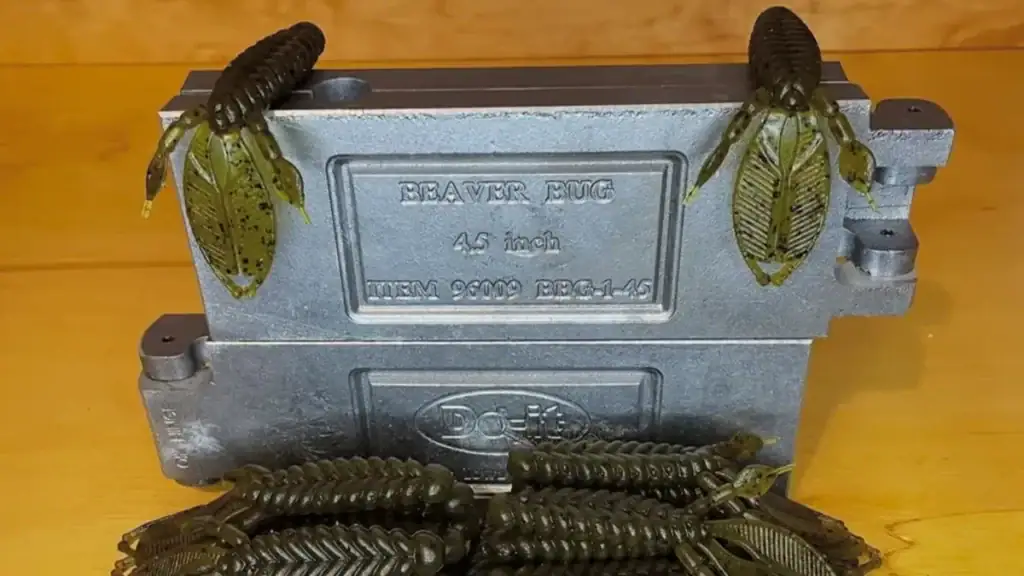
Re-melting and pouring your own worms, creature baits, or swimbaits is one of the most popular entry points. Used baits that would otherwise be thrown away can be recycled into brand-new ones. A bag of plastics that costs $6 to $10 at retail prices can be reproduced for a fraction of that cost once you’re set up. Plus, you can dial in the precise color to imitate the forage in your location.
Terminal Tackle
Weights are another easy win. Pouring your own worm weights, flipping weights, or drop shot sinkers from scrap lead drastically reduces cost. This is especially true if you fish snaggy areas where losing tackle is part of the game. And again, you can get the exact weight you need for your unique situation.
Spinnerbaits and Buzzbaits
Wire forms, blades, and skirts can be bought in bulk and assembled at home. Not only do you save money per bait, but you can fine-tune blade combinations, skirt colors, and head weights to match your fisheries perfectly.
Save Serious Coin Making Your Own Jigs
If there’s one category where DIY really shines, it’s jigs. Jigs are one of the most effective lures in fishing—and one of the easiest to lose. Between rocks, wood, docks, and vegetation, it’s not uncommon to go through several in a single trip. At $4 to $8 per jig (or more for premium models), that adds up fast. Building your own jigs changes that equation completely.
When you break down the cost, the savings become pretty clear. A typical store-bought jig will run you about $5 on average, and often more for premium options. When you build your own using bulk materials, the numbers look very different. A jig head with a poured lead body and hook usually costs around $0.75 to $1.25, skirt material adds another $0.30 to $0.60, and a weed guard with paint comes in at roughly $0.25 to $0.50. Altogether, you’re looking at about $1.50 to $2.25 per jig, which is less than half the price of buying them off the shelf. If you fish regularly and lose a dozen jigs a month, the savings become obvious very quickly.
Getting Started with Jig Building
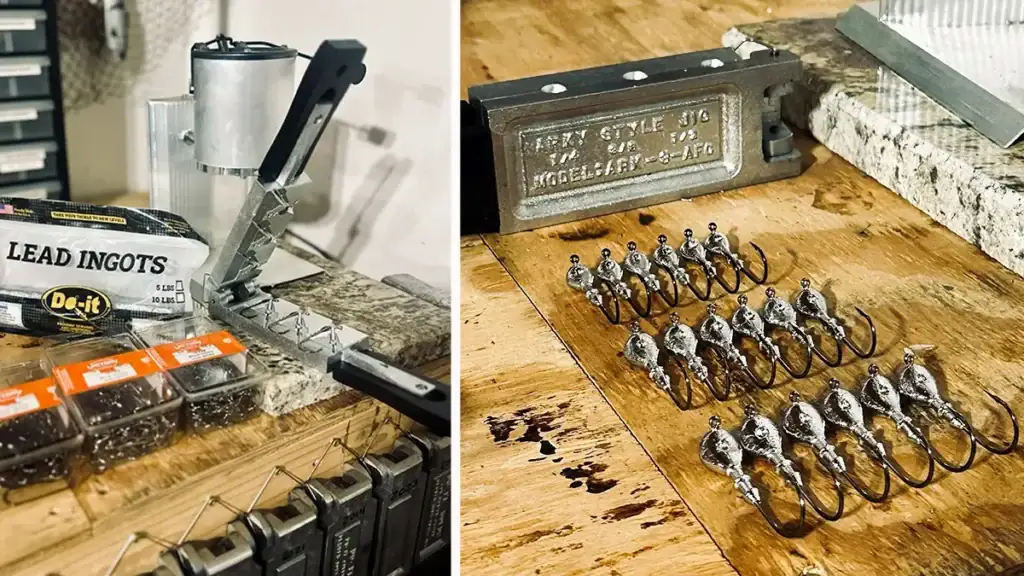
Getting started with building your own jigs doesn’t require a full-blown workshop, but having the right tools and materials on hand makes the process smooth and enjoyable. There is some upfront investment involved, from a lead melting pot and molds to hooks, skirts, and paint, but it’s money that comes back to you quickly. This is especially true if you fish often or spend time around heavy cover where losing jigs is just part of the deal. Once you’re set up, the actual process is straightforward and repeatable, allowing you to produce high-quality, custom jigs whenever you need them.
What You’ll Need
- Lead melting pot
- Jig molds (various styles and weights)
- Quality hooks
- Skirt material (silicone or living rubber)
- Weed guards
- Powder paint
- Basic tools (pliers, wire cutters)
Step-by-Step Guide To Building Your Own Jigs
Pouring the Heads
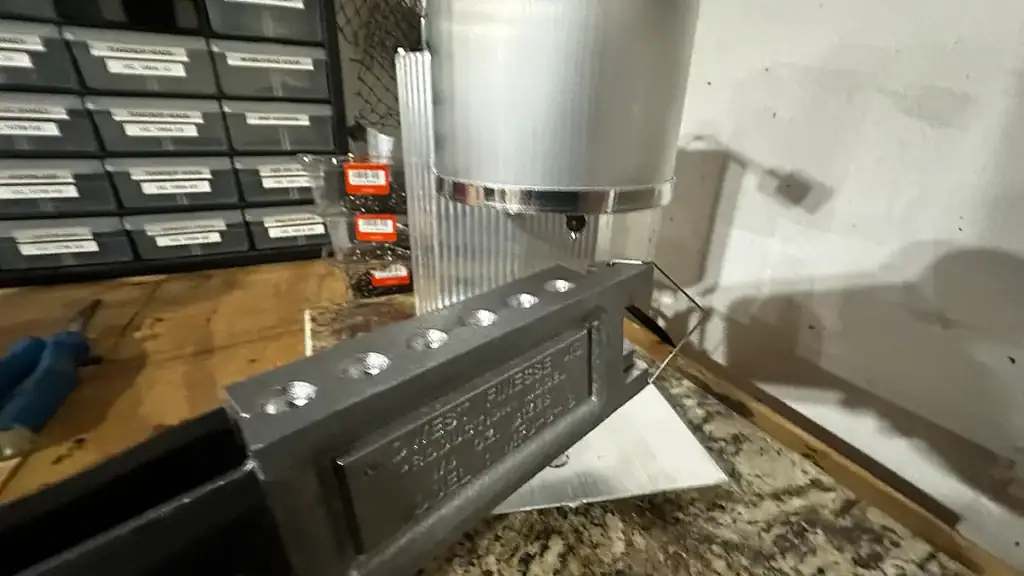
The process starts with pouring your jig heads. Using a proper lead melting pot, melt your lead and carefully pour it into your mold with the hook positioned in place. If the mold has a hole for a weedguard, add it now or put the base hole pin in to create a hole to glue it into later. Within seconds, the lead cools and hardens, leaving you with a raw jighead ready for finishing. One of the biggest ways to save money at this stage is by sourcing lead in bulk or recycling old weights, which can significantly reduce your cost per jig.
Cleaning and Prepping
Once your jig heads are poured, the next step is cleaning them up. This involves trimming off any excess lead and smoothing out imperfections left from the mold. Taking the time to properly prep your jig heads ensures they run true in the water and have a clean, professional appearance.
Painting
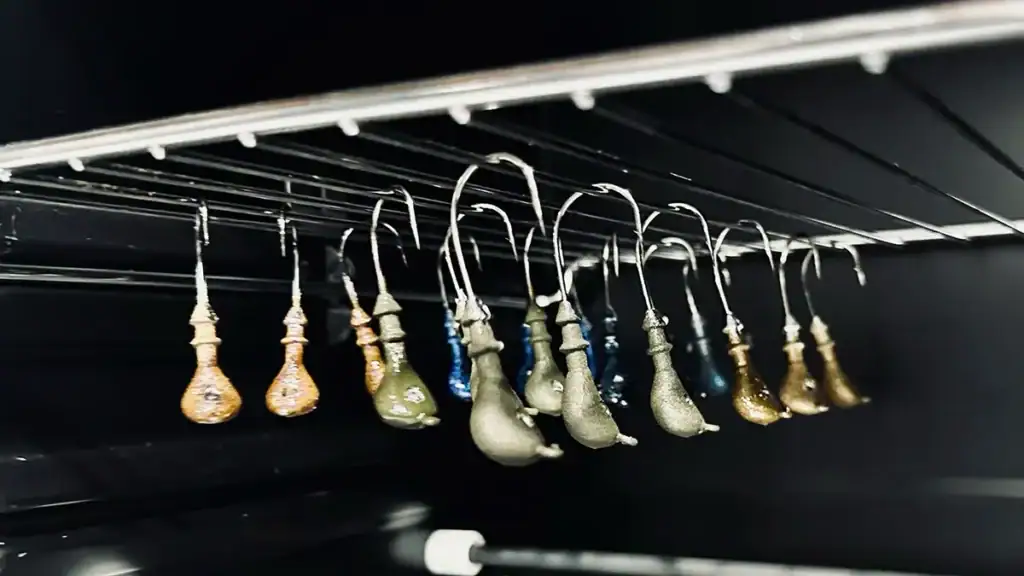
After prepping, it’s time to paint. Powder painting is the most efficient and durable option. Simply heat the jig head, dip it into powder paint, and then cure it in an oven to harden the finish. This step is more important than it might seem. Many store-bought jigs chip easily after bouncing off rocks or catching a few fish, but a properly cured powder coat is extremely tough and can extend the life of your jig.
Adding Weed Guards
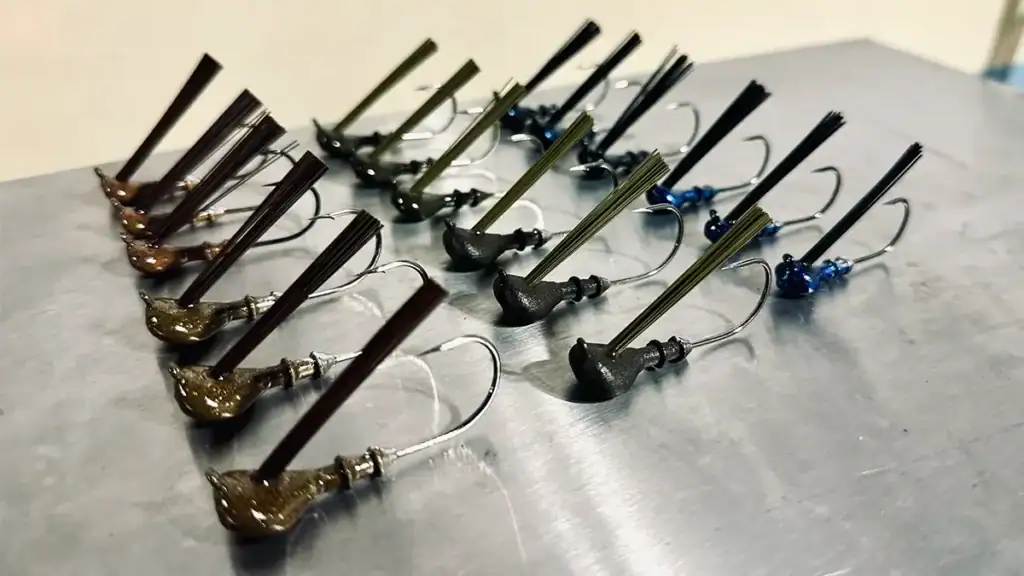
Some molds allow you to pour jig heads with fiber guards already installed. If that’s the case, you can skip this step. Otherwise, once the paint has cured, you can install your weed guards. These are typically glued into place and can be customized to fit your needs. You can adjust both the stiffness and length depending on how heavy the cover is or how you like your jig to perform, which is something you rarely get with off-the-shelf options.
Skirting the Jig
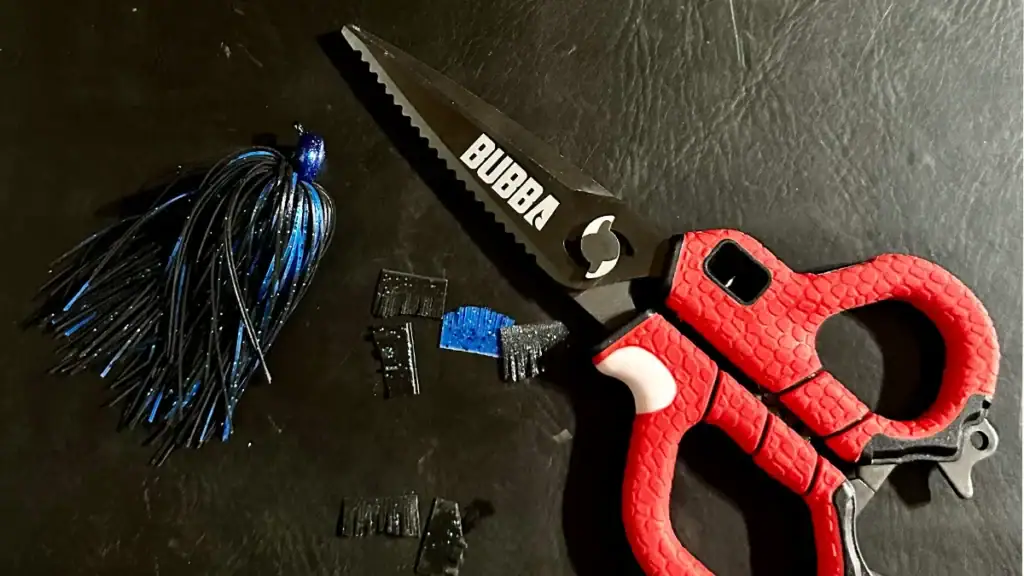
The final step is adding the skirt, and this is where building your own jigs really stands out. You can mix and match colors to imitate local forage, adjust skirt thickness based on water clarity or conditions, and even create completely unique patterns that fish haven’t seen before. Pre-made skirts are quick, affordable, and easy to use, but if you want maximum control, hand-tying your own skirts takes customization to another level.
The Real Benefits
While the savings are substantial, the real advantage of making your own jigs goes well beyond dollars. One of the biggest benefits is total customization. Instead of being limited to whatever is hanging on a store shelf, you can build exactly what you need for your style of fishing and the waters you fish most. That means dialing in the precise weight, choosing the perfect hook for your technique, and creating color combinations that match your local forage. Having that level of control not only helps you fish more efficiently, but can also lead to more bites over time.
Want premium hooks? Done. Stronger weed guards? No problem. Thicker paint? Easy. You’re no longer relying on mass production. There’s also something about catching fish on a jig you built yourself. That confidence often leads to fishing slower, more thoroughly, and more effectively. You decide the components. And once you’re set up, running out of your favorite jig is no longer a problem. You can replenish your supply anytime.
Is It Worth Making Your Own Tackle?
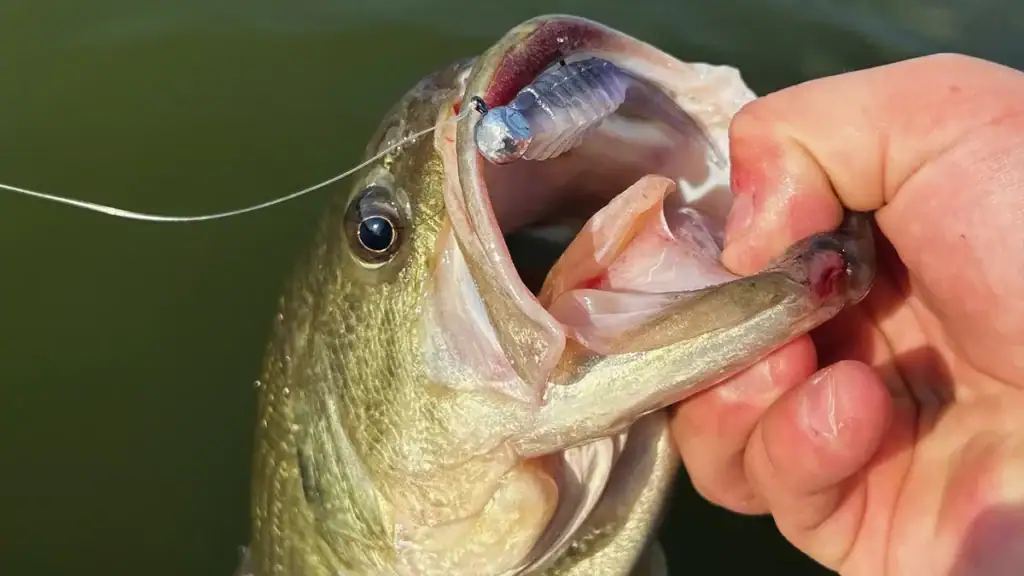
If you only fish a handful of times a year, maybe not. But if you’re on the water regularly — especially fishing heavy cover — making your own jigs and other tackle is one of the smartest investments you can make. Between the cost savings, customization, and satisfaction, it’s hard to go back to buying everything off the shelf once you get started.
And the next time you hang a jig in a brush pile and break it off? It won’t sting nearly as much, because you know you can go home and make a dozen more for the price of just a couple at the store.