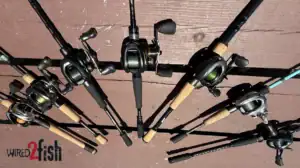
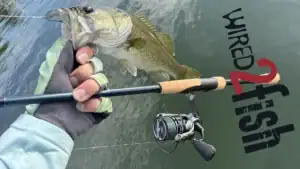
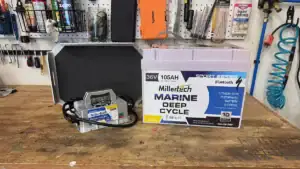
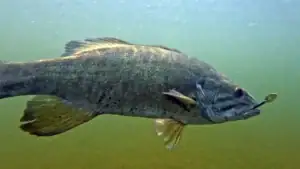
-->

Cook's Go To Tackle Management Racks


By Jason Sealock

I own a 2009 Ranger Z520. It's my first Ranger, and although it's used, it's new to me. The weather to this point has been wretched, so I've been looking to get it rigged and ready for the year -- installing hangers to keep baits and tools handy on the fly, organizing necessary boating items and more. The folks from Cook's Go To System sent me one of their kits to install and test.

I've obviously heard of Cook's, but to this point, I did not have a boat to install one and test. The system looks like two rectangular pieces of PVC plastic with some slits in it. Nothing much to them really. But once installed, it was a compact hanger for quick access to baits. I've seen many anglers with such hangers on the insides of their lids. I installed one on the inside of my front driver's side lid. I hung a few packs of plastics up and a few jigs and spinnerbaits. It's amazing the products swing free of the compartment trim and don't get in the way at all closing or opening the lid. The jigs and spinnerbaits fit snugly into the slots on the hanger. The bags hung from shower curtain hooks. I was real impressed with the functionality of it.

My personal taste is to leave the jigs and spinnerbaits hanging there, but I'll probably take the bags of plastics down. I generally keep a bag of plastics in my back pocket when I'm fishing. I'm somewhat quirky like that. But rather than pull four or five jigs and spinnerbaits out of the box and throw them under the step like usual where they get wet and rusted, now I just hang them on the Cook's Go To rack and they are handy but out of sight.

I know some of my fishing buddies will love being able to hang a dozen packs of worms, trailers and flipping plastics from a lid like that and save them digging through boxes for plastics. As much as I throw jigs and as much as I let people who fish with me throw my jigs, it will be handy to just flip open a lid and grab the jig and trailer we need and get back to the fishing.

The installation was very simple. I screwed a 7/64-inch hole through the guide on the rack on one side, then lined it up and screwed a hole through the other guide. Then I used the provided screws. It was over and mounted in five minutes.

The kit retails for $19.95 for two arms and all the mounting hardware. There are more instructions, pictures and testimonials on their website here.