At this point, the urchin-bait craze is full-bore in the bass fishing space. Tons of recent major tournaments have been won on it, and thousands of anglers experience its effectiveness for the first time every week. The chaos of all this has manufacturers of the front-runners racing to keep up with a fraction of the demand, while a dozen knockoffs keep flooding the market.
It’s hard to get your hands on one of these baits. And if you do find one, it can be pricey. So I set out to see if I could make one myself — and I did. Now, it’s not pretty: I don’t think I’ll have to worry about anyone coming after me for patent infringement anytime soon. But I did catch a few fish on one of these homemade urchins, so it works. Here’s how to build your own.
Materials
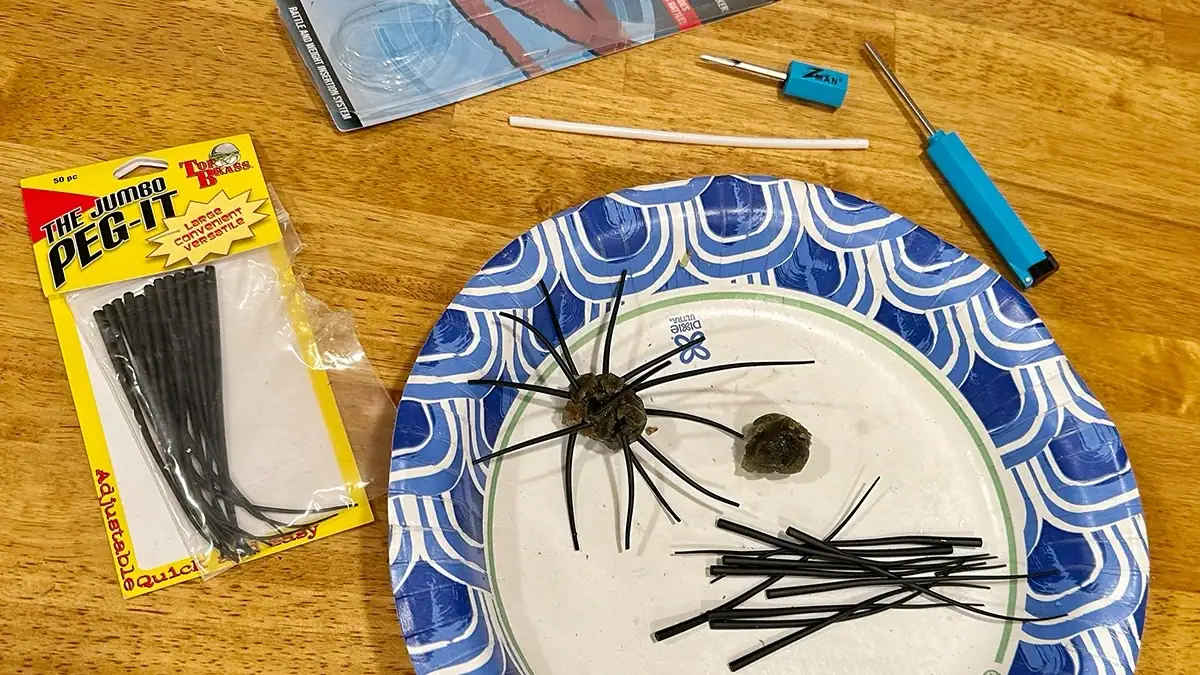
You’ll need:
- Soft plastics
- Microwave-safe dish
- Microwave
- Ice sphere tray
- Jumbo Peg-It
- Z-Man Rattle Snaker Tool
As I figured out what I’d need to pull this off, I started with the body of the bait. Most of these urchin-style baits have a spherical body, which is 17 mm across on the most popular Hideup Coike. I was able to find a 0.8-inch ice sphere tray online, which converts to around 20 mm. This fell perfectly between the 17-mm Coike and the 23-mm Hideup Coike Fullcast version.
I found an old pack of Zoom worms to melt down in the microwave to form the body. Then, I had the idea to use Top Brass Jumbo Peg-Its for the tentacles. (I’d just Googled “Do urchins have tentacles?” for a bass fishing article — we are indeed living in a brave, strange new world.) But how would I get those pegs through the bait?
Originally, I’d thought of melting a coffee stirrer to form a hard point on one end, and then sliding the peg up into the straw to use it to poke the peg through the body. But then I remembered I had the Z-Man Rattle Snaker tool, designed to push rattles up into soft plastics. Half of the tool has a sharp metal tube that would work perfectly for this.
Forming the Body
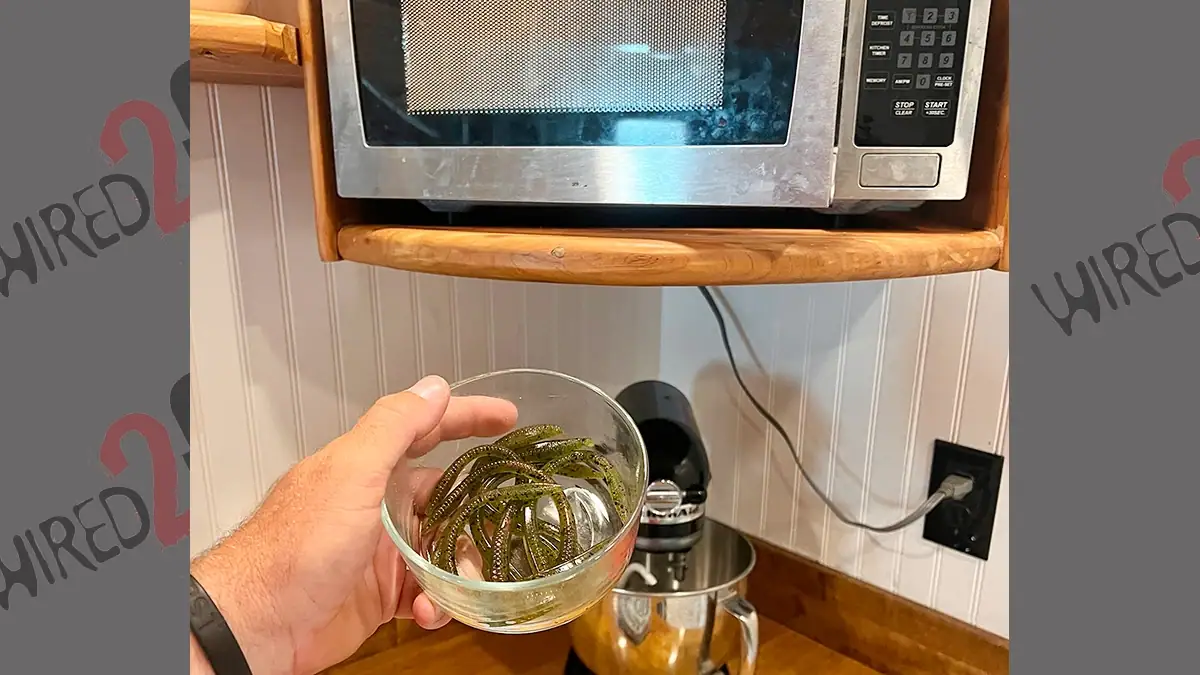
First, some words of caution: Be careful here. I used a glass dish I thought was microwavable, but it broke while the microwave was running. And you don’t want to use a worm with metal flakes, since metal and microwaves do not mix well.
I was able to melt the plastic down to a goopy pile and then scrape it into the ice tray. (You may be tempted here to push it down into the mold with your fingers, like I was. But don’t do that. It burns.) With soft plastic in three of the cavities, I put the top half of the mold on and pressed both halves firmly together, then put the tray into the freezer to accelerate the hardening process. I also placed a dumbbell on top to hold the whole mold together, which was the first action that dumbbell had seen in years.
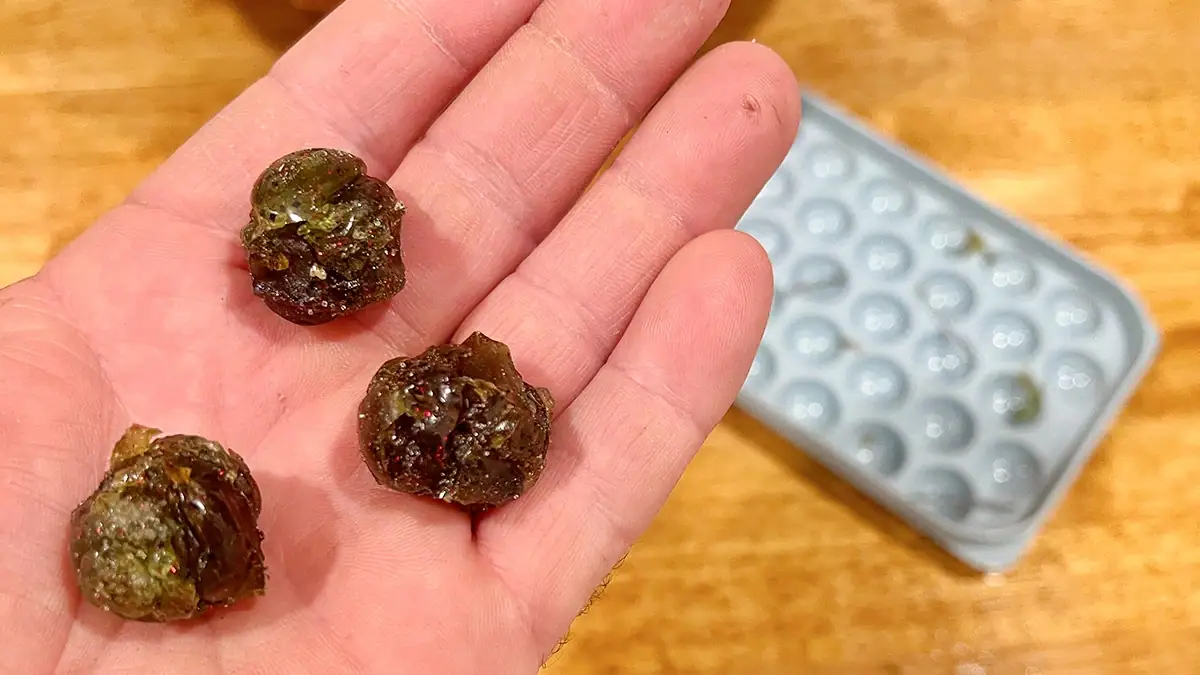
When I pulled the tray from the freezer, I was pleased to see that the soft-plastic blob that went in now looked more like three spheres connected by some excess. Once I trimmed the extra material off, I had three round-enough orbs ready for phase two.
Adding the Appendages
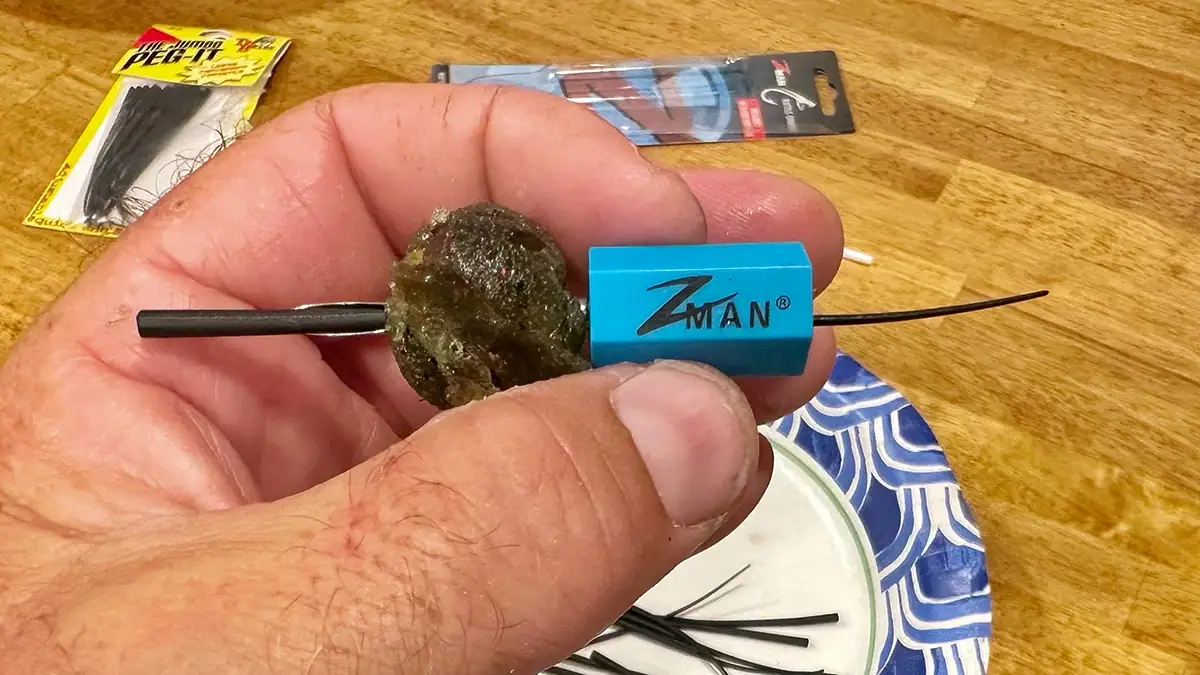
Using the sharp end of the Rattle Snaker tool, I poked the tube through the bait. (A few times, a little of the soft plastic would lodge into the tube, but I used the other half of the tool to clear it easily.) Then I slid a peg halfway into the tube, narrow end first. Pulling the tool out, the peg was left lodged in the bait. I pulled the peg most of the way into the body, locking that peg into place as its larger part snugged up into the plastic.
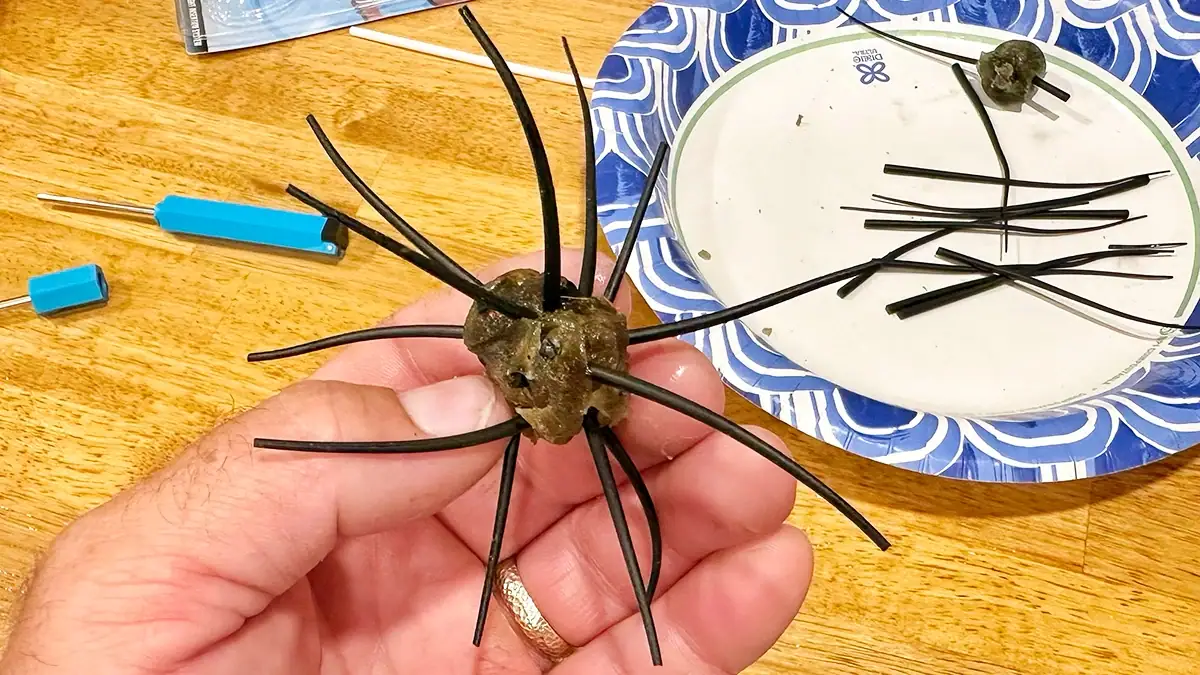
I made my way around the bait like that, repeating this process a dozen times or so. Once I had all the pegs where I wanted them, I trimmed the fatter tag ends off. I also trimmed off the thinnest parts of the pegs to create a slightly stiffer and shorter conglomeration of appendages. And, voila: I had my very own (albeit rudimentary) urchin-style bait. I made an extra, and then I was ready to take them fishing.
On the Water
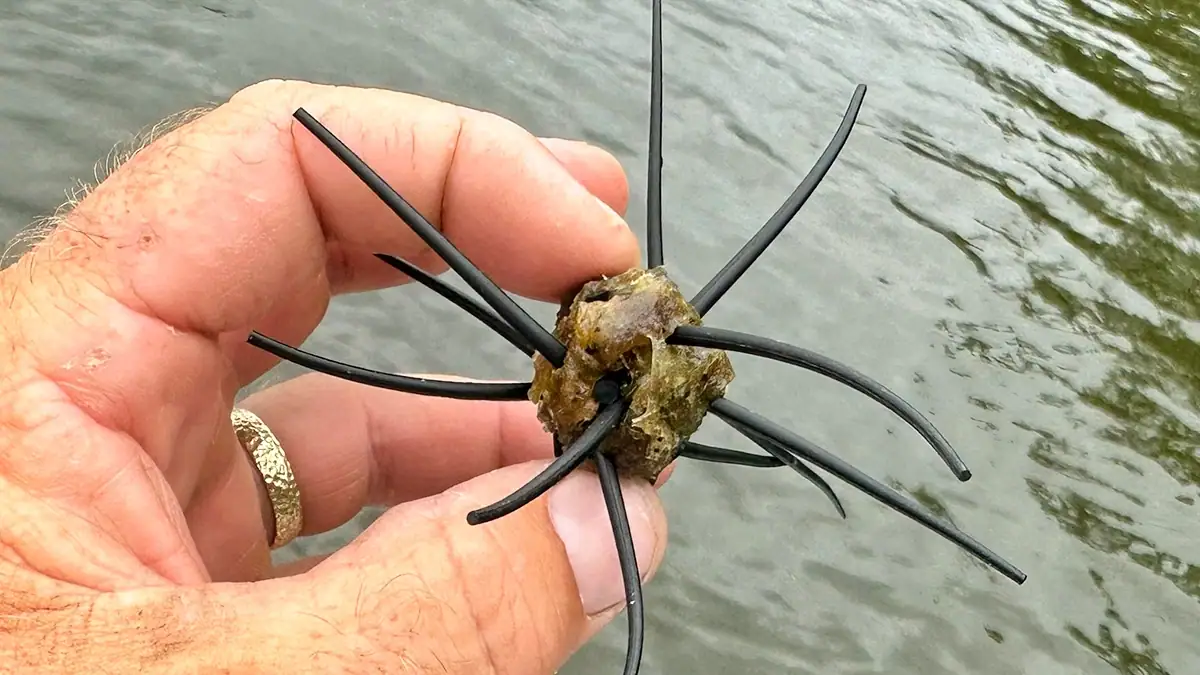
I rigged this DIY ocean-dweller on a size 1 Gamakatsu G-Power Outsider Treble Hook before hitting a buddy’s stocked pond that I affectionately refer to as “the test tank.” Immediately, I was pleased to see how easy it was to cast this bait, and the fall was perfect even without a weight. I’m sure all of this can be altered by using different types of soft plastics, as can the bait’s durability.
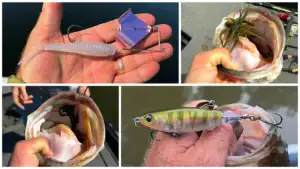
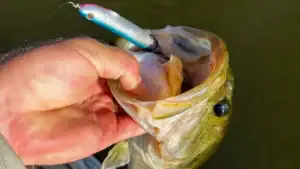
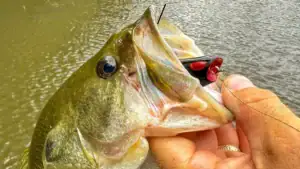
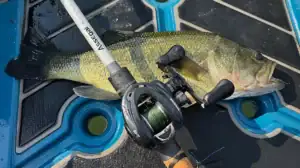
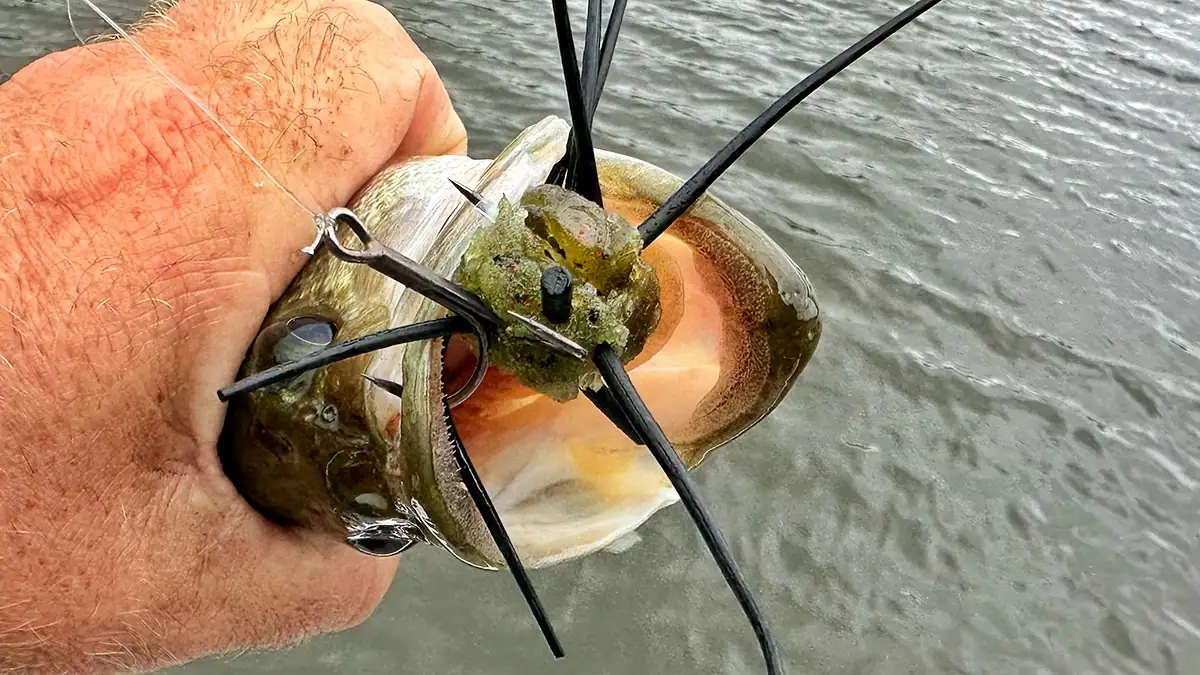
I set out popping the bait aggressively. And in the first 20 minutes or so, I caught a fish on it just casting down the bank. Within a few minutes, I caught a couple more. A small bass had it toward the front of his mouth, but the bigger ones inhaled it to the gullet. I think I ended up catching three fish on the first bait before it was demolished, and saved the second one for pics.
Final Thoughts
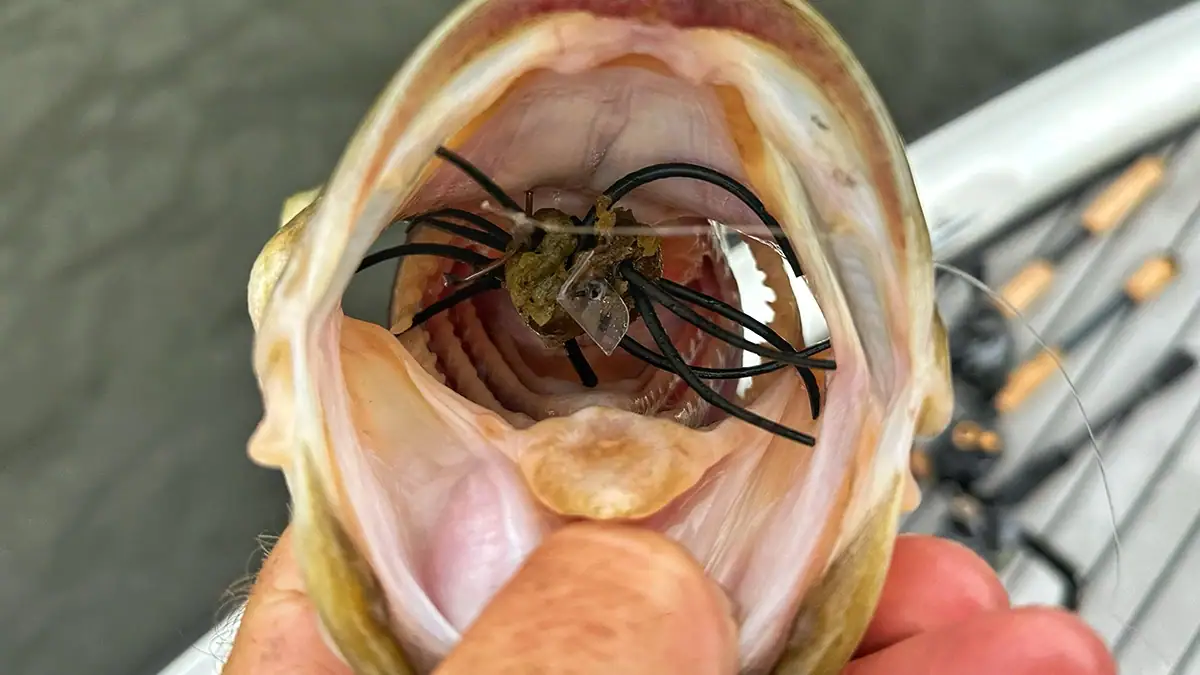
Ultimately, fish did eat that homemade urchin. Practically, I think that you could refine the process to put together a dozen of these for the price of one name-brand bait. I already had an old pack of soft plastics and the little Rattle Snaker tool (I still think you could pull off the same idea with a coffee stirrer). The 50 pegs and ice tray came out to $20, but $13 of that is a one-time cost for the trays.
So, after the initial purchase, you’re looking at being able to make four baits for $7 worth of pegs and a pack of old plastics that’s just lying around. Bassmaster Elite Series Pro Brandon Palaniuk mentioned a few weeks back that he knew a guy who paid $2,200 for 11 of the originals in the early phase of the craze.

Is this homemade urchin as durable or as polished as a professionally built bait? Of course not. But you could make a dozen of them for less than $50, including the trays, pegs, and tools. All things considered, I think it’s worth a try.