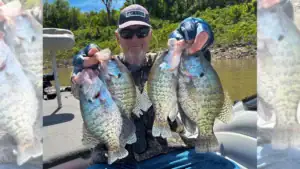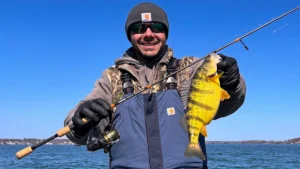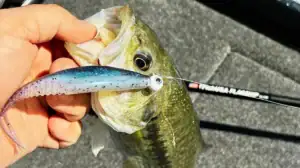
When I was a kid you couldn’t pay me eat fish. After spending 9 months losing 75 pounds, I was convinced I could eat some every day if it was easier to prepare and deal with. I had that thought after thawing out a gallon bag of fish, frying it up and then storing pounds of excess fish in a Gladware tub only to be thrown out days later. I knew there had to be a better way to store and prepare fish as part of a new healthy lifestyle that actually has me eating many times a day but eating lighter and cleaner at each meal. So that started my journey to find a better way to store and prepare fish for quicker cooking.
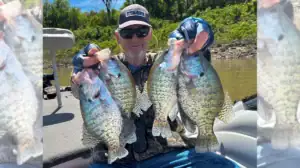
Catching, cleaning (check out this fish cleaning video), and freezing your catch takes a bit a time, so it seems like such a waste to store so much at a time, then be forced to cook it all and there be more than will get eaten. Plus, I wanted an easier way that wouldn’t take me hours to thaw, prepare and cook to avoid spending all my time working on food.
I found some good resources online. The first was from a fish service where I buy scallops and shrimp. They send fish and shellfish quickly to you, vacuum-packed with dry ice in a sealed container. The vacuum packing keeps the fish or shellfish very fresh, and because it thaws easily and quickly, I’m cooking right away.
I then stumbled onto a research paper from the University of Alaska at Fairbanks on storing fish more efficiently. And more importantly the thawing methods that I now use.
So here are my steps to process the fish and then a separate section on preparing and cooking the frozen fish.
PART ONE : CLEANING AND FREEZING FISH EFFECTIVELY
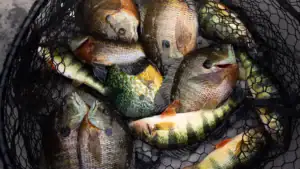
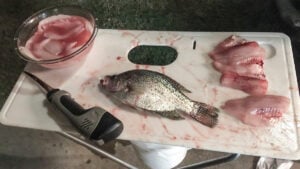
- Clean your fish – Clean, debone and filet your fish and wash thoroughly before storage.
- Places filets flat in quart freezer bag – This will vary depending on how big your filets are. If you have bluegill filets, you might have 6 or 8 in a bag, but if you have big crappie filets, you might only have 2 filets in the bag. Store them flat and not overlapping. This will be 1 to 2 servings of fish.
- Remove air from bags and seal – If you have a vacuum sealer, it will be a bit better but not necessary. I will seal the bag, open just a small opening and suck all the air out. Some folks will put the bags under water and force the air out and seal it that way. The key is to freeze the meat with no water so the meat won’t crystalize.
- Add water the next day after frozen – After the fish freezes, pull the bag out of the freezer and open to add just a small bit of water around the filets and then remove air, reseal and put back in the freezer. The water will protect from freezer burn and be more effective if the meat is frozen solid so it doesn’t absorb any water and turn the filets “mushy.”

PART TWO : THAW AND PREPARE FOR QUICK GRILLING
- Remove fish from freezer – Take the fish out of the freezer and fill your bag up with cold water and leave to thaw in the sink. Don’t use hot water as the filets will become mushy and soft. If the filets are thin, they will often thaw in 5-15 minutes. Bigger filets might take 20-30 minutes.
- Remove fish from bag and pat dry – Take the fish out, check them for any missed bones and trim if necessary. Then lay the fish out and pat them dry.
- Brush with fat of choice and spices – I’ve become fond of brushing my fish lightly with ghee. Ghee is clarified butter. I have also used extra-virgin olive oil, coconut oil and brown butter on rare occasions. After brushing with a clean fat, I will sprinkle a little spice on there with a pinch of pink sea salt.
- Place on heated grill for 4-8 minutes – I generally cook my fish 2-4 minutes a side. I always use a new found love called a grill mat. It’s basically a small thin layer of some magic material that allows you to put fish directly on the grill and simply flip them over with a spatula with no stick whatsoever. I’m telling you they cost hardly anything and you can cook everything on them and they let the grill sear marks come through.
- Eat and Enjoy your fish – From the time I take the fish out of the freezer to the time I put it on my plate is usually about 30 minutes. Sometimes less. I will run to the fridge and take it out before dinner and then come back and put it all together and cook it in like 15 minutes. Quick, easy and so flakey fresh every time. Fish from 3 months ago tastes like it was caught today.
You seriously need to try storing and cooking fish this way. Stop wasting your hard work by storing and cooking too much at a time. If entertaining folks, just thaw out multiple bags at once. Still only takes 15 minutes usually. Just have lots of bags filling the sink full of cold water! And it stacks like cord wood in the freezer instead of big frozen concrete blocks.