For the last few months I have been rigging a new Ranger RT188 aluminum bass boat. From the Minn Kota Fortrex trolling motor to the Garmin depth finders every detail had to be thought out, installed accurately and neatly and all loose cables properly stored and wrapped up.
I rig several boats a year and because I will be running this one for this year it had to be perfect. One of the last steps of the rigging of this years boat was installing a T-H Marine Atlas 4-inch Jackplate and a set of 10-foot Minn Kota Talons. Outside of rigging the outboard, installing the Jackplate and Talons calls for some heavy lifting, precision planning, and forethought.
The Mercury ProXS 115 comes from the factory mounted on the transom.
Note: Ranger discourages using a jackplate but based on their use of poltruded fiberglass mounting and heavy duty hardware combined with their advanced stringer and transom set up I felt comfortable using it.
I wanted to increase performance of this 18 foot boat and chose the T-H Atlas hydraulic Jackplate for this install. The Atlas plate comes with all of the hardware, wiring and switch for this install.
Removing the engine from the transom using a hydraulic engine lift took some planning. I left the silicone sealed mounting bolts in place after removing the nuts and washers. The steering cables and ancillary wiring moved easily off the transom to a position juxtaposed to the transom without detaching them. Make sure you are careful if you have transducers installed on the transom from both a damage and set-up perspective.
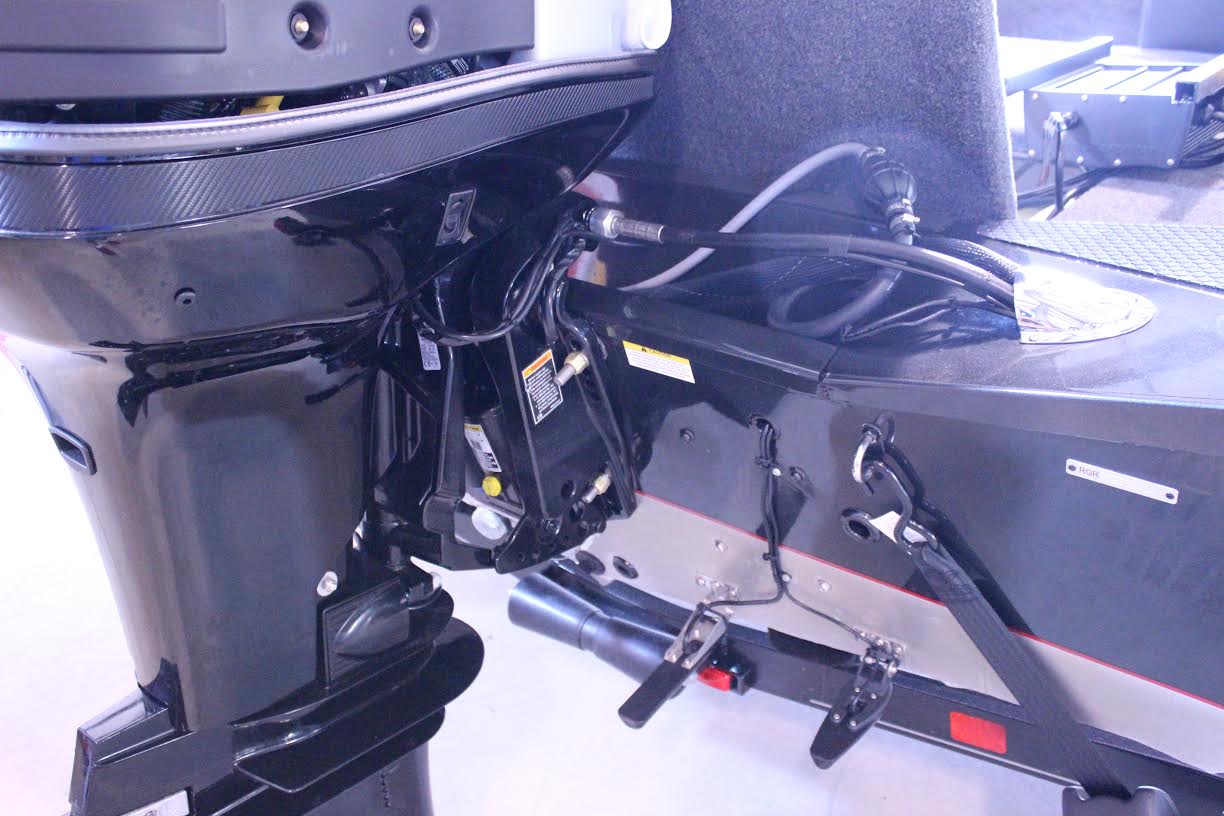
Mounting the jackplate must be completed first as the Talon brackets attach to the Jackplate. The brackets attach and postion easily with provided ½ inch stainless steel bolts, washers and Ny-lock style nuts. We did have to build a shim between the bracket and the Jackplate since we had chosen the 4 inch plate. Minn Kota offers a piece of aluminum stock that fits for this install but we installed this on a weekend and had used this durable composite stock before.
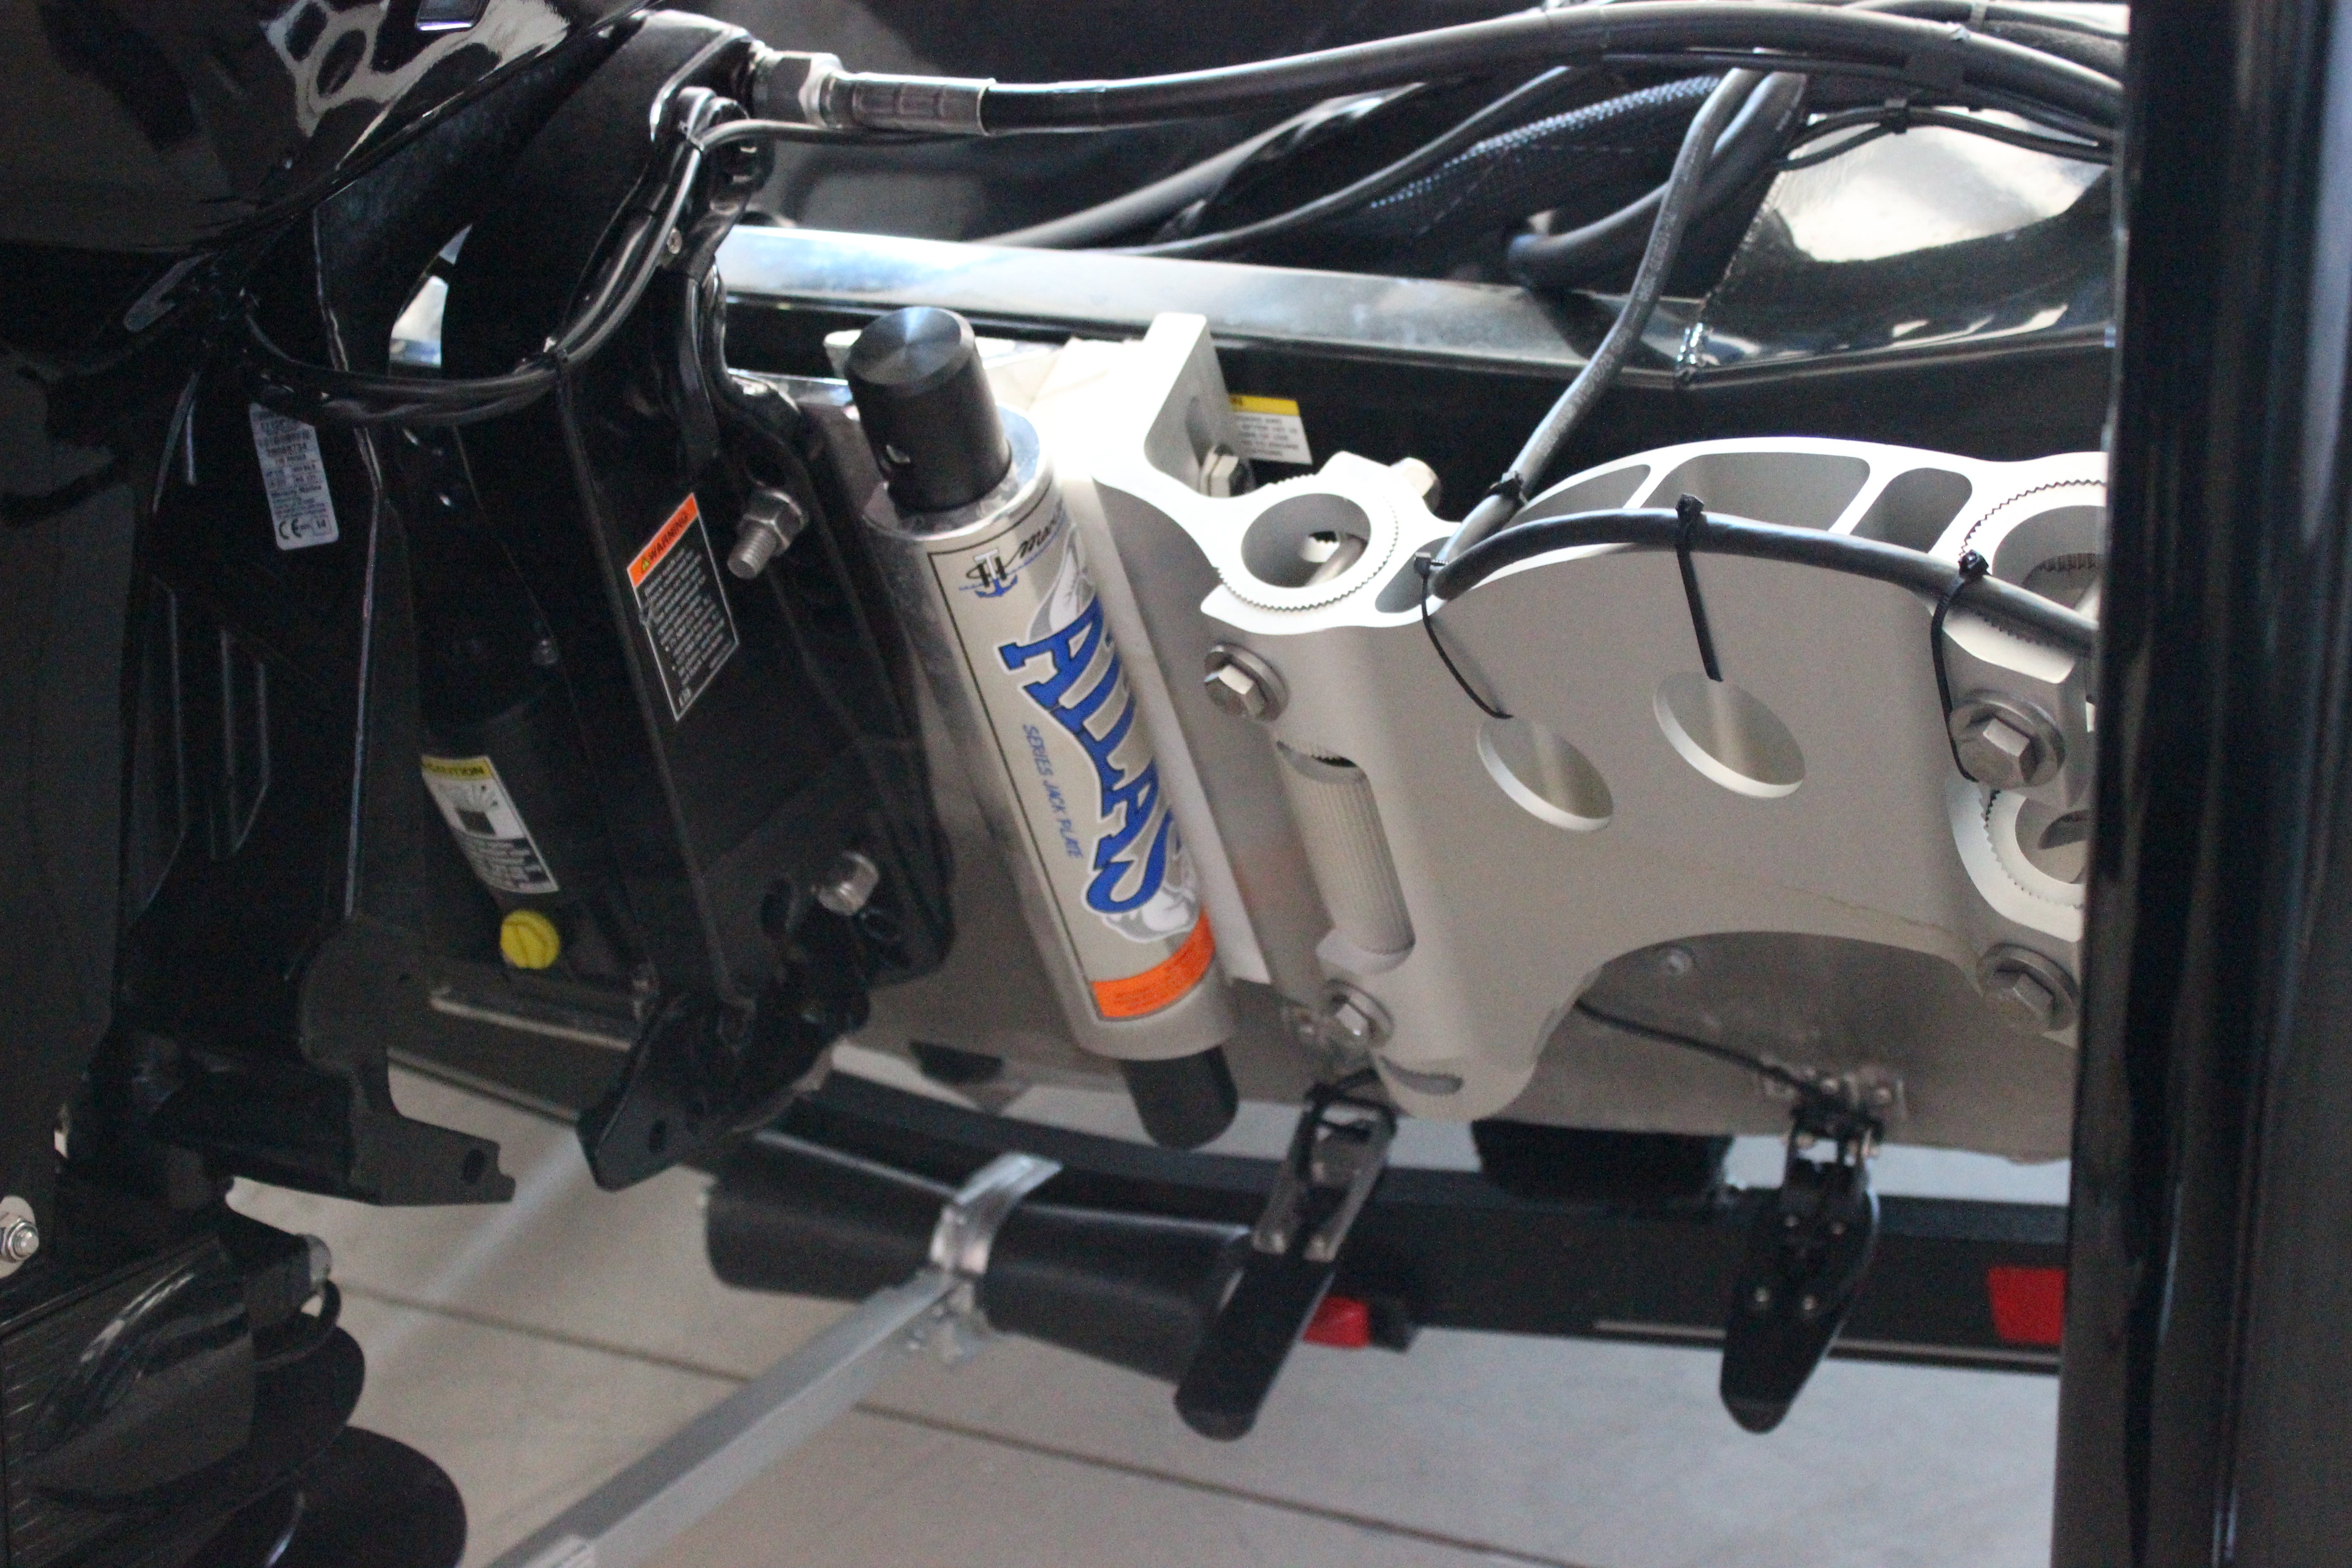
The brackets adjust and provide flexibility for best positioning of the Talon’s themselves. A 9/16 and ½ inch wrench is all that is needed for adjustment. The Talon cabling hides easily in a provided slot and stops position on top and bottom of the cable. We tie wrapped the loose cable to the brackets to protect them as well.
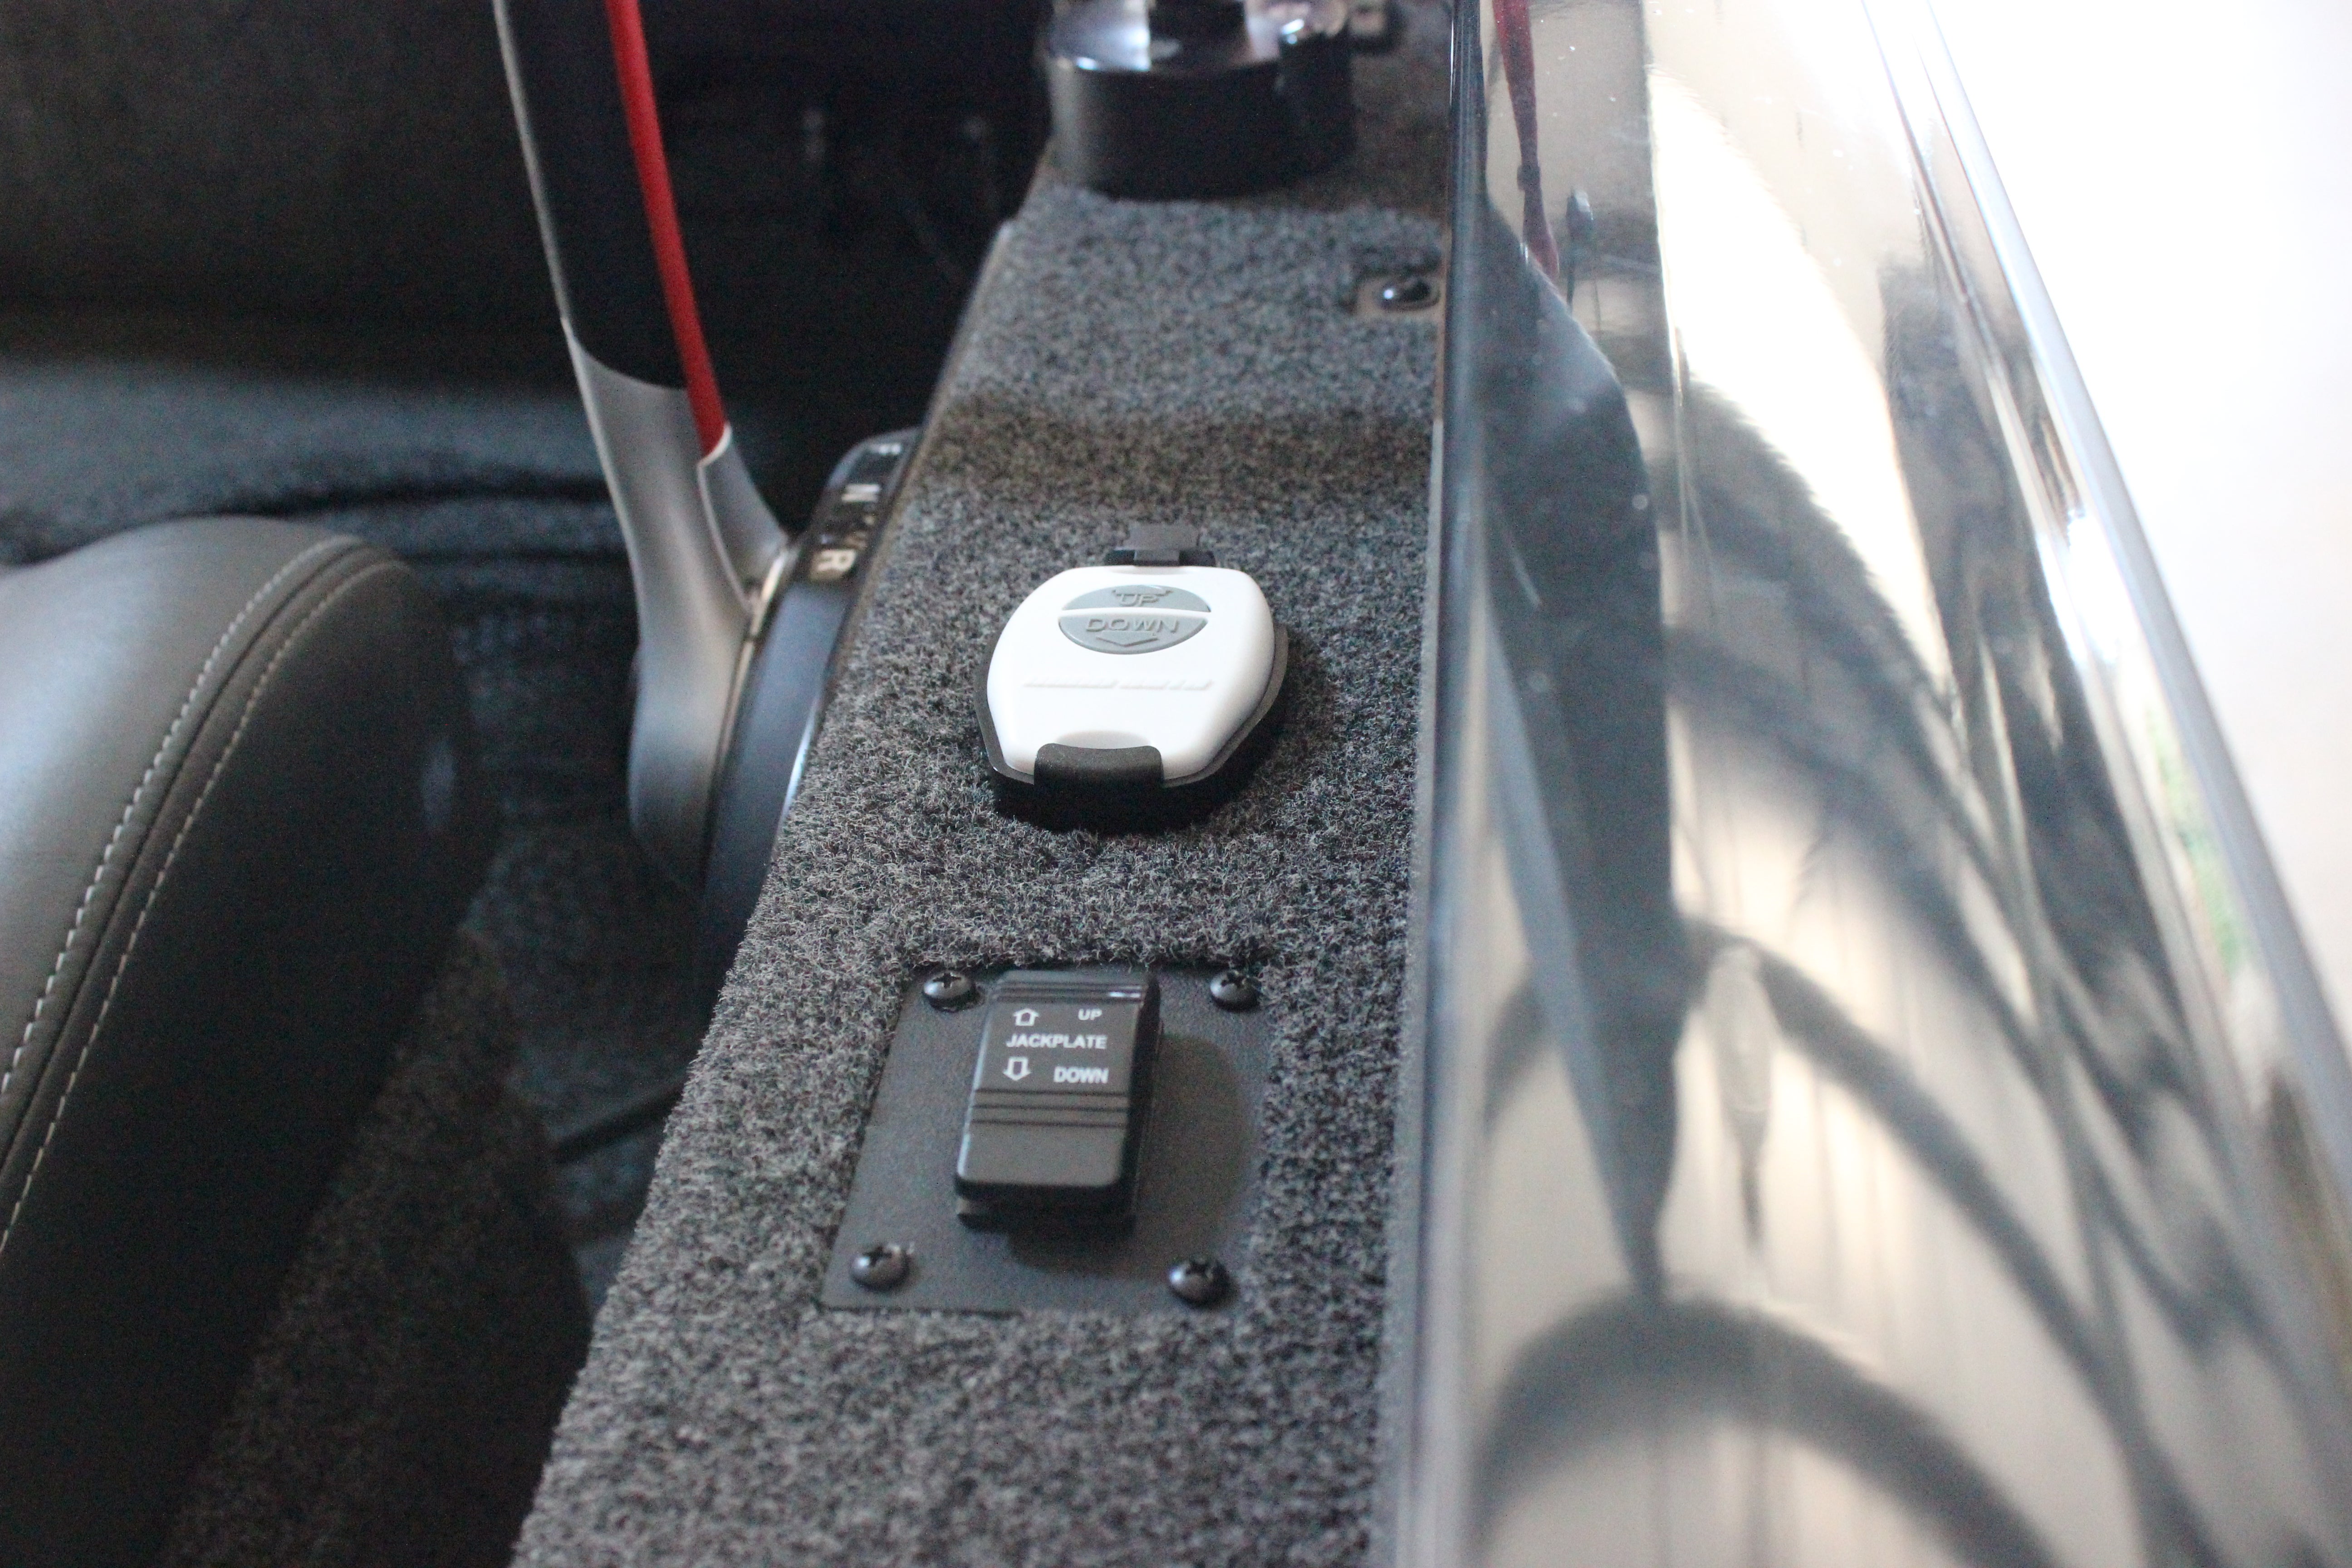
The Talons pre-fused cabling installs easily by using a cable fiche and pulling them to the starting battery. Wireless key fabs are easily programmed so one fab works both Talon Shallow Water Anchors simultaneously. It only takes a couple of minutes for the programming. Positioning of the switches is up to the owner but I placed mine within reach of the drivers console.
It’s a good idea to bring wrenches with you on your first water test to assure the heights of the Talon doesn’t impede performance of the boat. I tested mine while preparing for an upcoming tournament and could not be happier with both the T-H Marine plate, increased top end by 4 mph, and the Talons for stopping, positioning and fishability.