Adding new fishing main line to your baitcasting reel seems like a simple task, but there are still plenty of ways to get it wrong. Overspooling your reel is a common mistake; don’t try to get every last bit of line on the reel spool if there isn’t room! You’ll regret it almost immediately with a wind knot or bird’s nest on the next cast. In this article, I’ll show you how to spool a baitcasting reel in a few quick steps. I also have separate instructions on how to spool a spinning reel, too. Key things to remember include:
- Orient the filler spool in a way that line’s not getting twisted when you’re reeling new line onto the baitcaster.
- Thread the new line through the line guide first before tying an arbor knot to the reel spool. Make sure the arbor knot lines up with the line guide before starting to reel.
- Keep steady tension on the line as it’s wound onto the reel.
- Don’t overfill your reel spool.
Filler Spool Position: How to Prevent Line Twists and Backlashes
Even the best lines (braid, high-grade fluoro) retain some memory from their original spool, causing them to curl a bit. You’ll notice that line curl if you let some line hang limp off the filler spool.
To avoid continuous backlashing and line twists, you must load the line onto your reel so that it does not introduce new twists. This means ensuring the line leaves the filler spool and enters the fishing reel in the exact same rotational direction. Be on the look out for it – it’s easy to spot.
For example, if you’re holding a baitcaster reel in your hand with the opening facing toward you, the line will feed into the reel, across the spool arbor, and then under the spool as you turn the handle. Make sure your filler spool is rotating in the same direction. If it is, the line will be coming off the top of the filler spool and not the bottom. The filler spool must be positioned this way as it spins, ensuring a rotational match.
What Type of Knot to Use

Tying your line to the reel spool is one of the important steps in respooling a reel. Some spools might have a rubber landing strip or even a hole you can tie your line to, but most don’t. That’s why it’s important to utilize an arbor knot – a knot specifically used when respooling a reel to cinch down tightly to the spool.
The arbor knot is vital because it isn’t bulky and it prevents the fluoro from slipping on the reel spool when adding new line. If you notice your line is not getting any purchase, and you’re not able to add line to your reel, that means your knot is slipping. This is most likely to happen when spooling on braided line. One option is to first add fluorocarbon or monofilament backing. You can get creative with adding a small dab of tape near the knot, but sometimes that tape leads to more hassle than success.
Make sure you thread your line through the level wind (line guide) before tying the knot to the reel spool. If you notice line bunching up on one side of the reel, you’re likely doing something incorrectly. It could mean your line guide is not producing a level wind. But more than likely, it means the knot you used to tie the line to the reel spool was too bulky and caused a mini mountain to form on one side of the reel.
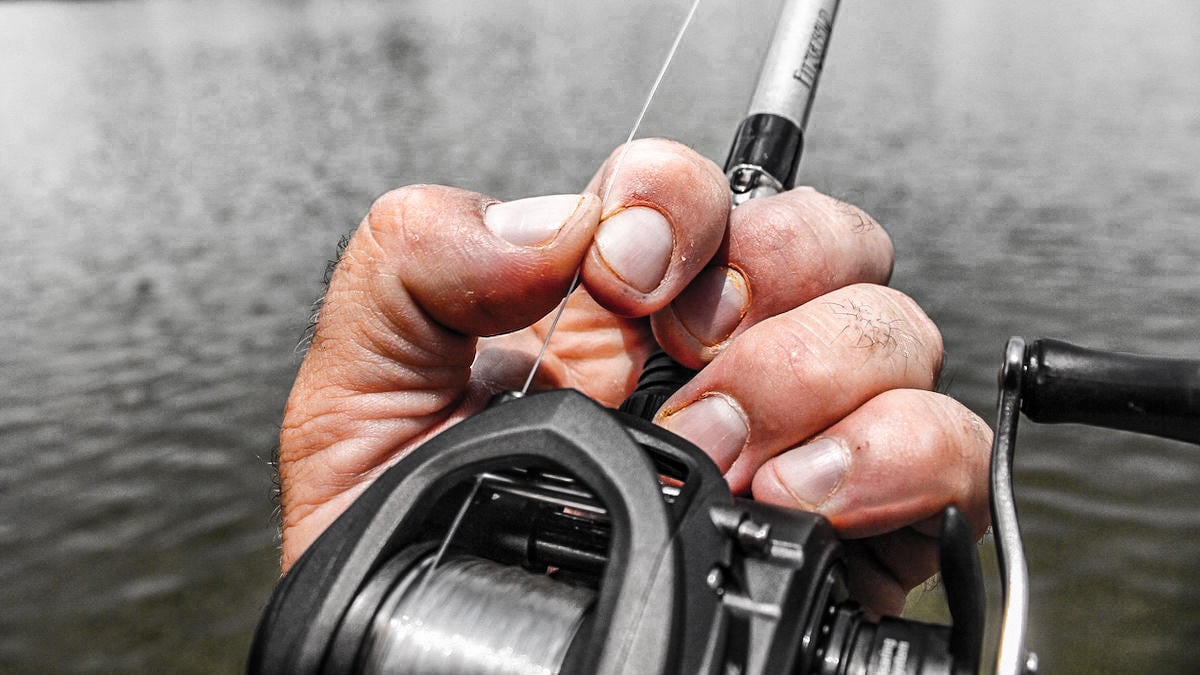
Keep Tension on the Line
Always keep tension on the line as the line is spooled onto the reel. The easiest way to do this is by sliding your non-dominant hand (left for right-handed reels, right for left-handed reels) up to the section of the rod just in front of the reel. Use your thumb and forefinger to pinch the line and provide tension as it enters the reel.
This will actually help take some of the memory out of line too, and make sure that the line pulls down tightly to the reel. Loose line on a reel spool leads to knots, tangles, break offs, and the line digging into itself. There are plenty of ways to spool line on the baitcasting reel by yourself:
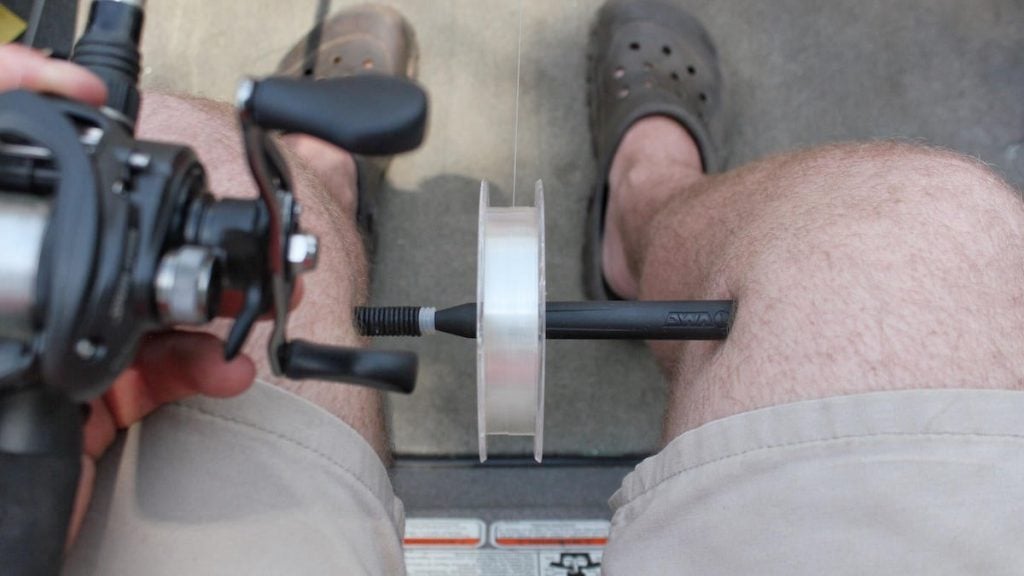
- Take something cylindrical like a sharpie, pen, screwdriver or wacky rig tool, slip it through your spool of filler line and then hold that with your legs, knees, feet or toes. Again, make sure you start the spool oriented correctly and that you keep tension on the line as it feeds on the reel.
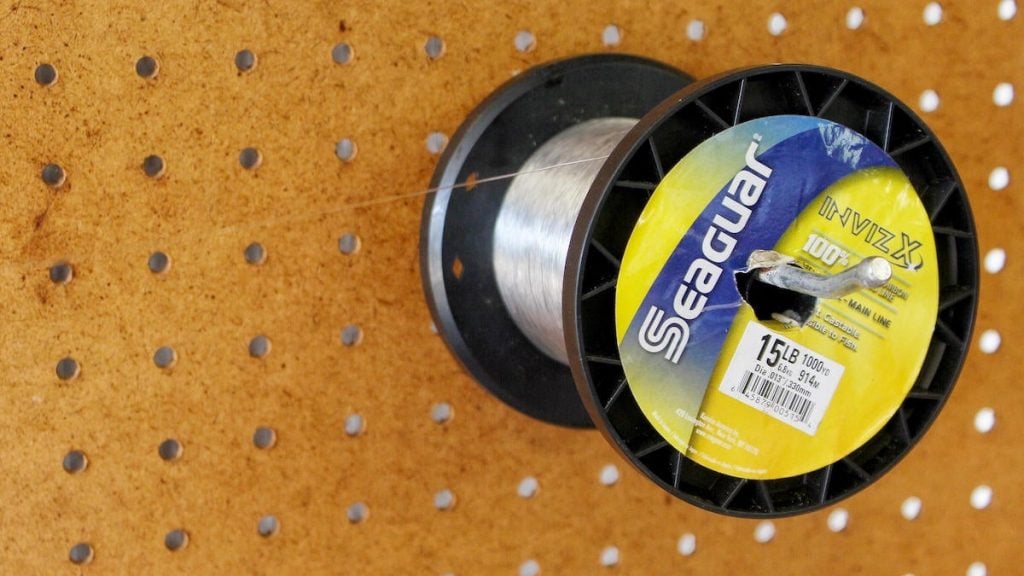
- Attach a filler spool to a pegboard with the label side facing toward you. The line needs to exit the filler spool out the top. The pegboard acts as a separate pair of hands.
- You can also spool your reel by putting the filler spool in water, such as a bucket of water in the garage. While the resistance of the water does help keep tension on the line, you have to reel at a particular speed to make sure the line comes off the spool properly. If you do choose to spool your reels this way, once again make sure the filler spool is rolling in the water with the line coming over the top of the spool.
That Uh-Oh Moment

Let’s say you’ve spooled your reel with fresh new line, headed to lake, and launched the boat – but your reel became a tangled mess with your first or second cast. You can barely temper your frustration with the tangles, twists and backlashes. Thankfully, there is still one on-the-water fix.
With the boat in gear or using your trolling motor, first pop your baitcaster into free spool and then let all the line off your reel down to the arbor knot. Initially, you might have to pick, pull and untangle the line in real time. Make sure there are no lures or terminal tackle attached to the end of the line. And also make sure you have plenty of open water behind the boat, likely at least 150 to 200 yards.
Then just cruise a bit with the line out there in the water — the water’s resistance will help to untangle all the twists from your main line. Afterward, it’s just a matter of reeling all that line back onto the reel, with the water providing extra tension too. This trick should help finally clear out any irritating line twists. Now that your reel is ready to catch some bass, learn how to cast a baitcaster reel.
In the video below, we point out that first tying on fluorocarbon or monofilament backing helps prevent braided line slippage. Tie the braid and backing together with a simple uni-to-uni knot.