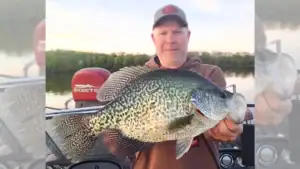
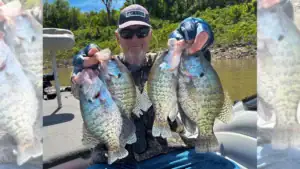
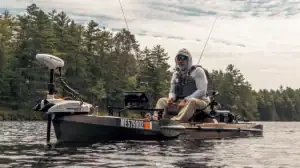
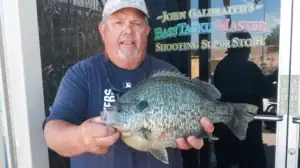
Some 20 years ago, on any given summer day, you would’ve found me along the bank of a Virginia farm pond or waist-deep in the James River. More than likely, my T-shirt was balled up in the back of my truck, my hands stained with fish slime or worm dirt, and my rod long overdue for some TLC. Back then, live bait wasn’t just one option, it was usually the option for crappie. We caught fish using setups so simple they’d make a modern gear junkie laugh, but they worked when crappie fishing. And the more I’ve learned over the years, the more I’ve realized it wasn’t just the bait, but rather the way we presented it.
Why Live Bait Works So Well for Crappie

Despite all the advances in crappie-specific plastics, scented jigs, and forward-facing sonar, live bait still triggers a biological response that artificial lures can’t always replicate. Minnows, in particular, emit amino acids and subtle electrical impulses that simulate the crappie’s lateral line system — a sensory organ that detects movement and vibration in the water. Crappie are sight predators, sure, but they’re also tuned in to subsurface cues we can’t see. And in cold fronts, muddy water, or heavy pressure, a natural presentation is often the only one that keeps bites coming. A rig that lets the bait move freely — yet remains in the strike zone — is critical.
The Slip Float Rig

If you’re fishing structure like brush piles, docks, or standing timber, especially in water deeper than 5 feet, it’s hard to beat the slip float rig. Unlike fixed floats, a slip float allows you to set the depth with a bobber stop, giving you precise vertical control. That’s critical, because crappie don’t like to feed down — they want the bait above them, where they can see and rise to it.
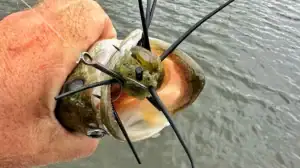
Use a small wire Aberdeen hook, typically a #2 or #4, which lets you hook the minnow through the lips or behind the dorsal (both of which are viable depending on your setup). Crappie have delicate mouths, so a thin-wire hook reduces tearing. And because these hooks bend out under pressure, they’re forgiving when fishing snag-prone structures.
The key to optimizing this rig is subtlety. Use light fluorocarbon or mono in the 4- to 6-pound range to maximize sensitivity. Avoid over-weighting the float; you want just enough split shot to keep the minnow down, but not so much that its natural movements are restricted. You’re not trying to force a reaction strike; you’re simply putting dinner on the plate and waiting for the bite.
The Double Minnow Rig
When crappie suspend at varying depths, particularly in open water or along ledges, a double minnow rig gives you the ability to fish two depths simultaneously. You’re essentially creating a vertical column of bait that mimics a small school of baitfish, and in a sonar-savvy world, that realism matters.
Start with dropper loops in your main line using a surgeon’s knot or triple overhand. Attach one minnow to a short leader above, and another on a slightly longer leader below, with a bell sinker at the bottom. In 15 to 30 feet of water, this rig lets you target stacked fish without repositioning every time you mark a new layer on the graph.
It’s a favorite among spider riggers who want to present multiple baits with different action profiles. You can lip-hook one minnow for horizontal motion and tail-hook the other for vertical darting. In stained water, try adding a bead or a small blade to the lower leader to introduce a flash component.
What separates good from great here is bait control. Keep your boat speed between 0.3 and 0.6 mph if drifting. Any faster, and you’ll lift the rig too much. If you’re anchoring or tight-lining, slight rod tip twitches can add just enough life to the minnow to trigger hits.
The Dropshot Minnow Rig
For pinpoint vertical presentations — think crappie hugging pilings, bridge abutments, or sharp breaks — a dropshot-style minnow rig gives you complete control. Unlike the traditional bottom rig, the hook sits above the weight, allowing the minnow to swim freely just off the bottom or mid-column, exactly where sonar shows fish.
Tie your hook with a Palomar knot, leaving a long tag end. Then thread that tag through the hook eye from top to bottom so the hook stands out horizontally. This presentation not only looks natural, but it also increases hookup ratios by keeping the point exposed and the minnow horizontal in the water.
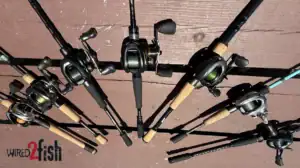
The beauty of this rig lies in its sensitivity. With your rod tip directly over the bait, you can detect even the faintest peck or inhale. Use a high-modulus graphite rod and braided mainline with a fluorocarbon leader to maximize feel.
For ultra-technical anglers, even the size of the drop weight matters. In high-current reservoirs or deeper than 25 feet, you’ll want a ½-ounce sinker to keep it vertical. But in slack water or shallow brush, a ⅛-ounce weight is all you need to maintain contact without scaring fish.
Rigging Tips

The way you hook your minnow isn’t about preference, but instead, presentation and oxygen flow. Lip-hooking, from bottom jaw to top lip, is ideal for stationary rigs like floats, where the minnow is expected to swim forward and stay upright. It keeps the gills exposed and the bait alive longer.
But if you’re vertical fishing with motion — say, spider rigging or long-lining — back-hooking just behind the dorsal fin creates a more erratic swimming pattern, which can trigger aggressive strikes. Just be careful not to go too deep and hit the spine, which kills the bait faster.
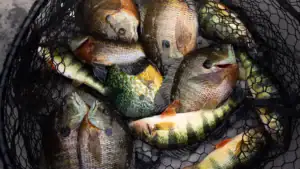
Also, don’t underestimate the importance of bait size. In spring and early summer, when baitfish are smaller, crappie key in on 1- to 2-inch minnows. In fall or pre-spawn, they’re more willing to hit larger offerings, up to 3 inches. Matching the hatch in terms of size, not just species, is one of those quiet technical details that experienced anglers take seriously.