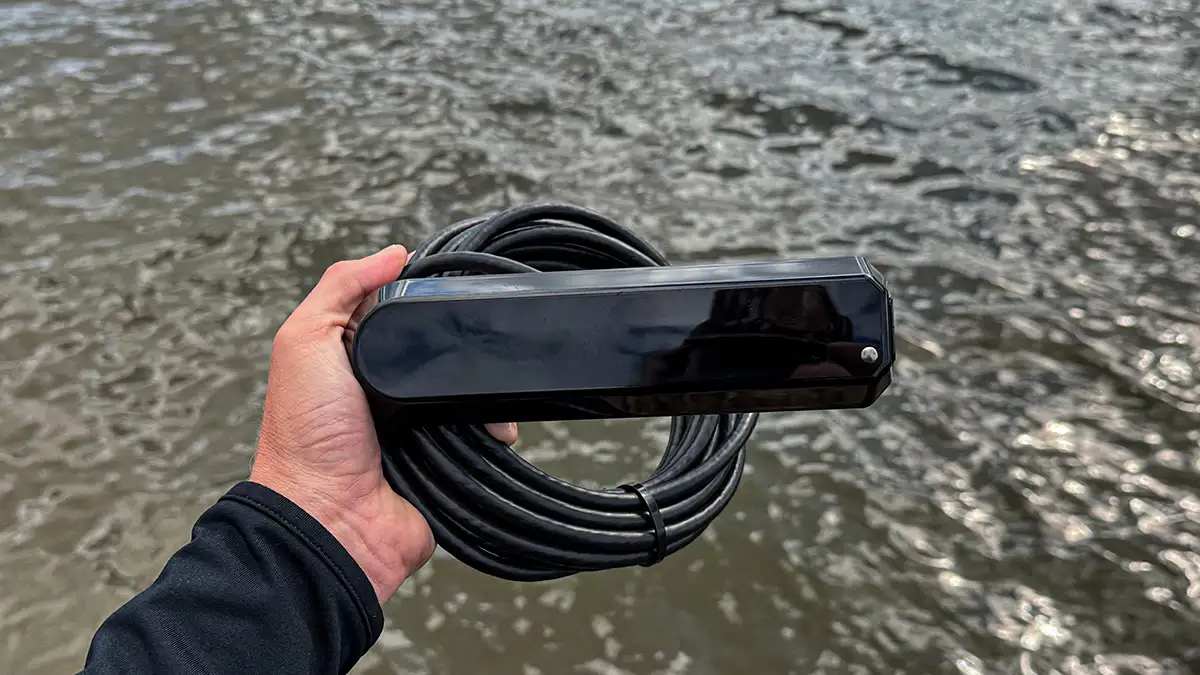
Marine electronics plays a major roll in the majority of bass fishing tournaments. This technology helps anglers catch more and bigger fish, and they’re only getting more advanced. One of the most useful, yet slightly older, tools we use as anglers is side and down imaging. This allows us to see exactly what lies beneath the surface without ever making a cast. These electronics however are quite expensive, so it’s important that you get the most out of your investment. This feature will highlight how to get the most out of your 3-1 transducer through managing disturbance, leveling, mounting and adjusting your settings to match the current conditions.
MANAGING DISTURBANCE
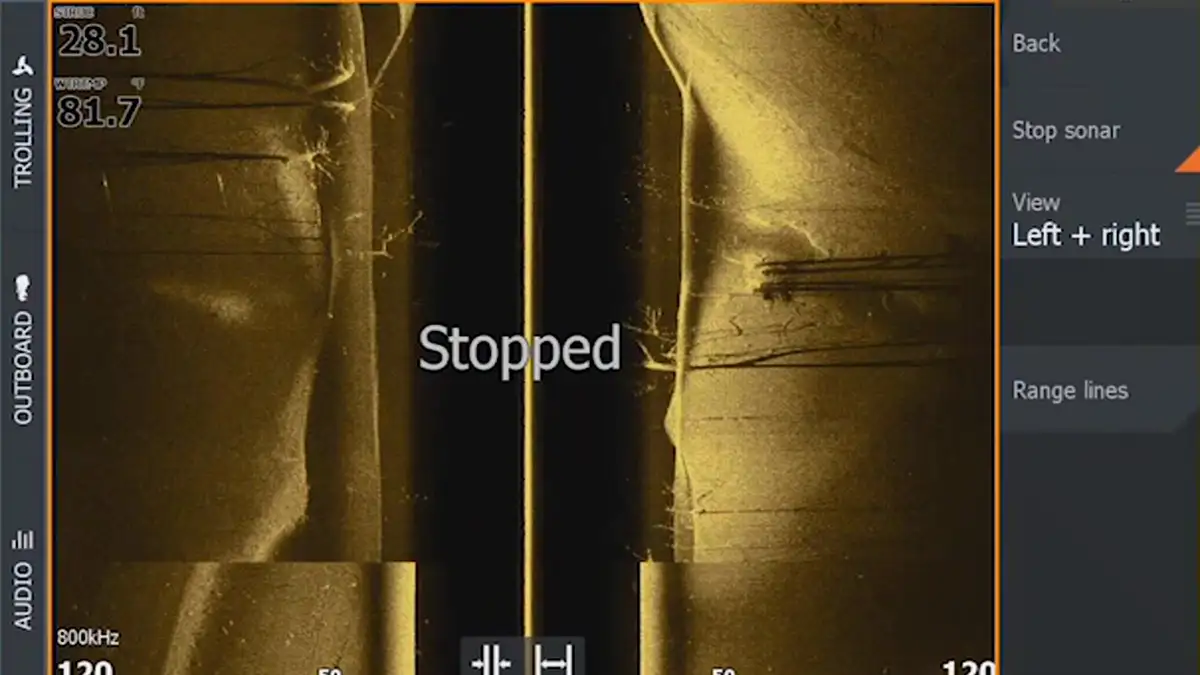
Managing disturbance is one of the least talked about but most important factors for getting a good read on your 3-1 transducer. Disturbance occurs when you have multiple transducers running in a tight space. These transducers send out sonar pings that can interfere with one another and lead to a fuzzy image. One of the best ways to prevent this is by spacing out your transducers. The farther apart they are from one another, the less disturbance you’re going to experience. I like to mount my 3-1 transducers on opposite sides of the jack plate, this allows a few feet of separation which I’ve noticed helps your image.
Another way to manage this disturbance is by setting your transducers to different frequencies. I run both a Humminbird and Lowrance transducer on the back of my boat. I’ve found that setting the Humminbird to MEGA and the Lowrance to 455 or 800kHz gives you the best image. Another method for eliminating disturbance is turning the sonar ping off on one of the transducers. This will completely eliminate your disturbance, however you’ll only be able to use one transducer at a time.
LEVELING
Another crucial component for getting the best possible images is to make sure your transducer is level. If your 3-1 transducer is mounted at a weird angle, it can distort your image and give you an inaccurate picture of what lies beneath the water. One of the best ways to ensure your transducer is level is by comparing it to the water line on your boat. This guarantees your transducers are completely level while you idle. A common mistake anglers make is leveling their transducer based on the hull of the boat or the jack plate. Your boat actually rides with the bow titled upwards, so this can often lead to a distorted image, especially on side imaging.

MOUNTING
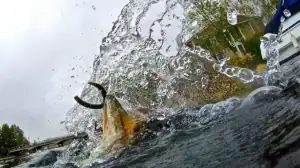
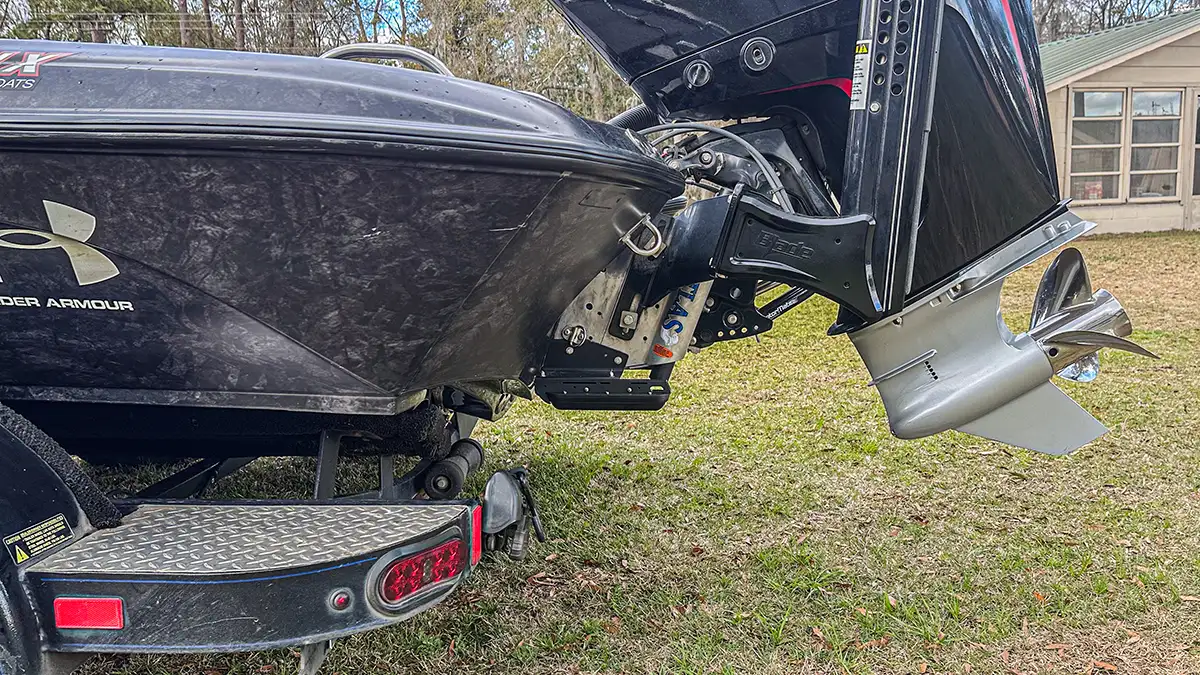
Having the proper mounts is another crucial component for getting the most out of your 3-1 transducer. I’ve used a variety of mounts over the last several years and I’ve found a few that I think really help. I started out using the factory brackets that mount to the bottom of my jack plate. These mounts get the job done, however I didn’t feel like I was getting the most out of my transducers. The way these brackets were installed didn’t allow me to get my transducers completely level. Furthermore, they would frequently loosen up causing them to reposition. I finally decided to make a switch to an aftermarket mount after idling into a stump and damaging one of my transducers.
Typically these mounts just screw into your fiberglass or the bottom of your jack plate. The screws and mounts themselves are often flimsy which led to one completely breaking off my boat after coming in contact with a stump. After this I decided to upgrade to the Transducer Shield and Saver 3-1 jack plate mounts. These mounts bolt directly into your jack plate and are made of high grade components. This ensures that your transducers are both level and secure even in rough water. Another thing I really like about these mounts is that they wrap around and protect your transducers. This allows your mount to take the impact as opposed to your transducers, further protecting your investment. While it’s important to mount and level your transducers correctly, having the correct settings is arguably the most important factor.
LOWRANCE SETTINGS
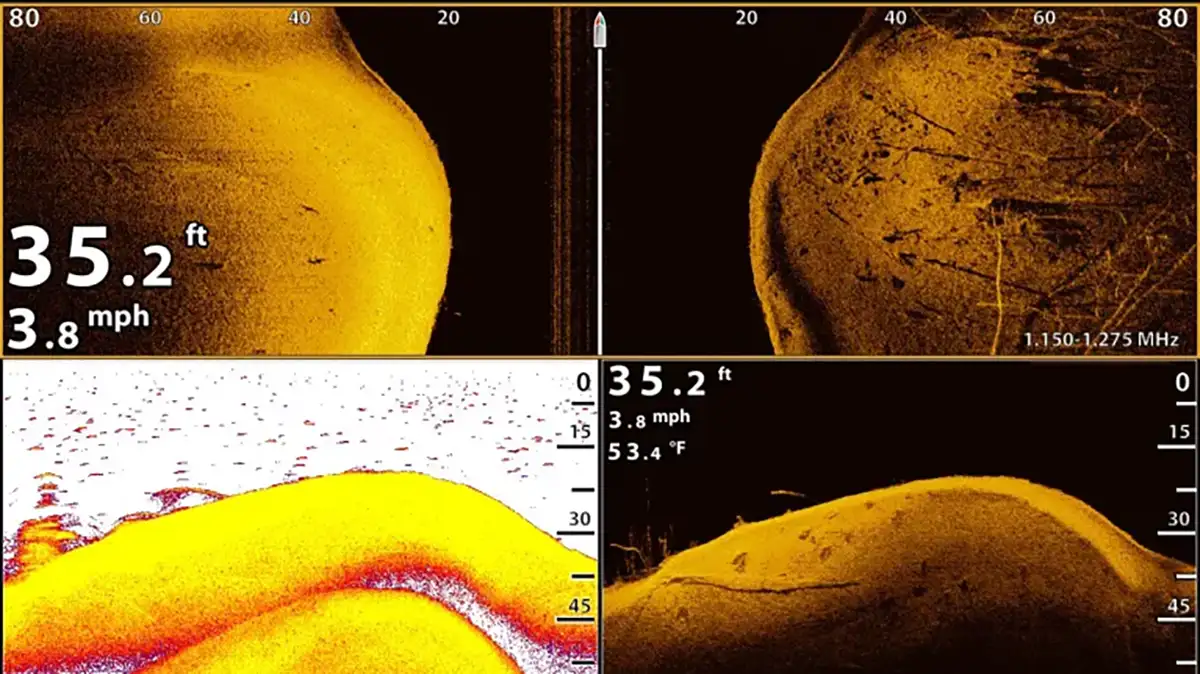
While running two different 3-1 transducers isn’t necessary, it does have its perks. I run both Humminbird and Lowrance transducers, and I like them both for different reasons. I rely on my Lowrance transducer for locating specific cover. This transducer does a great job at showing detailed cover whether it be brush piles, grass lines or hard bottom. Lowrance has a variety of setting options for dialing in your transducers. There’s no magic number for the perfect settings; instead you should adjust them based on water clarity and depth.
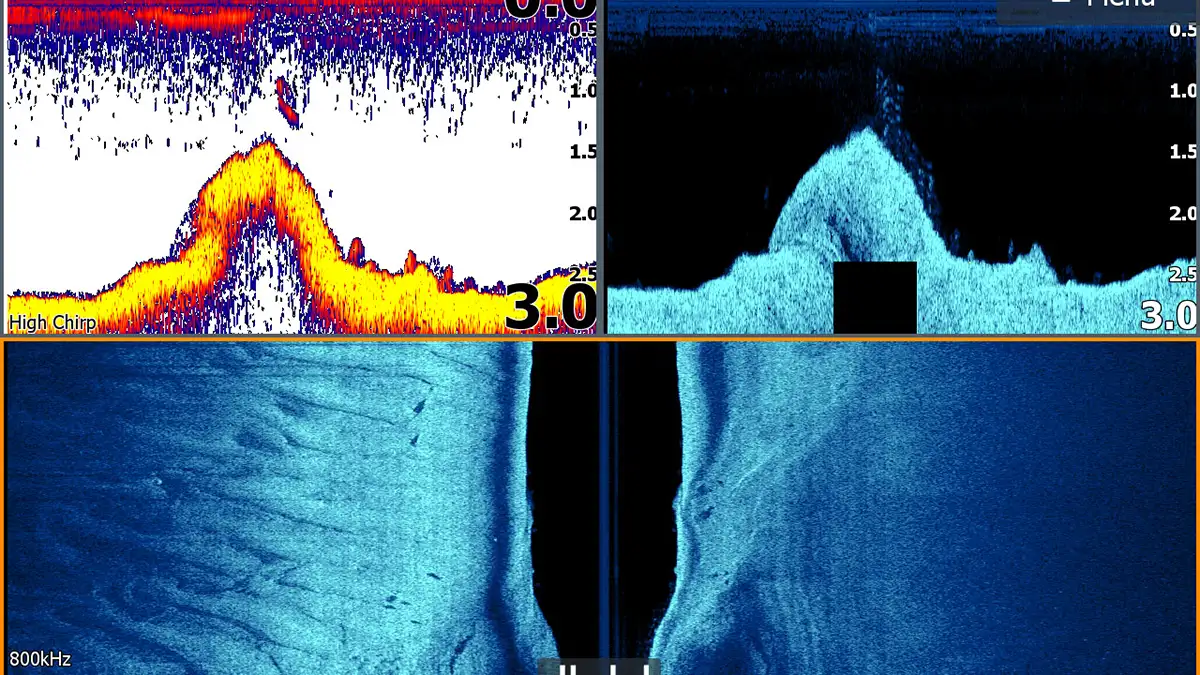
Lowrance has two different sonar frequencies you can choose from and they’re each great for different scenarios. 800kHz has the best resolution for shallower depths. I typically run this frequency when graphing water shallower than 10 feet. This frequency has less range than its 455kHz counterpart, but the resolution is much greater. I use the 455kHz frequency when I’m trying to cover more water at deeper depths. This is the perfect option for graphing ledges or looking for brush on expansive flats. Lastly, I like to adjust the contrast based on water clarity. If dealing with dirtier water I’ll often lessen the contrast to decrease the amount of disturbance. In clear water I like to up the contrast to give me a more detailed image.
HUMMINBIRD SETTINGS
My Humminbird transducer is another piece of equipment I couldn’t live without. While this transducer has both 800kHz and 455kHz, it also has MEGA imaging. This frequency is by far my favorite and I use it for almost every offshore application. While I love my Lowrance for locating cover, I prefer my Humminbird for finding groups of fish. This frequency shows a high resolution image that’s great for spotting fish on the bottom. It’s also great for locating hard spots.
One of the best ways to dial in your Humminbird transducer is by adjusting your sonar speed, sensitivity and contrast. Sonar speed affects the quality of your image. I typically keep it on the slower side. If I’m power idling I’ll bump the speed up to 6, however I typically keep it around 4 or 5. As far as sensitivity goes I adjust it similarly to my Lowrance contrast, the dirtier the water the lower my sensitivity and vice versa. I’ll adjust contrast based on the bottom composition. The softer the bottom the higher the contrast, this allows you to see more detail on softer bottoms. On hard bottom however, I’ll typically decrease the contrast. This prevents you from blowing out the image and allows you to see more detail even on brighter, harder bottom. I typically keep my sensitivity at 12 and my contrast at 9.
Electronics play a vital roll in bass fishing, especially today. Not only is this equipment important for catching bass, but it also costs a pretty penny. It’s important to ensure you get the most out of your investment. Paying attention to these details helps make sure you’re getting the clearest possible image. If you want to up your electronics game, make sure your transducers are level, mounted correctly and have the proper settings. Once you dial in these three factors you’re ready to tackle any offshore scenario you might encounter.


![[VIDEO] How Brandon Palaniuk Uses the One-Boat Network App](https://www.wired2fish.com/wp-content/uploads/2025/06/one-boat-network-300x169.webp)
![[VIDEO] How to Install the Garmin Force Pro Trolling Motor](https://www.wired2fish.com/wp-content/uploads/2025/06/trolling-motor-install-300x169.webp)