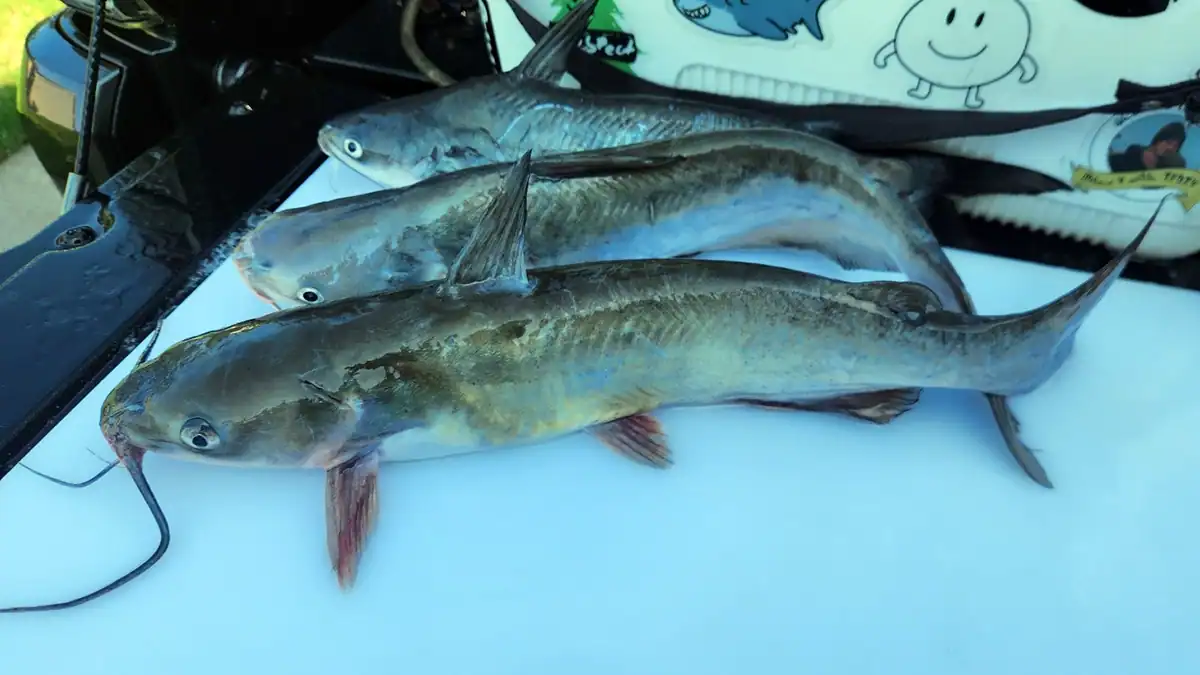
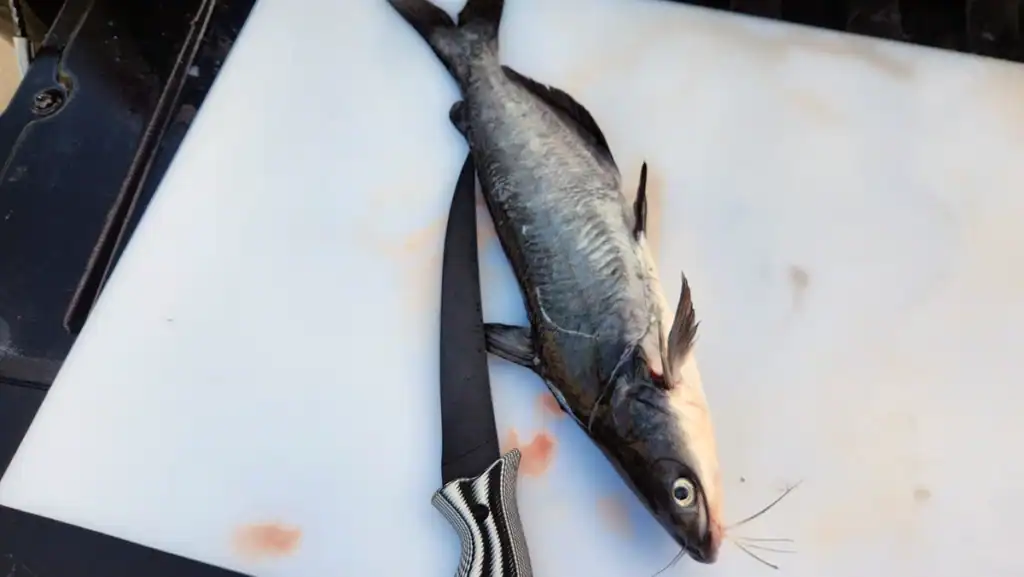
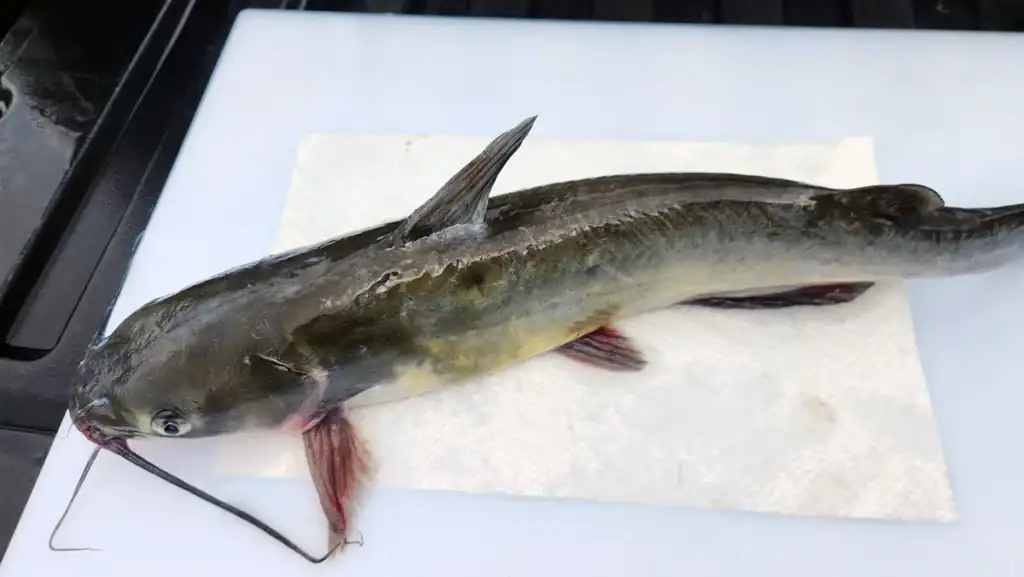
Throughout the Southeast, catfish are one of the most popular freshwater species for the table. They are a bit unique compared to other species, with a scaleless, slimy body. The method to clean them before cooking is a little different than other species such as bluegill or trout. I’ll show you two ways to fillet your whiskered catch: by first skinning them (a unique method for catfish) or by using the traditional fillet-and-skin method common to other fish.
First Skin, Then Fillet a Catfish
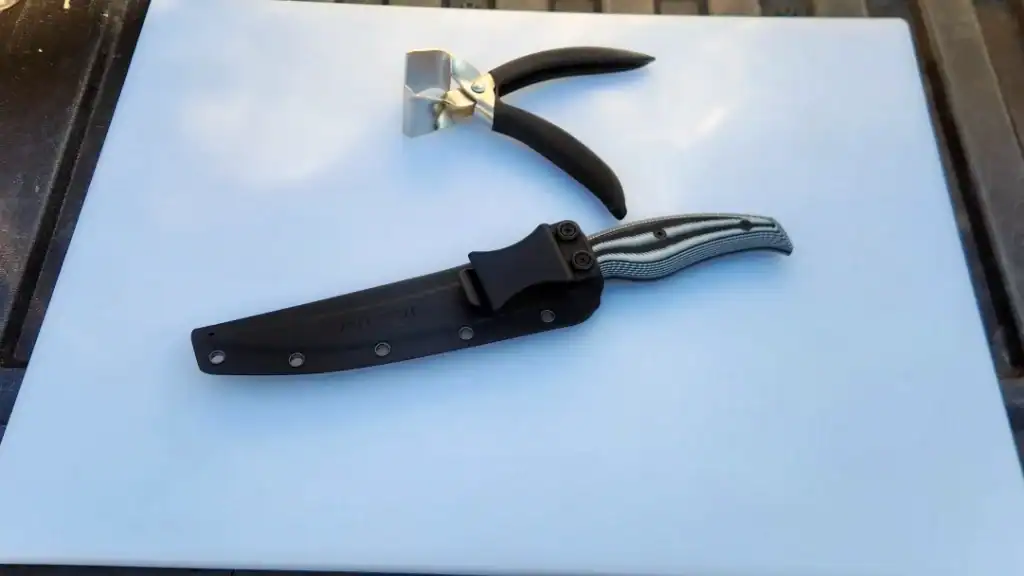
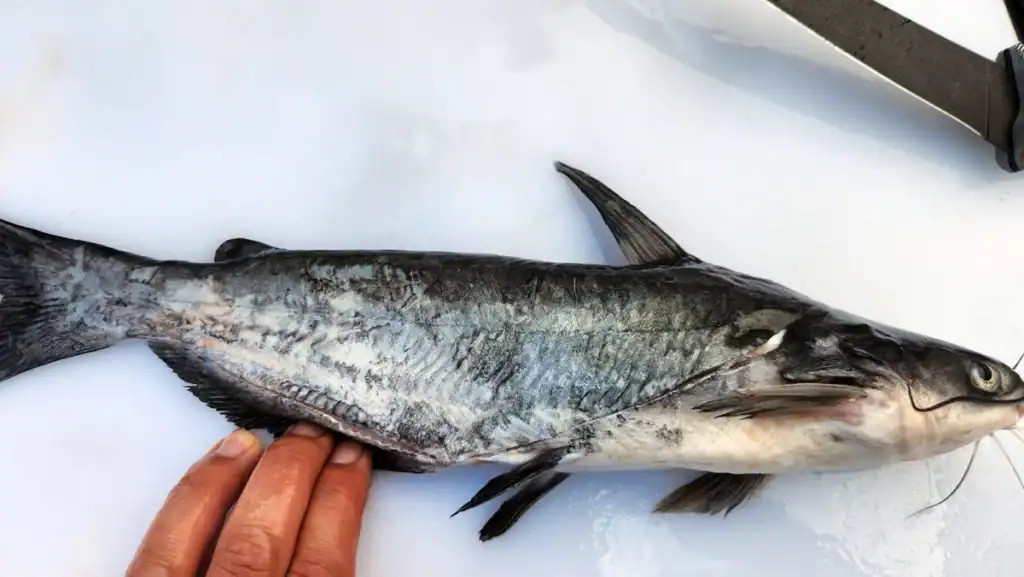
Skinning catfish is how I was taught to clean catfish as a kid, and it remains my go-to choice for smaller catfish under 10 pounds. The process of skinning a catfish is pretty simple — you will need a sharp fillet knife and a pair of skinning pliers. These are specialized pliers with a wide jaw that holds onto the skin and does not tear it.
The first step is to take your fillet knife and trace along the spine of the catfish. We aren’t cutting into the meat yet; just cutting through the skin. If you cut into the meat a little, don’t worry, but you might experience a little tearing in the meat later.
Once you cut the skin down the spine of the catfish, take your fillet knife and trace over the ribcage. Cut the skin from the back of the head to behind the vent of the catfish. From there, you want to cut the skin right along the anal fin. Once you complete the first side, repeat the same process for the other side. Make sure you cut around both sides of the dorsal fin.
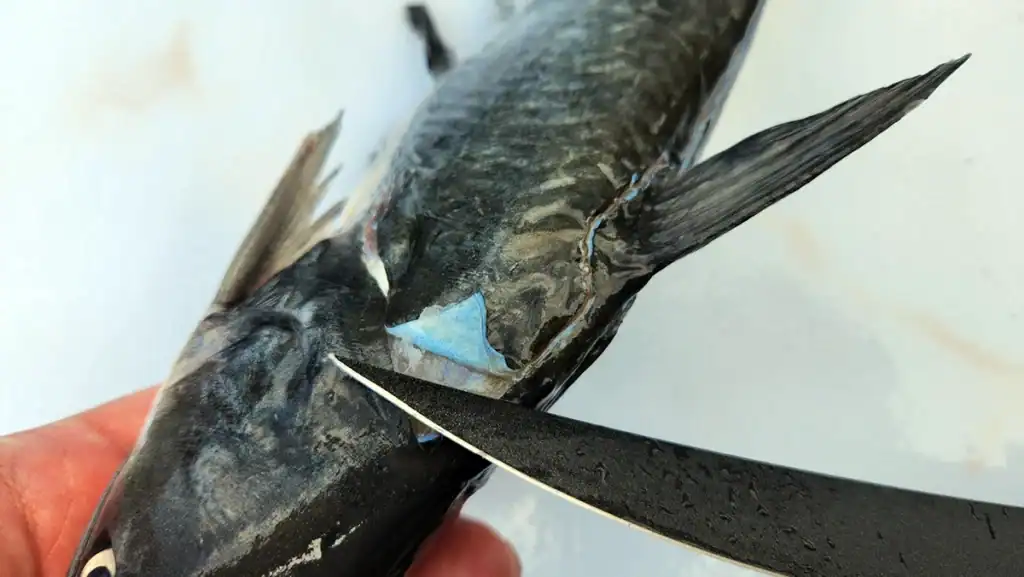
Once you cut the skin on both sides of the catfish, take the tip of your fillet knife and lift the front corner of the skin behind the catfish’s head. This will give you somewhere to grab the skin with your pliers.
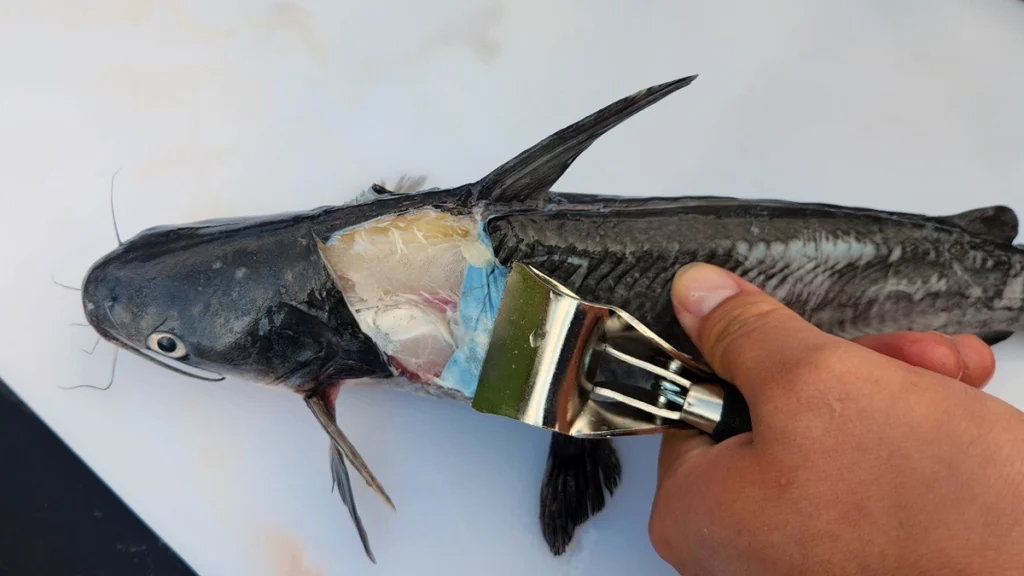
Grab onto the skin with the skinning pliers and hold the catfish firmly with your other hand. Then start pulling on the skin of the catfish. It should peel off in one clean piece if you cut through the skin properly. If not, just cut through the skin where it got stuck and make another tag to grab onto with your skinning pliers and try again.
Repeat this for both sides of the catfish, leaving a clean and skinless catfish ready to be filleted.
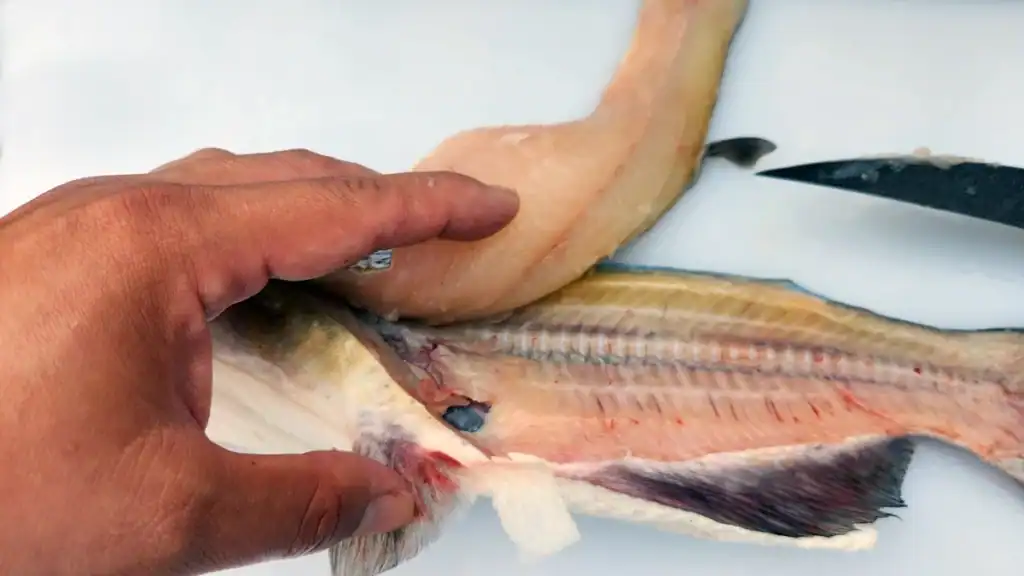
Now, with the skin gone, we are going to fillet the cat like any other fish. I recommend starting near the adipose fin of the catfish, keeping your knife flat to the bones. Free up the tail end of the fillet first, then start making your way up toward the ribcage of the catfish.

Catfish have a more pronounced ribcage than other fish such as bass and bluegill. This is due to their pin bones and rib bones being fused together, making for a wider ribcage. So once your knife is above the ribcage of the catfish, cut along the spine until you feel the ribs with your fillet knife. Follow that contour before pushing the knife through the meat along the line where the catfish was skinned.
Do this for both sides, and you will have two boneless and skinless catfish fillets ready for the fryer.
The Fillet-and-Skin Method
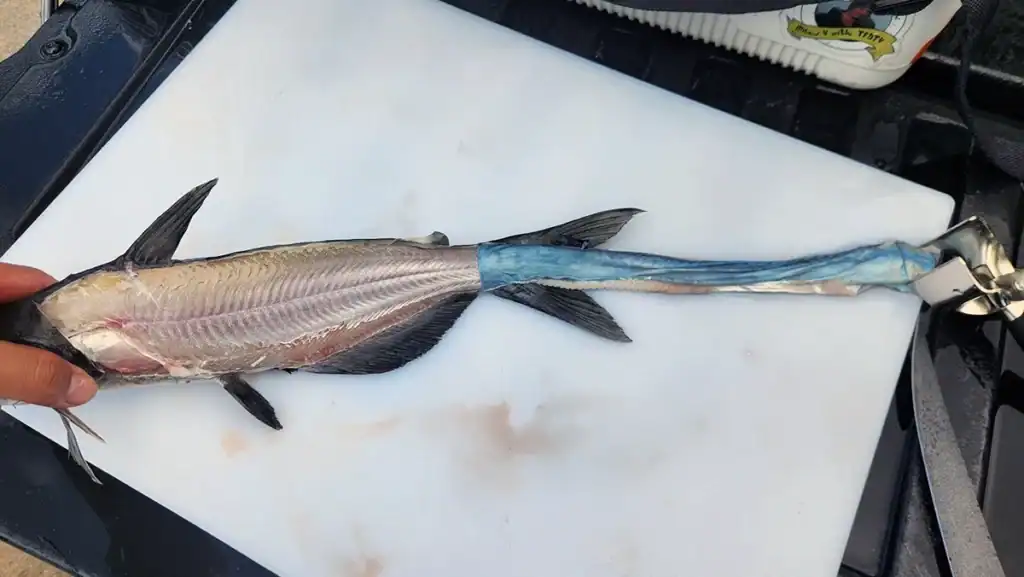
Now, the second method for cleaning catfish is the traditional approach to cleaning fish, and the one I usually use for larger catfish. So instead of skinning the catfish first, we’re going to take the sides off the fish first with the skin on, then skin it after.

Similarly to the first method, we are going to take our fillet knife and cut at an angle from behind the head of the catfish over the ribcage and down behind the vent. You want to cut down to the rib bones but not through them. Be careful as you get near the vent of the catfish. You want to avoid opening up its guts by accident.

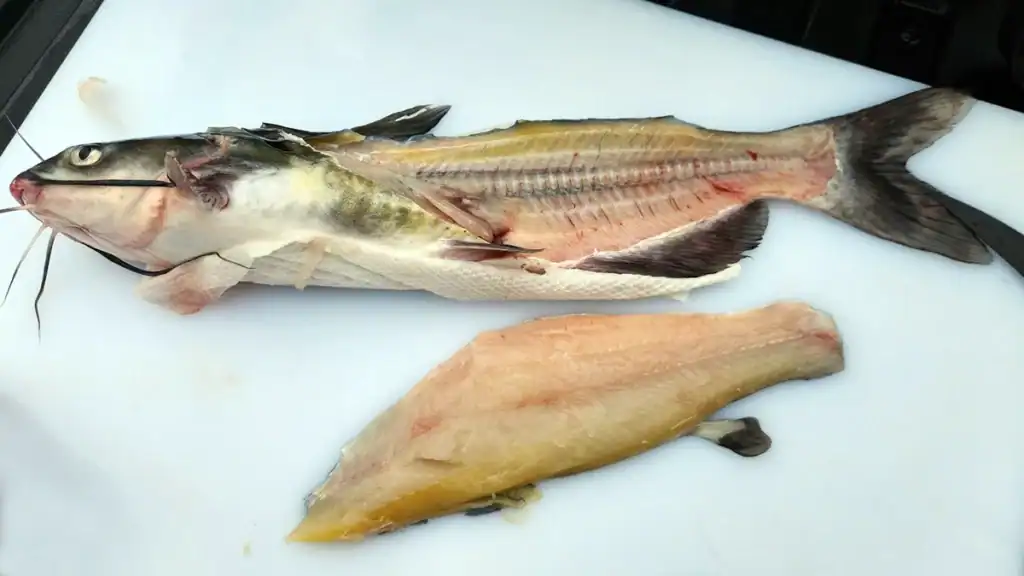
Once you get that first cut done, you can either fillet it from the fish’s dorsal side or ventral side. I started my fillet at the ventral side, cutting along the anal fin first. Either way, you want to let the knife do the work, and let it glide along the bones until you hit the spine.
Once you have the first side of the fillet free, work the knife over the spine and free up the other side of the fillet. Whichever side you choose to start your fillet, you want the tail of the fillet free first, so working the ribcage will be easier.
Follow the same steps when it comes to the ribcage, follow the bones down the spine until you hit the ribs, then follow the contour of the bones ’til you hit your first cut. This will free the fillet from the catfish. Repeat for the other side of the catfish.
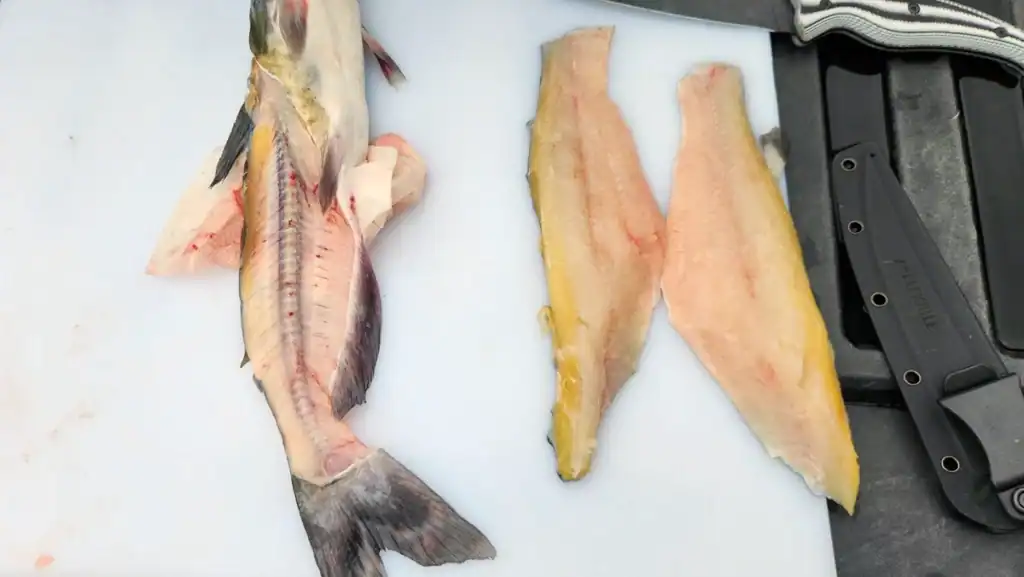
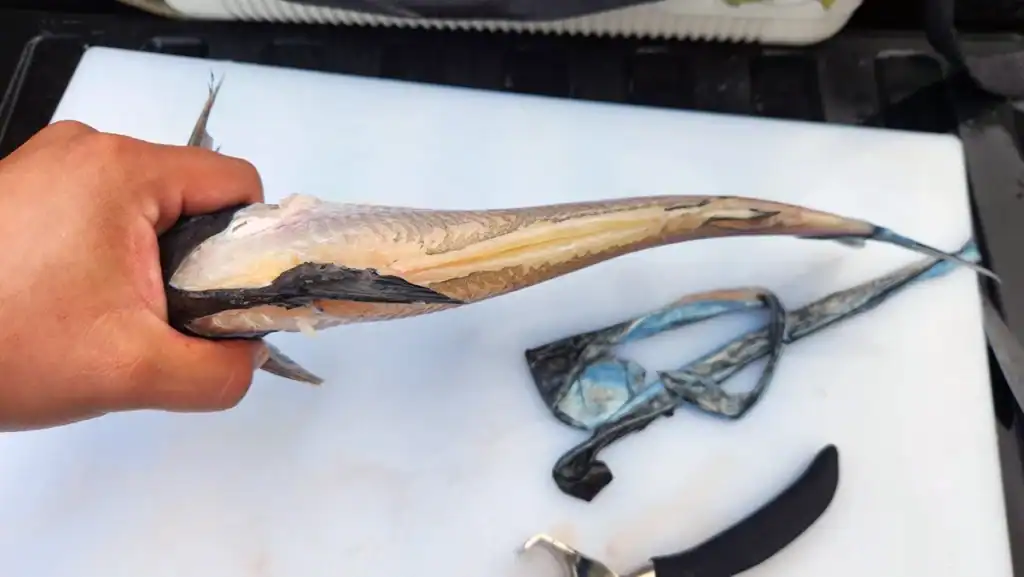
Now that you have the fillets off the catfish, discard the frame, and wipe off the cutting board. It’s time to skin the fillets. Skinning catfish this way can be a little more difficult with smaller fish; with no scales to back the skin, you can push the knife through the skin more readily. This isn’t as much of an issue with larger catfish.
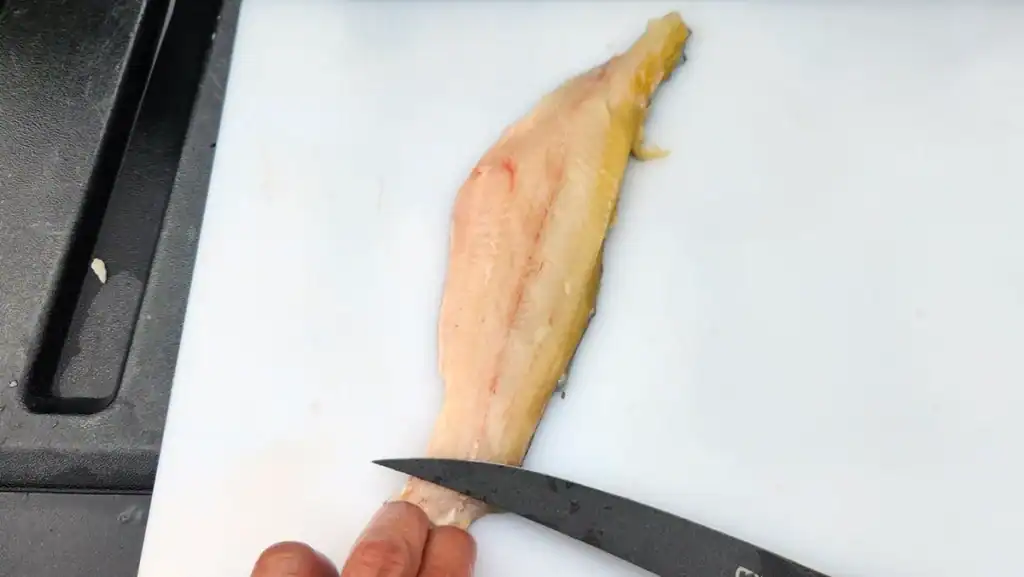
Take your knife to the very tip of the tail and cut through the fillet down to the skin at a very flat angle to the cutting board. Make sure to keep a firm grip on the tail with a couple of fingers and keep your knife flat to the cutting board.

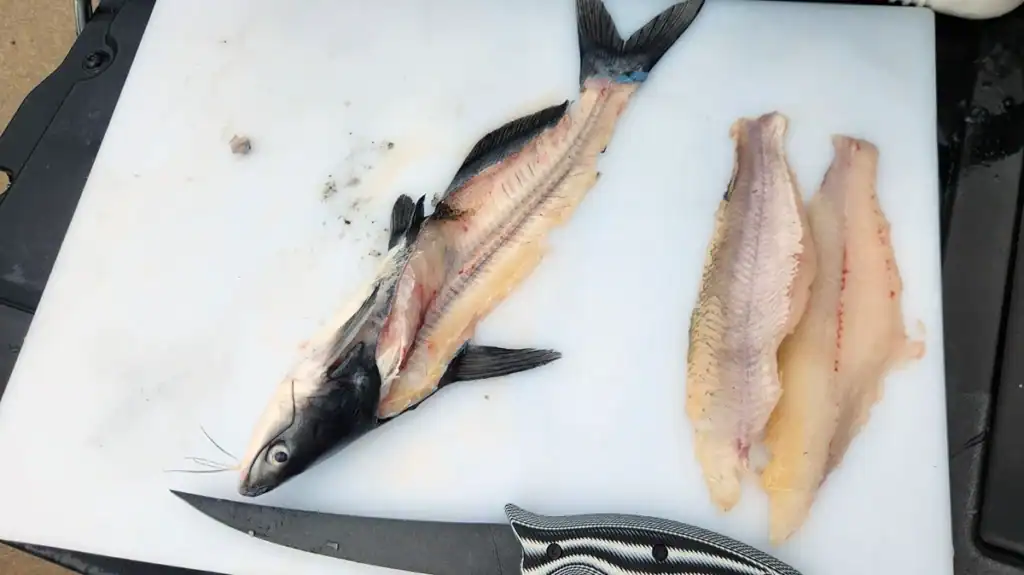
Push the knife forward while slightly pulling back on the fillet to let the edge of the knife do the work of removing the skin from the fillet. If you leave some meat on the skin, don’t worry, it’s going to be mostly bloodline anyway. Repeat these steps for both fillets.
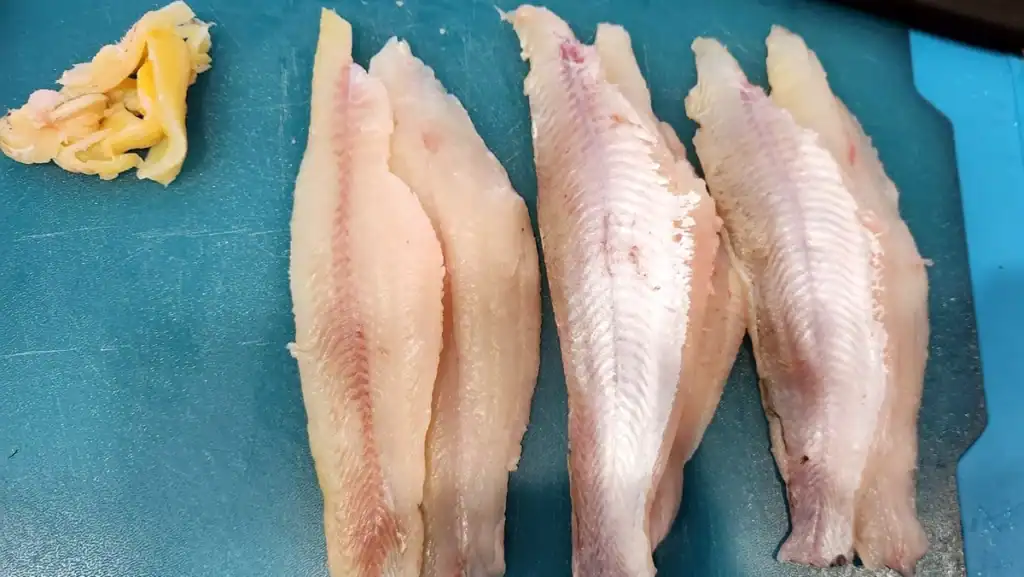
There is one last optional step you can do for your catfish fillets. You will notice that on some catfish, there is a yellow tint to some of the meat along the back. I was taught by an old-timer that this is excess fat stored by the catfish in the meat, and that this can give your summer catfish fillets a “muddy” flavor. While I can’t confirm the accuracy of this, in my experience the fillets taste cleaner when they have this yellowish meat trimmed off.