A lot of avid anglers enjoy making and customizing fishing tackle to put their own personal spin on it. I have been pouring my own jigs, making my own skirts and creating my own fishing tackle for 20 years. I pour a lot of lead through Do-It Molds in the winter. It’s almost like therapy for me when I can’t be on the water. Lately, I’ve been pouring under spins with the new Do-It Molds Randy Howell Herring Heads.
You can pick up the Do-It mold for less than $40. However, you’ll have an initial investment if you’re going to get into pouring lead lures because you also need a pot to melt the lead, the lead, and then any accessories that might go with that lure like under spin wire forms, blades, swivels, hooks, paint, eyes, etc. So it only really makes sense if you’re going to make a bulk of lures.
But if that interests you, and you fish a lot of under spins, then I think you will enjoy this mold a lot. It’s fairly straight forward to pour these lures.
Supplies needed
You need the following supplies for this mold:
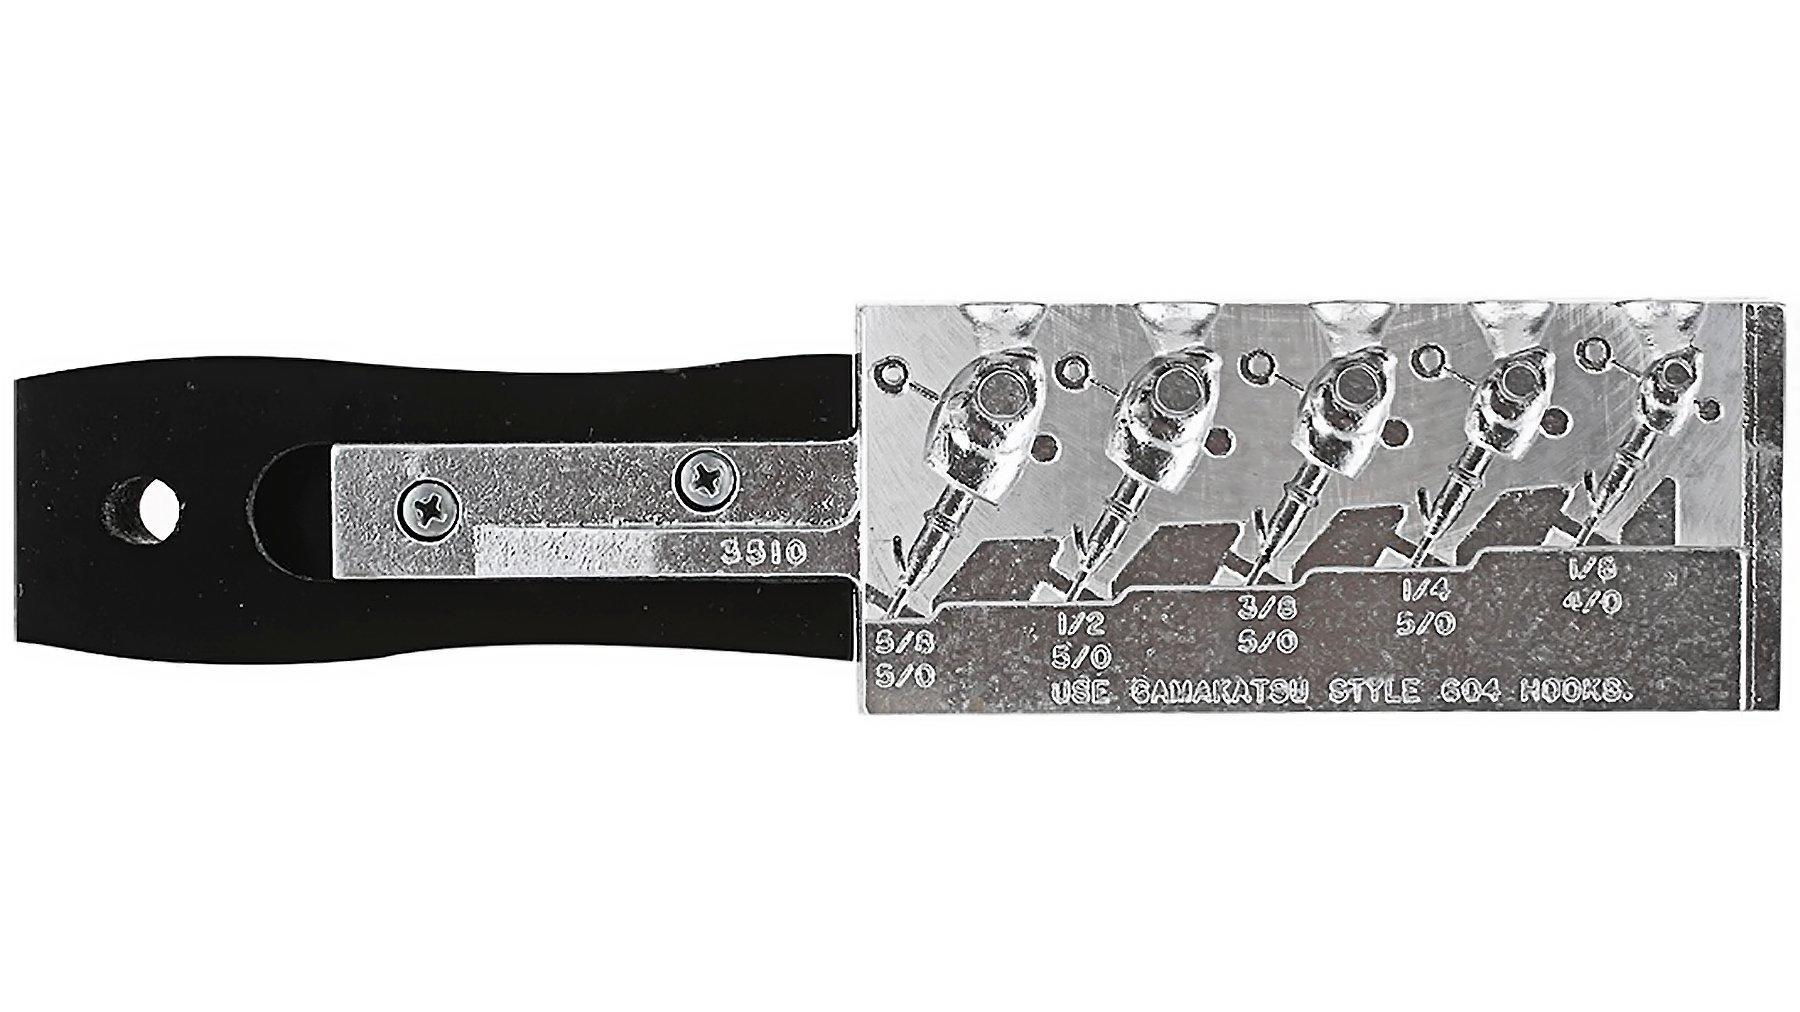
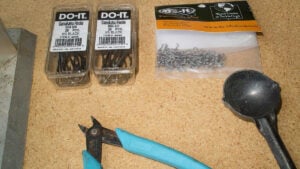
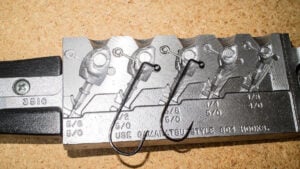
- Do-It Underspin Wire Forms (WEY525)
- Do-It Ball Bearing Swivels
- Do-It Willow Leaf Blades
- Gamakatsu 604 90-degree jig hooks (3/0-5/0)

Pouring and Assembly
After you have the supplies together the steps to pour them are as follows:
1. Heat your lead in an open area with ample ventilation. I often set a table up in my driveway and melt lead in a Lee Pot.
2. Heat your mold. I often set my mold on top of the pot while it heats the lead.
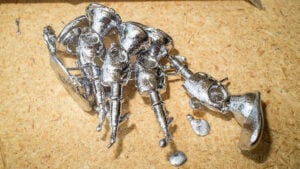
3. Run a few test pours. You need to master pouring fast without pouring too much that it spills over. If you pour too slow, the lead will not fill the cavity fully. If you pour too fast it will run over the top of the mold and into the crevices of the mold and that can damage a mold when you try to open it. With some practice you will pour and make a perfect form without much sprue on the top.
4. Put your hook and wire forms in the mold and pour the lead.
5. Pull the jigs out of the mold and let cool.

6. Keep repeating the pour and pull until you have all you want.

7. Cut the excess sprue off the heads of the Herring Spins with some gate sheers.
8. Paint the heads with a flame and powder paint and cure for a lasting finish. I just left mine unpainted. Resources below on how to do that.
9. Stick eyes on the heads. I use a drop of super glue to make them last.

10. Attach the blades to the swivel, add the swivel to the wire form on the bottom, and bend it closed with pliers.
Fishing experiences with the Herring Head
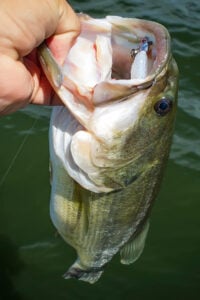
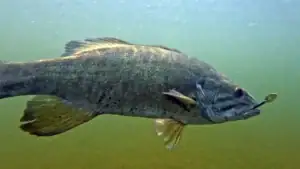
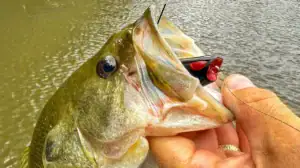
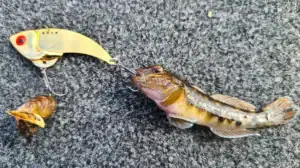
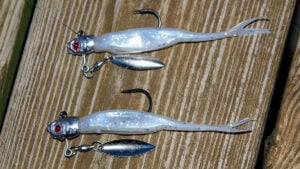
The Hearing Head from the Do-It Mold fishes well. It has a nice lead barb keeper to hold a swimbait firmly in place. I put a little drop of Super Glue on it and the swimbaits and soft jerkbaits stayed on there really well through multiple fish.
The Herring Head is nice because you can put a small bait on it, cast it a long way, cover water and stay off the fish if you happen to see them come up. The head design swims nice with a small swimbait or soft jerkbait like a Zoom Super Fluke Jr. The blades spin nice with a ball bearing swivel.
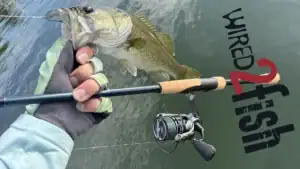
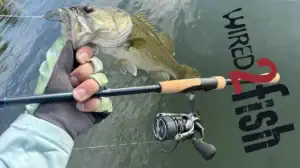
I use the 1/2 ounce and 3/4 ounce sizes for deeper fishing and I like the 3/8 ounce for fishing for suspended fish or shallow water cover. The hooks are tacky sharp and stuck and held fish really well. I fish it mostly on 10 or 12 pound fluorocarbon line on baitcasting gear depending on water clarity.
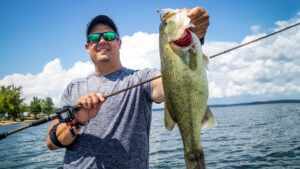
I’ve caught white bass, smallmouth bass, largemouth bass, spotted bass and more on the heads already.
You can find this mold and some of the supplies at TackleWarehouse.com and all the molds and supplies can also be found at Do-ItMolds.com.