.embed-container { position: relative; padding-bottom: 56.25%; height: 0; overflow: hidden; max-width: 100%; } .embed-container iframe, .embed-container object, .embed-container embed { position: absolute; top: 0; left: 0; width: 100%; height: 100%; }
Mark Davis dives into a fishfinder interpretation 101 tutorial in this informative video. The playing field is Kentucky Lake and the other famed bass fishing reservoirs on the mighty Tennesee River, but the principles covered span other reservoirs and natural lakes throughout the country.
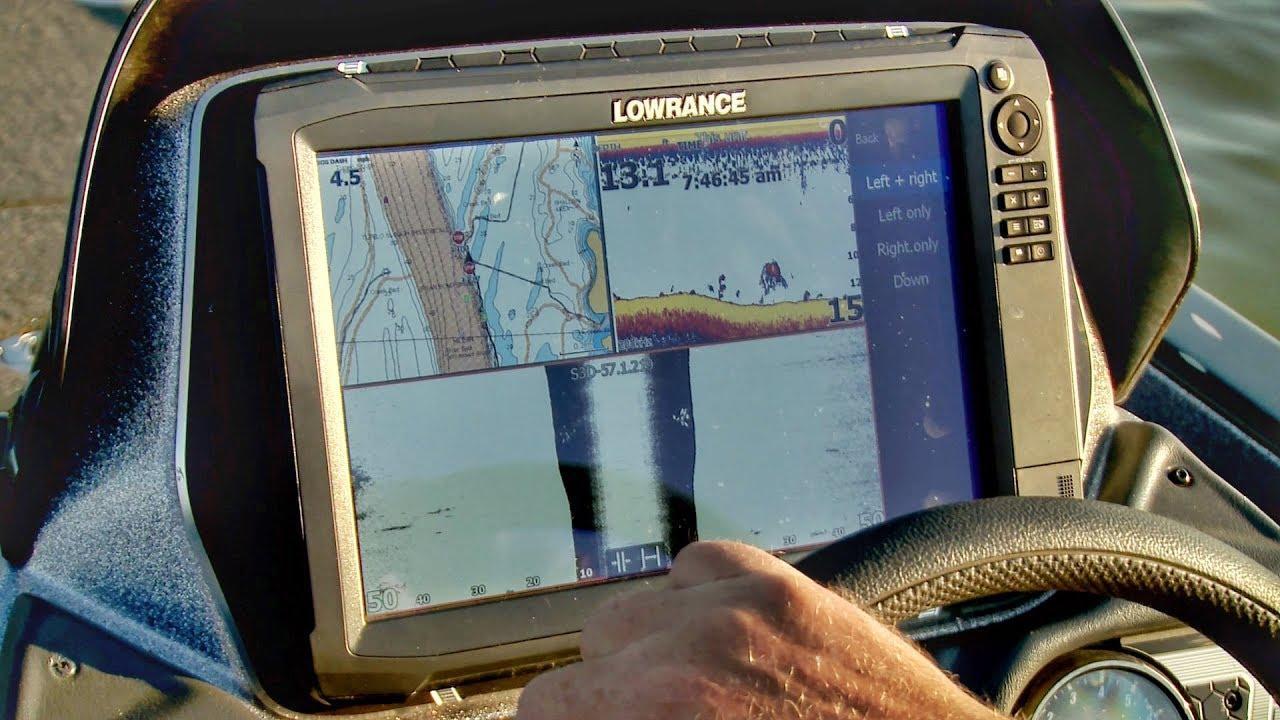
If you have a single fishfinder, Mark opts for a tri-screen split consisting of mapping and 2D sonar on top, and full-width down or side imaging on the bottom. He explains the importance of, and how to scan the areas where tributary creek arms adjoin the main river. Hard and soft bottom differentiation is critical, with hard bottom (rough areas) patches key bass holding areas, especially when adjacent to current.
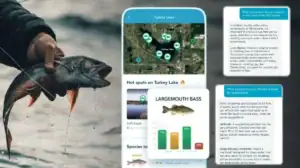
Mark stresses that the 3 keys to success are deep water access, cover and the presence of baitfish. Mapping and sonar technologies are your underwater eyes to find these places, but the best spots remain unidentified by mapping. The “A” spots are usually subtle elements like bottom hardness changes, cover transitions, and isolated cover. These are only found through time on the water scanning, interpreting and ultimately catching fish.
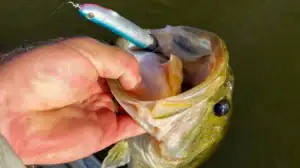
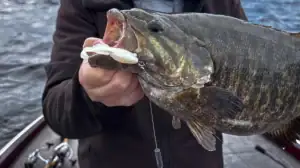
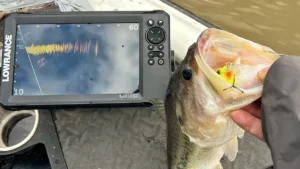
Check out this video if want to learn more about what bass look like on side and down imaging .


![[VIDEO] How Brandon Palaniuk Uses the One-Boat Network App](https://www.wired2fish.com/wp-content/uploads/2025/06/one-boat-network-300x169.webp)
![[VIDEO] How to Install the Garmin Force Pro Trolling Motor](https://www.wired2fish.com/wp-content/uploads/2025/06/trolling-motor-install-300x169.webp)