A boat, no matter the age, is a huge investment to the person who buys it. I like to think that I take special care of my boats and have always fixed issues when they occur as soon as I get off the water; my success on the water is dictated by performance. I want my boats to perform flawlessly.
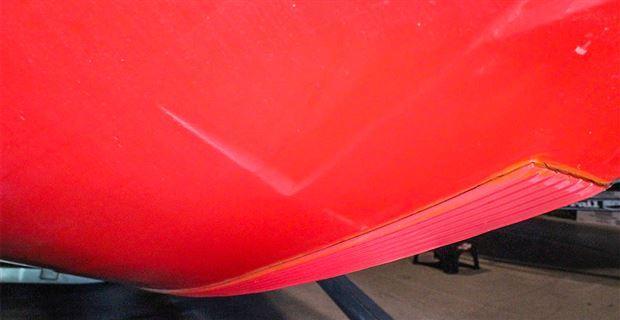
This year I purchased a new Xpress X21 with a 250-horsepower Yamaha SHO. It’s an awesome rig and I want to keep it that way, so I recently installed a Gator Guards KeelShield.
Why use a keel guard?
Whether a boat is old, new, fiberglass or aluminum, a keel guard will protect the keel and bottom of the boat from unsightly scratches and gouges. Fishing boats are tools and we use and abuse them—that’s what they’re for. Unfortunately, this heavy use will take its toll over time.
A keel guard can also increase the resale value of a boat. Nobody wants to buy a used boat with a jacked up keel, so protecting it can help you maximize your return when selling your boat.
There are a lot of brands on the market but I went with a Gator Guards KeelShield for one simple reason: I’ve had excellent experiences with their products over the years. In addition, they have 10 great-looking colors available.
Easy to install
Many keel guards have to be installed by the manufacturer or a dealer, but the KeelShield affords buyers with the option to do it yourself. The carefully detailed instructions makes the job surprisingly simple.
Following the instructions means doing the prep work before applying your KeelShield.
It’s important to clean and lightly sand the keel of your boat with a Scotch Brite pad before doing anything else—I mask off the surrounding area to ensure the hull is not scratched. After sanding, I clean the area fully with an isopropyl alcohol and then wipe the area with the supplied activator. It’s sticky, so rubber gloves are recommended. Let it dry for 5 minutes before installing the Keelshield.
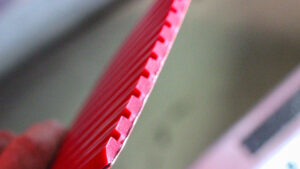
Having a buddy’s help is recommended, but I have done several by myself. Care must be taken on making sure it is straight on rib No. 7. Mark this rib with a grease pencil so you can keep the KeelShield centered all the way to the bottom of the boat. I like to start in the front, 6 to 9 inches above the waterline and move to the bottom of the boat when applying.
I use a stiff, wooden roller and squeegee to make sure it adheres well to the boat. You only get one chance at doing this correctly, as it does not pull off once placed on the boat.
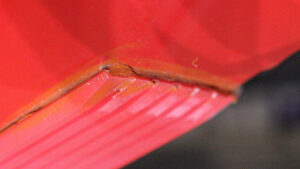
Although it’s not required, after 24 hours I apply a bead of same-colored marine-grade silicone to the sides and tips of the KeelShield. It allows any small gaps not visible to the naked eye to be sealed. After the silicone dries, I roll the Keelshield again to remove any possible air bubbles that may have entered while drying.
I have run Keelshield on my Xpress X21 all year and it still looks like the day I applied it.
Recommendation
Whether your boat is fiberglass or aluminum, there is a KeelShield that will fit it. The colors match perfectly to most boats and if you have a multicolored boat, black is always an excellent option.
I recommend the KeelShield to protect the keel and add long-lasting beauty to your investment. There’s also a 100% factory guarantee on all KeelShields.
The Gator Guards KeelShield is available at Gator-Guards.com.


