I first saw Bassmaster Elite Series Pro Brandon Palaniuk playing around with a GoPro back in 2011. This was also the first time I saw a POV (point of view) camera being used in the bass fishing space. It looked like a lot of fun, so I picked one up for myself in the spring of 2012. For the last 12 years there’s been one running in my boat more times than not.
These little POV cameras have captured a lot of great memories for me along the way: my biggest tournament bag and tournament bass ever on Lake Okeechobee in 2013 (29-8 and 9-1), special moments with my friends and family, camping trips and local tournament wins with my dad and so many more.
They’ve also been an integral part of my outdoor journalism career, landing me a major freelance gig with Bassmaster back in 2013, which led to many more opportunities in the industry.
After all this time, there are several little tips and tricks I’ve picked up along the way. I’ll admit, my filming is a little rough around the edges and there’s a fair amount of redneck engineering that goes into it. However, it works and it’s something I enjoy. I thought I’d offer up some things for you to consider when setting up your POV camera for fishing.
YOU’LL NEED ADDITIONAL POWER
GoPros and other POV cameras have pretty impressive batteries in them, some lasting for hours at a time. But for bass fishing, you’re going to need more power. Often spending 8 hours or more on the water in a day, I like to take external battery packs with me that I can connect to my cameras using USB cords. I even have one ZipTied to the back of my chest cam so that I can turn it on once and let it run all day.

HIGH CAPACITY CARDS/SETTING SUGGESTIONS
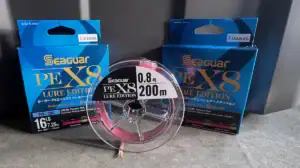
You don’t want to skimp out on the cards you use. You’ll want a Class 10 SD card. These can handle the high capacity requirements of a POV camera. I like to use cards with plenty of space. A 128 GB card can run for about 10 hours straight while capturing a 960 frame at 60 FPS (Frames Per Second).
I like the 960 frame because it allows me to cut a 720 section out of it, so I can adjust the frame up or down when editing to account for my camera angle if it was too high or low while shooting. Shooting at 60 FPS allows for a little bit of slow motion without eating up your card space twice as fast as you would shooting at 120 FPS.
If you want to shoot higher quality video, you can use a 1440 frame and cut a 1080 section out of it in post, when you edit, if you want to. You can shoot at 120 FPS too if you want. This cuts down on the time your camera can run without having to swap cards. There are also 256 GB cards available, though I haven’t used one of these to be able to vouch for it. I use a discontinued SanDisk card but the SanDisk Extreme 128GB Micro SD Memory Card is what I would go with now if I had to buy one.

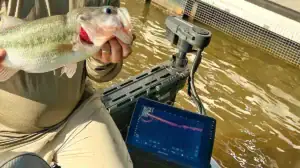
ELEVATE YOUR ANGLE
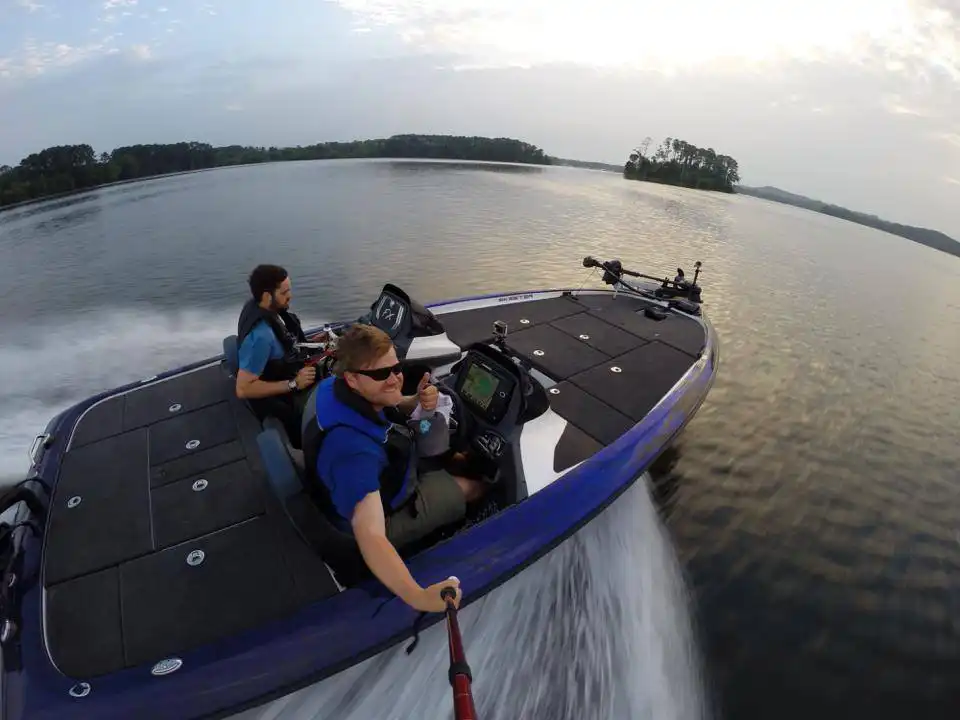
The early days saw most GoPros mounted directly to the dash of a bass boat, which offered up a lot of butt shots to the viewers. This was just the way things were back then, the dash was an easy place to mount a camera out of the way, while also allowing the angler to tap into the 12 volt power source near the console of the boat.
Elevating the angle just a few feet makes all the difference when mounting a camera. I’ve used the YOLOtek PowerStick 53 in the back of the boat at times. This is a solid choice since it elevates the camera and is set up to pull power straight from the anchor light port.
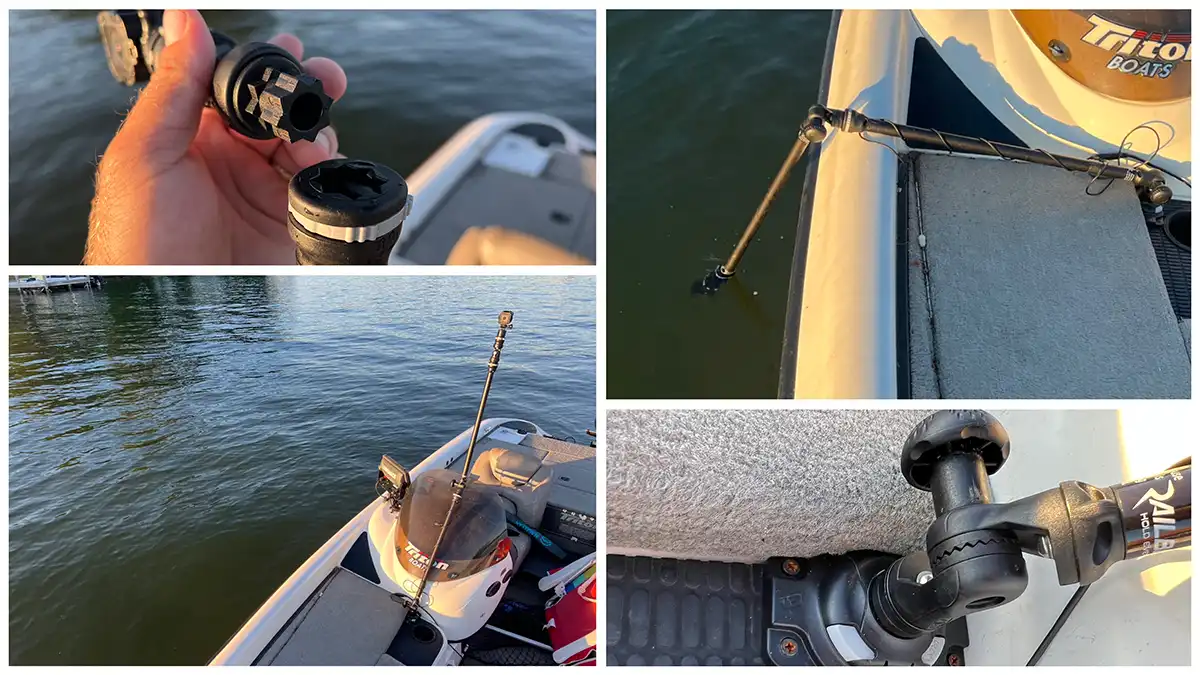
LOOK FOR ADDITIONAL COOL ANGLES
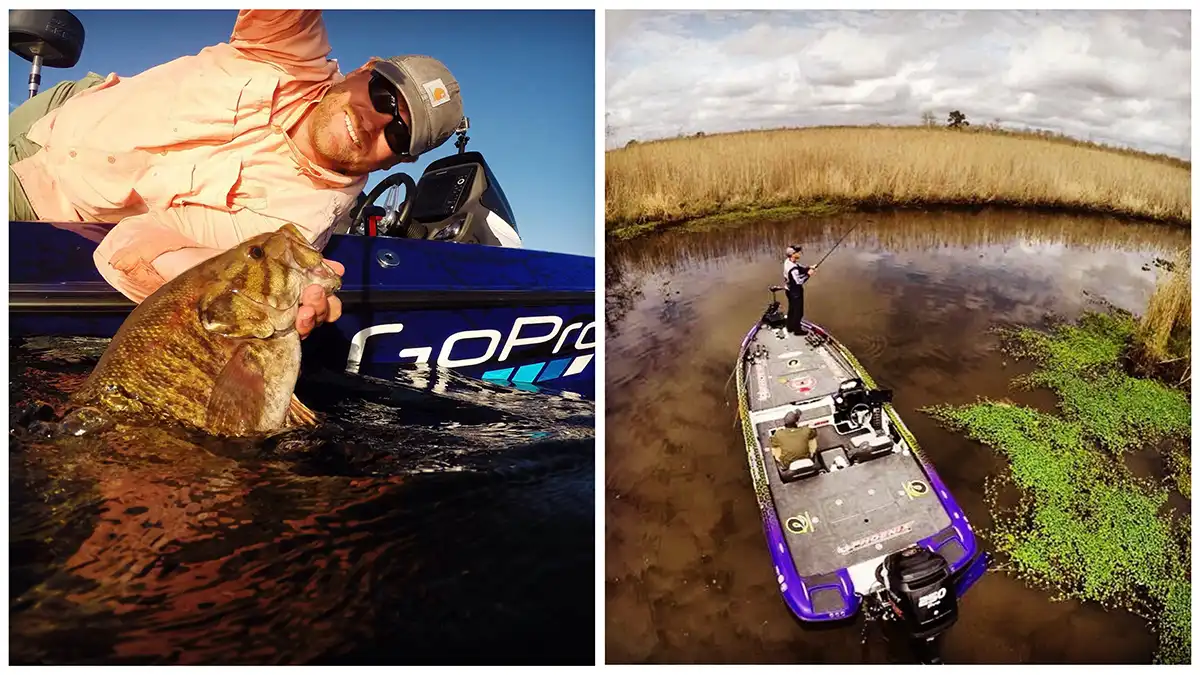
Lately, I’ve also been using a combination of RAILBLAZA mounts on my boat. I mounted one of their StarPorts to the deck of my boat and then I used combinations of their Camera Boom 600 R-Lock and other extension poles to either elevate my camera and position it in a unique spot high in the boat or hang it over the side or even down in the water to get underwater shots of bass and baits as they near the boat. These are some really cool products to play around with.
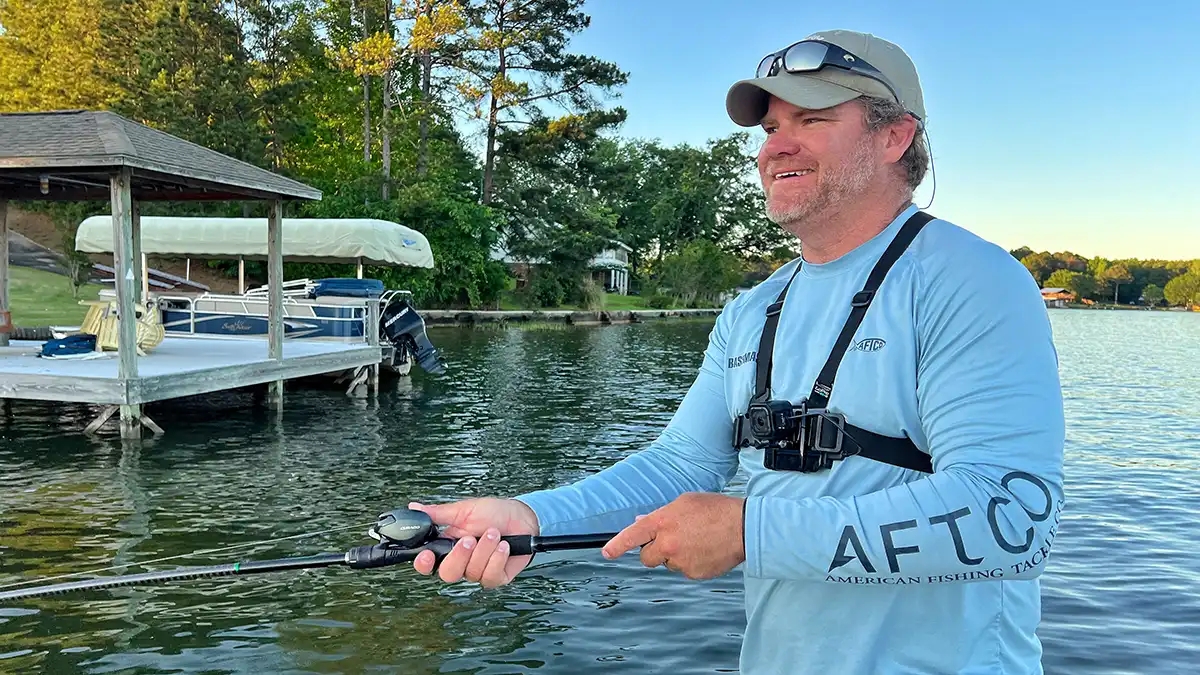
CAPTURE YOUR POV
Some of the best angles are those that allow the viewer to feel like they are experiencing the moment themselves. This is what really sets apart the chest mount (or Chesty) and the hat cam. I used to run one of the GoPro Session cameras on the brim of my hat using a GoPro Hat Clip.
The Session was smaller and thus lighter than other GoPros but it still weighed down on the brim of my hat and caused my neck to hurt quite a bit an hour or two in. There wasn’t a good way to add external power. Even though I really liked this POV because the camera turned anywhere and everywhere I turned and looked, I’ve moved on to running a Chesty more now. It’s more comfortable and I can let it run all day with the added power pack.
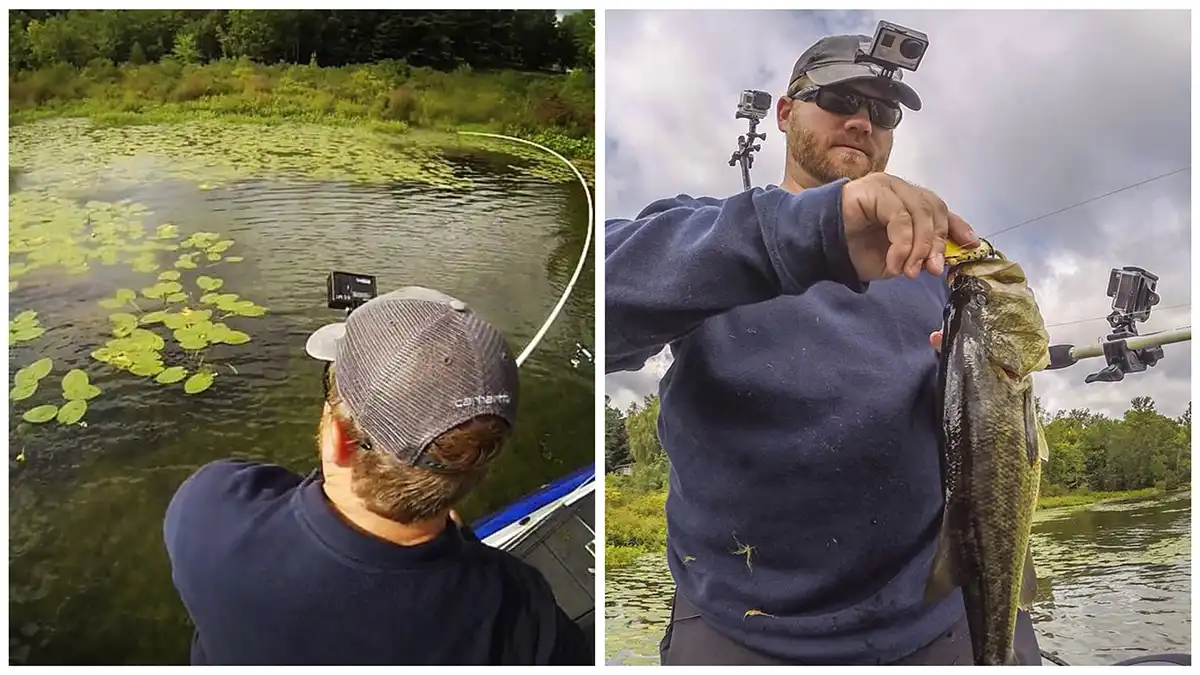
RUN TWO CAMERAS
It seems a bit redundant, but trust me, you’ll want to run two cameras at a time. I have had everything in place several times to capture some awesome shots, but missed the moment because the camera had either died, had been bumped out of position when I didn’t notice, I had simply forgotten to turn it on or some other mishap occurred.
This is devastating when I’ve been working all day (even multiple days sometimes) to get a catch on a particular bait or rod. It’s better to have a second camera going too. Best case, both cameras get the shot and then I have two angles to work with when editing. Usually, the worst case scenario is at least one of the cameras captures the shot and I don’t miss the moment all together.
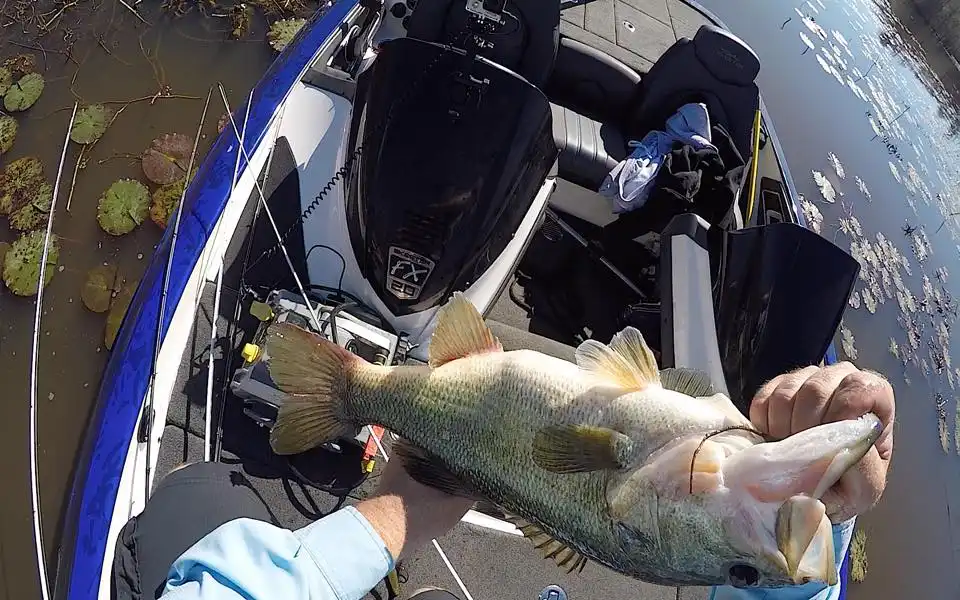
PUT ONE ON A POLE
I’ve had a GoPro mounted on a pole many times and have gotten some awesome shots because of it. Something as simple as a broom stick in the boat with a GoPro mounted on it will allow you to stick a camera down into a ball of shad or a bed. You can get cool underwater shots of the cover you’re fishing around too and even shoot what looks like a little drone shot from within the boat. A telescoping pole like those used to change light bulbs is even better for this.
STOP AND RESTART YOUR CAMERA AFTER CATCHING A FISH
POV cameras (I’m assuming all of them but I know GoPros for sure) automatically cut up and save clips while the camera is continuously recording. Stopping and restarting the camera after a fish catch or other noteworthy moment will cut the clip off too and help you find key moments later when editing. Be sure to arrange the files by size and then look at the last few seconds of the shorter files.
ADDRESSING AUDIO ISSUES
What these little cameras can do is quite amazing. Even when it comes to audio, on a good day, the built in mics are pretty solid. However, wind is definitely not your friend here. If you’re taking a camera in and out of the water, that will mess with the audio as well. Using an external mic, like a RODE Wireless Go II, is a great way to capture better audio. Then you can go in and use that audio to replace the loud or distorted audio captured through the POV camera.

IN CONCLUSION
There’s a lot to learn when it comes to filming your fishing. I’d consider myself a novice when it comes to capturing quality video in comparison to the cinema-quality content a lot of these guys are putting out now. Comparison is a tool of the devil, so don’t buy into that mess and don’t let it ruin your fun.
If you’re wanting to go out and have some fun while filming your fishing, these tips will help. Some I’ve learned the hard way. Some were passed down to me by friends and mentors in the fishing and filming world. No doubt you’ll learn a few other tips and tricks along the way too. Just remember, it’s supposed to be fun!
Filming your fishing adds a whole other level of excitement to the chase—you’re literally trying to film the fish catch. It can be frustrating at times, yes, but when you do capture that shot you’ve been looking for, it’s pretty rewarding. Hopefully these tips will help you do just that!