Many of you probably don’t know this about me, but I put in the work to equate to about two-thirds of a mechanical engineering degree in college. Then I did an internship for a year and realized there was no way I could spend the rest of my life inside 80 hours a week and retain my sanity. But even though I bailed on mechanical engineering, I did end up getting my masters in redneck engineering. Which I’ve found is far more useful in a pinch.
My main professor? My pops. He’s taught me all sorts of little life hacks, most relative to fishing. My uncles have also taught me a thing or two over the years that I’ve applied to fishing. And some of the engineering classes I took do spawn a quick fix idea of my own every now and then. The result of all that knowledge, you can’t look around mine or my dad’s boat for 30 seconds without finding something to pick up that’s been tinkered with.
While looking around the boat recently trying to come up with something to write about, I did just that. And the idea came to me to write about 3 ways to repair a rod on a budget. So let’s dive in.
Rod tip
If you break off just the last inch or two of your rod, you can usually slide a new tip on and salvage it. Or sometimes the insert will fall out of a tip or rod guide and it’s usually more effective just to replace the whole tip than it is to try to get a new insert to stay.
You can buy a little rod tip repair kit for a few bucks from any fishing store that comes with a tip and a little glue. But that tip is usually pretty big and bulky and dad and I both use rods with smaller guides these days. So we keep a bunch of old and broken rods around to use for spare parts.
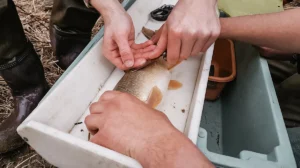
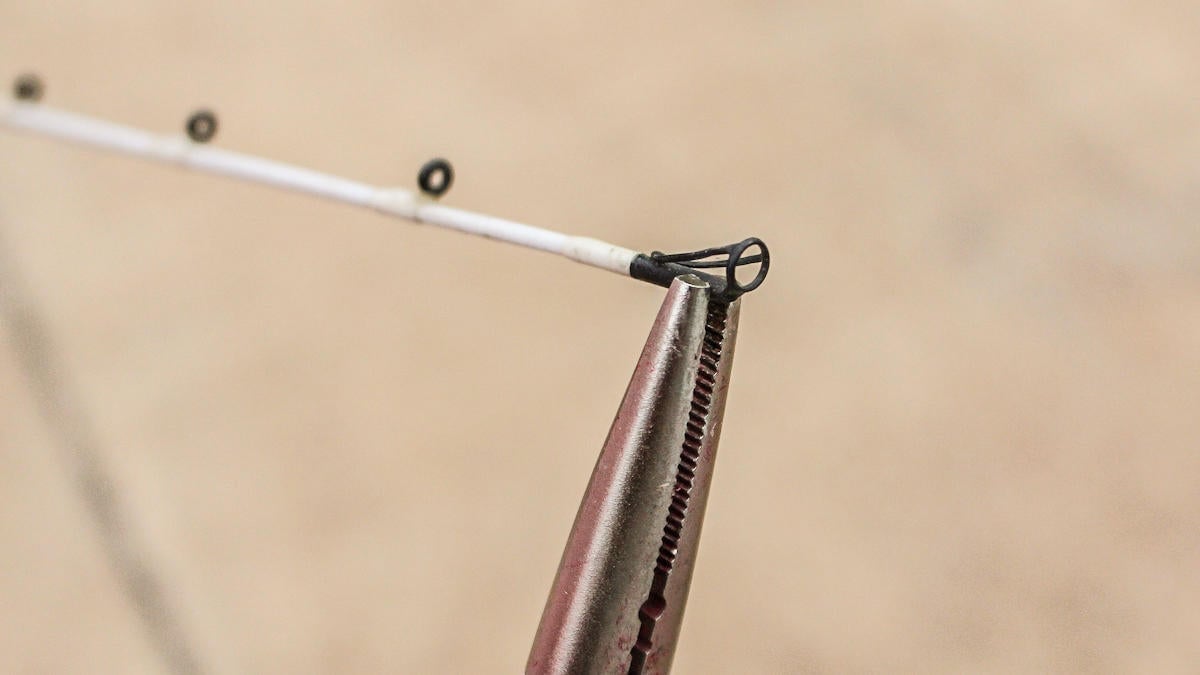
If you have to remove the old tip to replace it, simply heat up the metal sleeve of the tip with a lighter and then you can slide it off with a set of needle-nose pliers. Make sure to gently scrape any leftover adhesive off with a knife or razor blade. If you’re working on a rod that lost a couple inches off the tip, you may have to carefully scuff the coating of the rod up a little for the tip to fit as the rod blank diameter increases in size the further down the rod you go.
Once the old rod is ready to receive the new tip, quickly apply a little super glue to tip of the rod blank and slide on the new tip. Take the butt of the rod in your hand and then look up the rod, lining all the guides up to ensure your new tip is straight in line with the other guides. Make any necessary adjustments. You’ll want to do all of this quickly as the super glue will set up quickly.

Line guide
To replace a guide, we go back to the junk pile. You want to find a guide that’s very close to the original, particularly for rods that have ascending sizes like spinning rods and some baitcasters now.
To remove the old guide from the good rod, take a razor blade and scrape the thread that was used to secure it. If you do this carefully from the guide side of the rod only, you’ll leave a little channel for the new guide to sit in perfectly. Remove the good guide from the old rod in the same fashion and then take a dab of super glue and the good guide and position it in the channel you created on the good rod.
Now, for darker rods lighter-pound test braided line works best for this next part. For white rods, my dad tried dental floss one day and it works just as good and looks a lot better. Basically tie a simple slip knot around the rod and then cinch it down around the little foot of the guide. Make a few wraps above and below the guide and then add another drop of super glue. Repeat this process a couple times and then tie and overhand knot and cinch that down. Do that a couple times to help hold the tag end down and then snip your line off as close to the rod as you can. Add another layer of super glue to hold the line in place and seal it in a sense. And then just let it dry.

Hook keeper
Here’s one dad came up with recently. On rods with a broken hook keeper or rods that never had one at all, you can take an old rod guide and make one. You follow the same process laid out in the above section where we discussed replacing a rod guide. With the exception of using the old channel to locate the hook keeper since there won’t be one.
The best place to mount a hook keeper is just above the reel seat on the back of the rod blank. The only problem with this location is that sometimes your line may wrap around it on a cast or when trying to pop a snagged bait undone. A micro guide works really well if you can remove the insert, so you’re left with a pretty low-profile hook keeper with a large enough diameter hole to fit any size hook.
I recommend using a rod guide instead of a tip. If you have a broken rod for spare parts, you only have one tip and several guides to work with. The tip would work, but save it incase you need it later. Guides at times will also have a foot above and below the eyelet which will help secure the hook keeper and keep it from being pulled up and out like it would if you could only secure it from the bottom.
If you do have to use a tip or a rod guide that you can only secure from one side, flip it over so that the foot of the guide or tip points upward. Then the hook keeper will be secured from the topside and when you put a bait in it, the tension from the line won’t pull the hook keeper out.
So there’s you a little dose of redneck engineering 101. If you have a broken rod tip, guide or hook keeper in the future, now you’ll know how to quickly patch your rod up and get back after them.