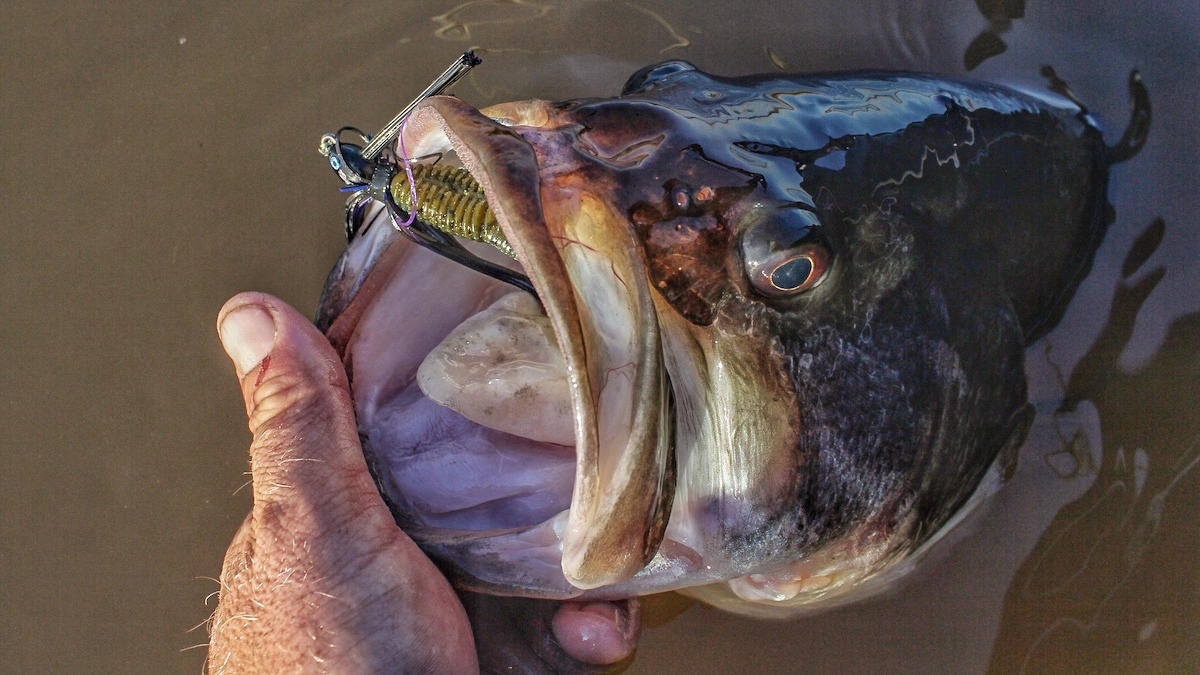
A swim jig for bass fishing is one of the most versatile baits in any angler’s tackle box if you know how to make the most of it. I’ve caught fish on a swim jig in three inches of water around dense vegetation and watched professional angler Tom Monsoor catch fish swimming one 20 feet below the surface on a highland reservoir. They work under docks, around rocks, wood and any other kind of cover you can imagine. They even work in the wide open.
You can use them to mimic shad, bluegill and other baitfish. It doesn’t matter if you’re in muddy water or clear water. They’re power enough to fish fast and catch aggressive fish and they’re finesse enough to trigger reluctant fish into taking a swipe; a great followup bait for frogs, ChatterBaits, buzzbaits and spinnerbaits. There are really few other lures anywhere in their vicinity when it comes to versatility.
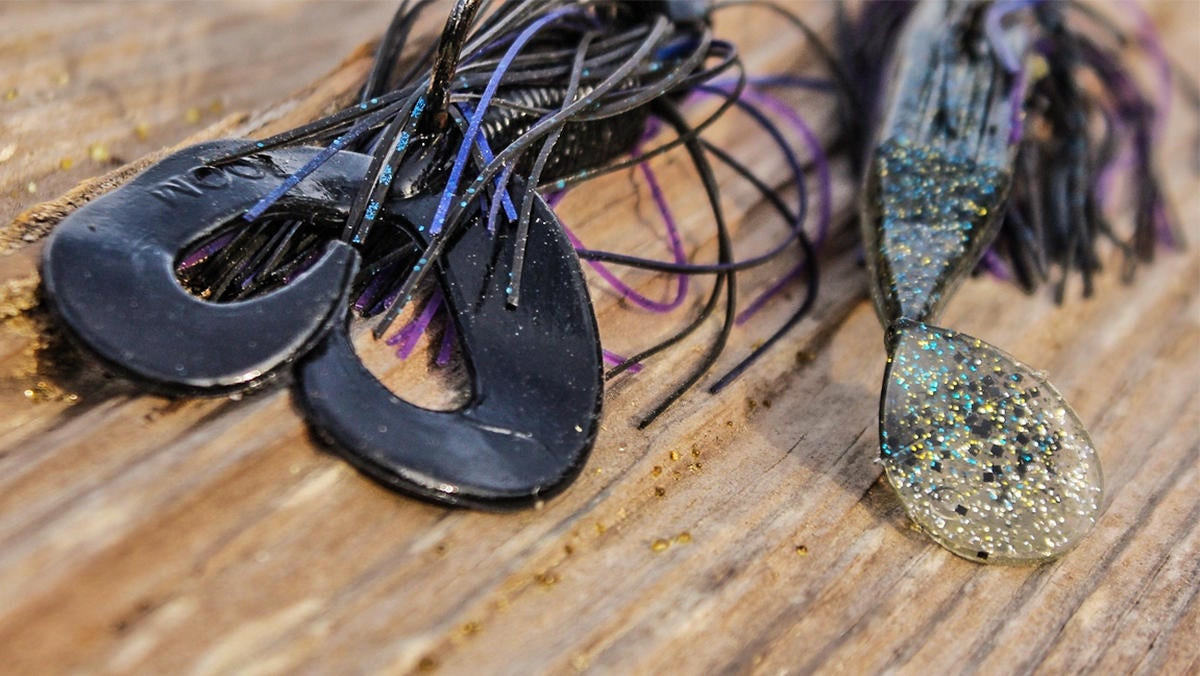
The weight of swim jig obviously plays a big factor depending on how you want to fish it. In open water and finessier situations, it’s smart to downsize to a lighter-wire hook. Where you’ll want a bold, beefy hook is in heavy-cover scenarios. The color selection of the jig is dependent on the clarity of the water and the nearby forage.
But in my opinion, swim jig trailer selection is perhaps the most important factor that, for some reason, many anglers overlook. That one component can completely alter a swim jig’s profile, presentation, rate of fall and rate of stall. So that’s what we’re going to dive into today.
Two basic trailers
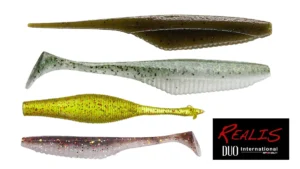
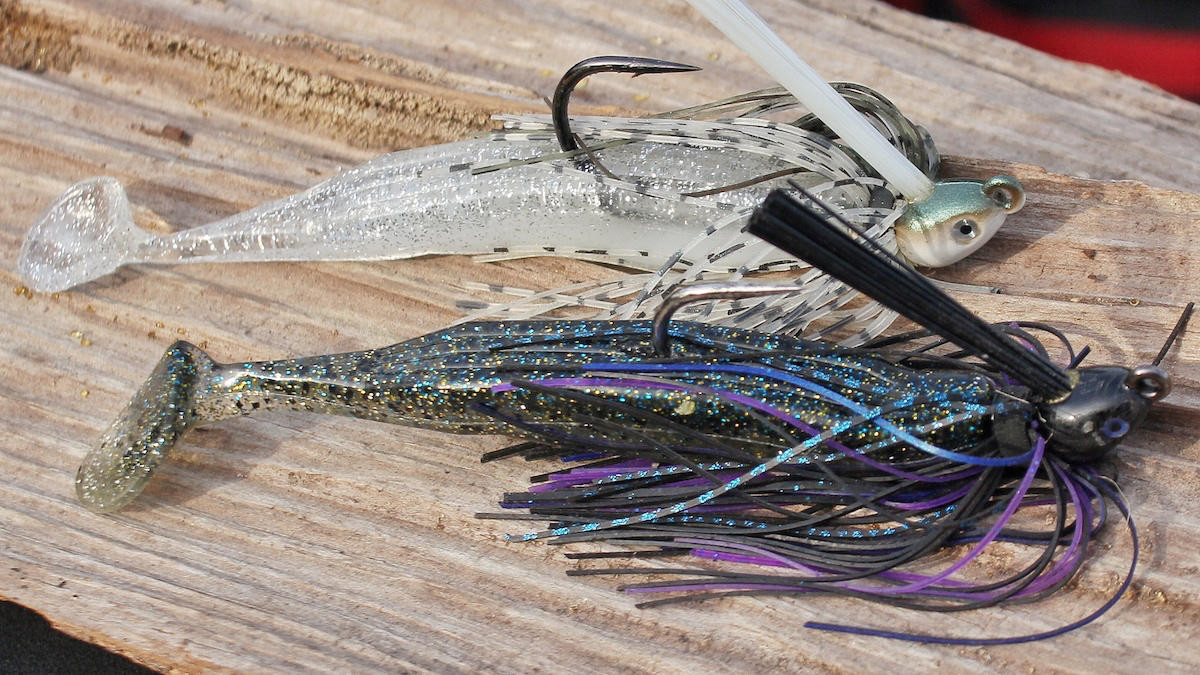
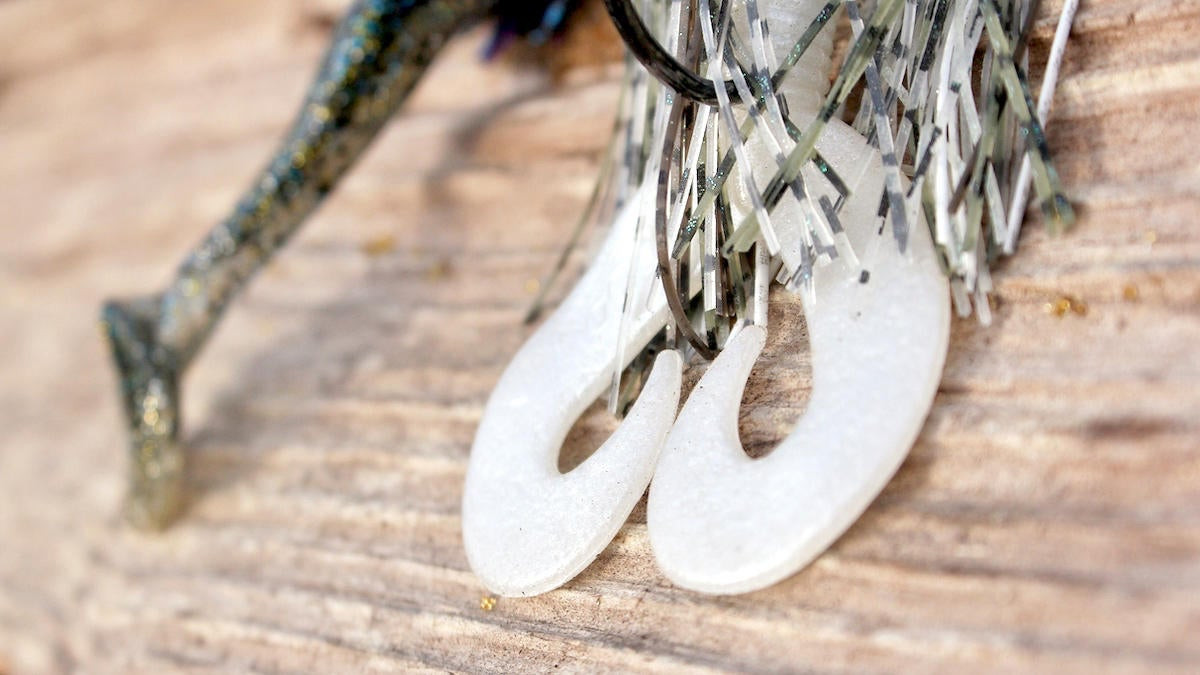
When it comes to putting a soft plastic on the back of a swim jig, there are literally dozens, if not hundreds, of options these days. While in reality, 90 percent of them can be boiled down to two basic groups: a craw-style trailer and a swimbait-style trailer.
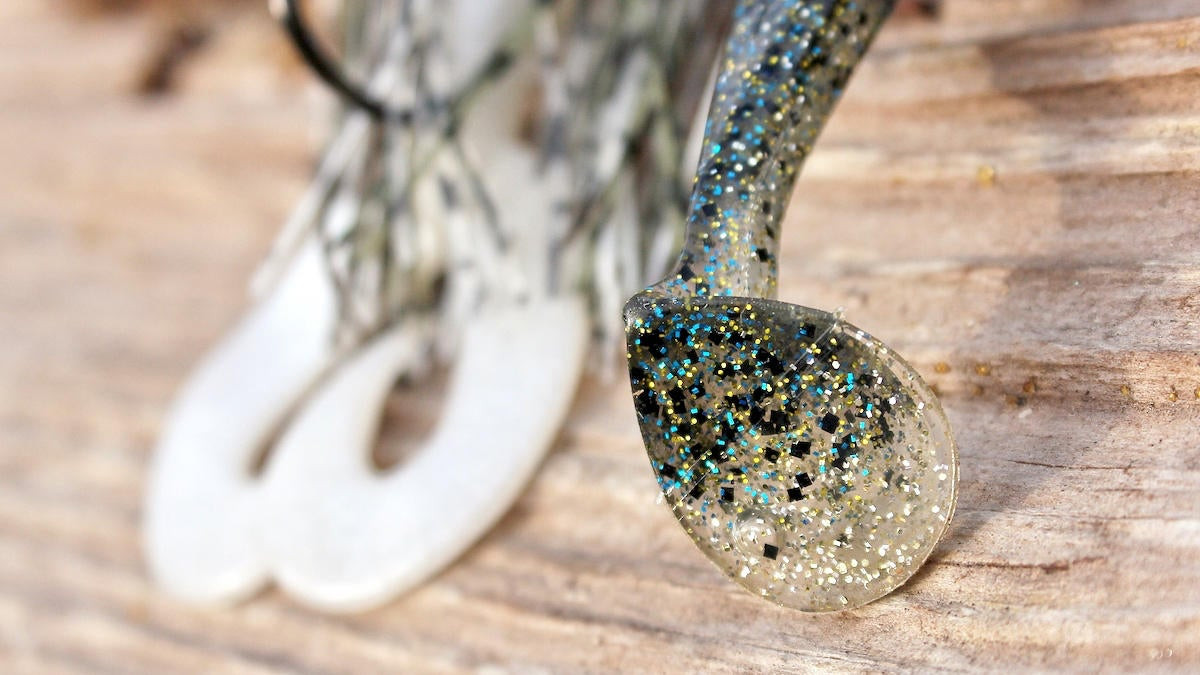
Your craw-style trailers will have two appendages that come out and would lay flat if you were to put the jig down on a surface. Where a swimbait-style trailer obviously runs out to just a single paddle-, boot- or other-style tail. Now there’s still a wide array of baits within each of those categories but a good general example of a craw-style trailer would be something like a Zoom Twin Tail Grub. On the other hand, something like a Zoom Swimmin Super Fluke is a good illustration of a basic swimbait-style trailer.
Profile and presentation
When choosing a swim jig trailer, it’s best to start by simply looking at what you’re trying to do with it. It sounds obvious but as you’ll see in a few minutes, there are several other factors that can go into making the selection a good bit trickier. So for starters I like to think about what forage I’m trying to mimic and then choose a trailer that will best help me create that profile.
When trying to mimic a threadfin shad or herring in open water for instance, it makes since to go with a swimbait. When fishing in thick vegetation however around the boxier-shaped bream and bluegill, it makes more sense to go with a craw-style trailer.
The more compact profile of a craw-style trailer also works better in dense vegetation since a fish is going to have a tight window to ambush a swim jig in that setting; there’s less material for the fish to miss. Where in an open water scenario, the fish will typically stalk down a bait from behind. The swimbait tail does a great job in that situation of wagging in a fish’s face and then talking the fish into chasing it down and overtaking it.

Rate of fall
This is where trailer selection really starts getting interesting. Rate of fall, or ROF, is a term used a lot in the big swimbait world. It refers, quite obviously, to the rate at which a bait falls. This factors heavily into fishing a swim jig for suspended fish in open water as well. If you put a craw-style trailer and a swimbait-style trailer on two identical swim jigs, the one with the swimbait will fall faster.
This is because the two craws on a craw-style trailer create more resistance than the single tail of a swimbait. So if you’re wanting to get your bait down to 10 feet, you’re going to be able to do that quicker with a swimbait. I get it; waiting another second for the bait with the craw-style trailer to reach the same depth doesn’t really seem like that big of an inconvenience… and it’s not. But that’s not where the differences end; that’s where rate of stall comes in.
Rate of stall
The rate of stall refers to how fast the bait comes through the water column while maintaining a horizontal trajectory. In other words, staying parallel to the water’s surface at whatever depth to which you let it initially fall. The rate of retrieve is similar but different. It can be altered by the rate at which you turn the handle of your reel or you can choose a reel with a lower or higher gear ratio to make this change feel more natural.
But those adjustments are made more to alter the rate of retrieve. The trailer you choose actually effects the rate of stall of the bait by changing its resistance. A swimbait trailer on the back of a swim jig creates less resistance, so the swim jig comes through the water more easily and can be reeled faster than a swim jig with a craw on the back. Which would have to be reeled slower to maintain the same depth. The resistance and the lift of the claws on a craw would cause the bait to rise higher in the water if you reeled it at the same speed.
I understand this is a little complicated to wrap your head around if this is the first time you’ve ever really taken all of this into consideration, so let’s take a look at a real-world scenario.
A pratical comparison
Let’s say I’m fishing a grass hump with submerged hydrilla in six to eight feet of water along the edges but as I work my way up onto the the flat, the water drops to two feet and the hydrilla gets thicker and comes up to a mere foot below the surface. I know the primary forage in the area is bluegill and the water color is fairly clear throughout.
Ideally I would have two identical Dirty Jigs No-Jack Swim Jigs rigged up in black, blue and purple with green pumpkin trailers. The only difference would be that one would have a swimbait for a trailer and the other a craw. I would take the swim jig trailed by the swimbait and fire it around the scattered, deeper grass letting the bait get down into the cover. Then I would pick up the craw-tipped jig and use its resistance and lift to fish over the thicker hydrilla in shallower water.
If I were to reverse the two applications, I would waste a lot of time trying to keep the swim jig down with the craw-style trailer and I would have to burn or otherwise constantly snatch on the swim jig/swimbait combo as it would stay bogged down in the denser, shallower vegetation.
Final thoughts
This is just one application of this thought process. Say you’re fishing around docks; if the fish are relating to poles and suspended several feet below the service, it would be better to use a swimbait trailer and let the bait get down. If they’re positioned more under the floating docks and are sitting up high in the shade, it would make more sense to swim a jig under them with a craw trailer.
Most anglers take into account the profile and presentation when selecting a trailer. We were taught to match the hatch in our angling infancy, whether that came at five or 50 years of age. But that’s where a lot of anglers leave it when it comes to deciphering the best swim jig trailer for the job. If you really take a look at the rates of fall and stall when it comes to swim jig trailers, you can become much more efficient and therefore more effective with your swim jig fishing.