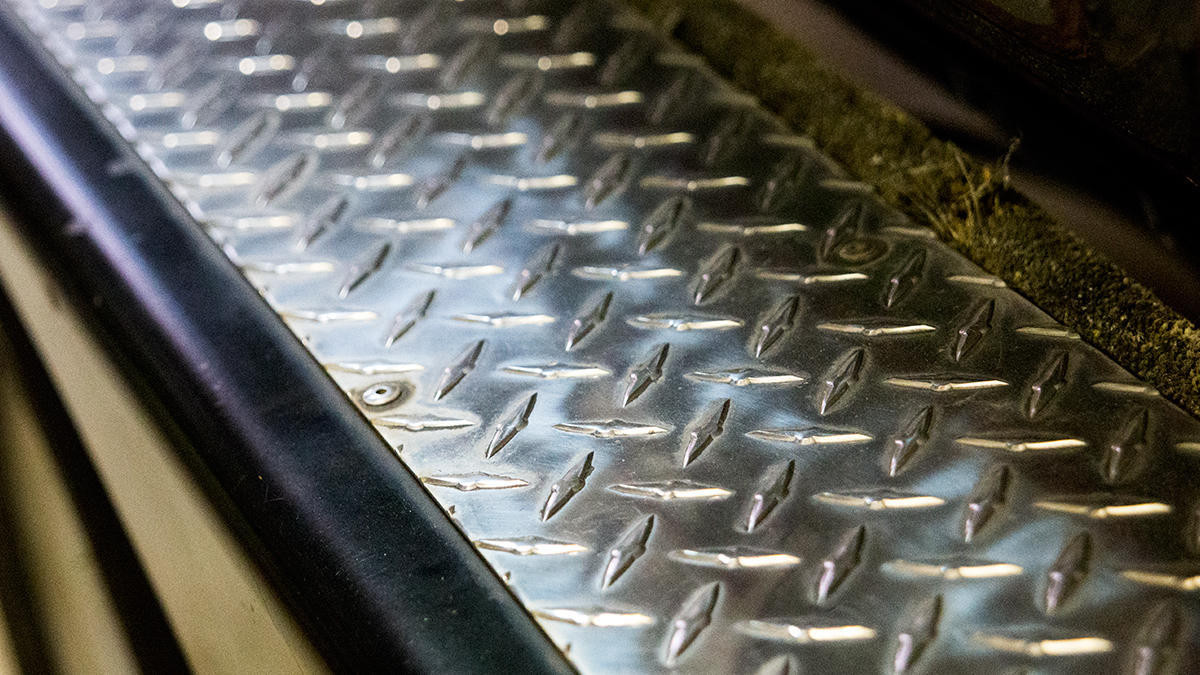
Often overlooked on bass boat trailers, sparkly diamond plate can make a big difference in your boat’s appearance.

Easy way to improve the look of your entire rig
Think about the stuff we put our boat trailers through. We’re constantly dunking them in and out of dirty water, riding them down wet or muddy roads and backing them down poorly maintained boat ramps. After a few years of this abuse, your diamond plate is going to look pretty darn nasty. It’ll turn a dull gray color and completely lose its shine.
Now I’ll admit that I have owned my boat for 10 years and this weekend was the first time I’ve ever polished mine, so I’m not preaching. But after I was done, I was simply amazed by how much better my 20-year-old rig looked.
My diamond plate was particularly nasty, so it took me about thirty minutes per plate. Depending on the condition of yours, how long it takes you will vary.
I found something that works better than chrome polish
I’ve tried a lot of different chrome polishes over the years while trying to clean up the toolbox on my truck. They worked decently, but it took forever and the black residue was really tough to remove which decreased the shine.
A buddy of mine suggested that I try Pro-Tec Nu-Paint Moisturizer. Although I use it often on my gel coat with outstanding results, it sounded kind of strange using it on chrome. But I tried it and I’ll be honest: It worked better than any chrome polish I’ve used. Within a few minutes it was stripping away decades of neglect and oxidation and leaving behind a mirror finish.
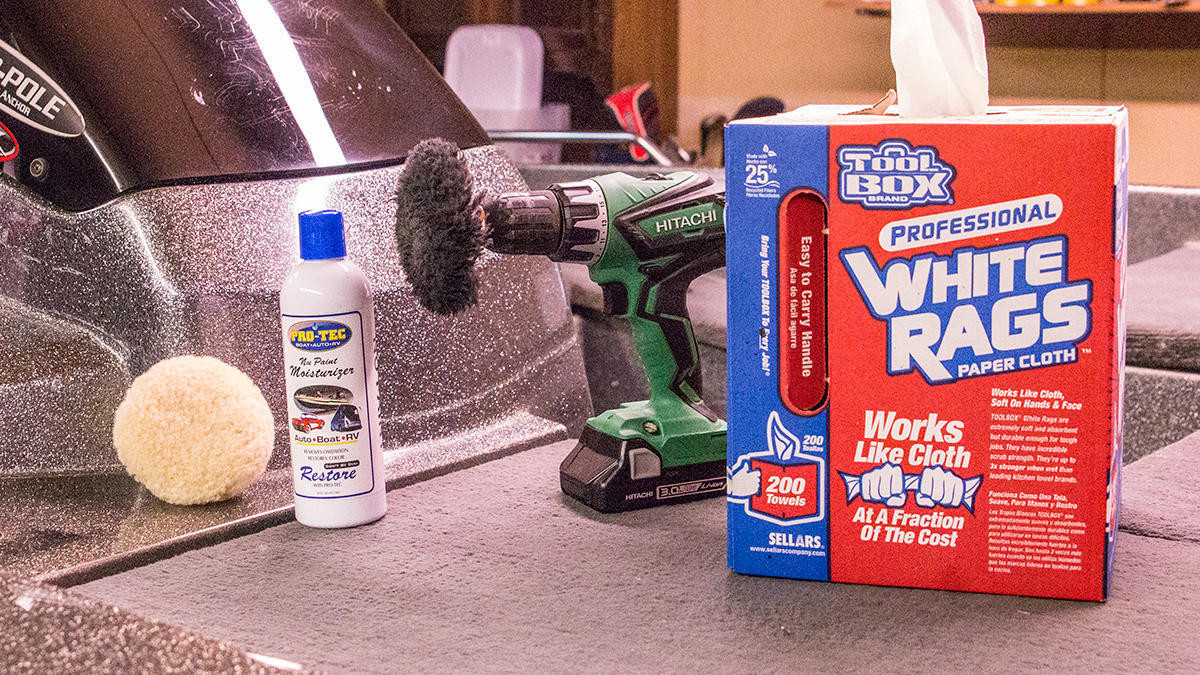
What you’ll need
Drill
Wool buffing pad
Terry cloth, microfiber cloth or soft shop rags
ProTech Nu-Paint Moisturizer
Drop cloth
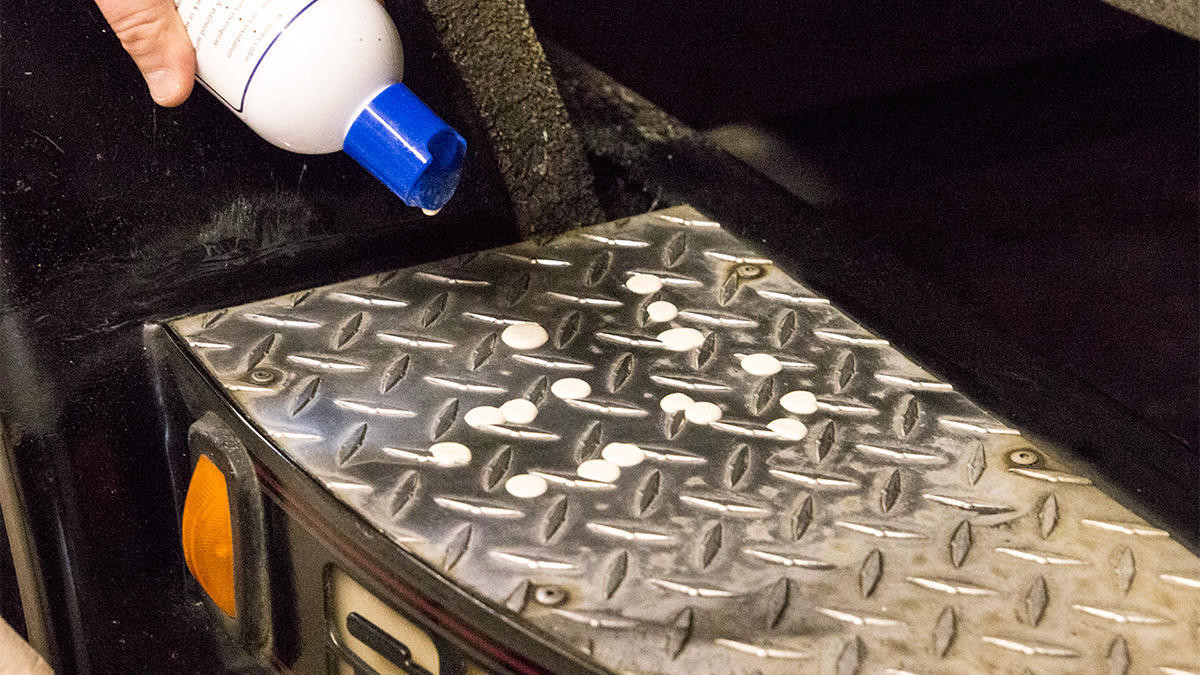
Step 1: Apply Pro-Tec Nu-Paint Moisturizer
I apply the Nu-Paint Moisturizer straight to the diamond plate. If yours is as nasty as mine was, don’t be afraid to apply it liberally for the first few rounds. Before you go crazy with the buffing pad, slowly engage your drill and spread the product around the diamond plate. This will reduce any slinging.
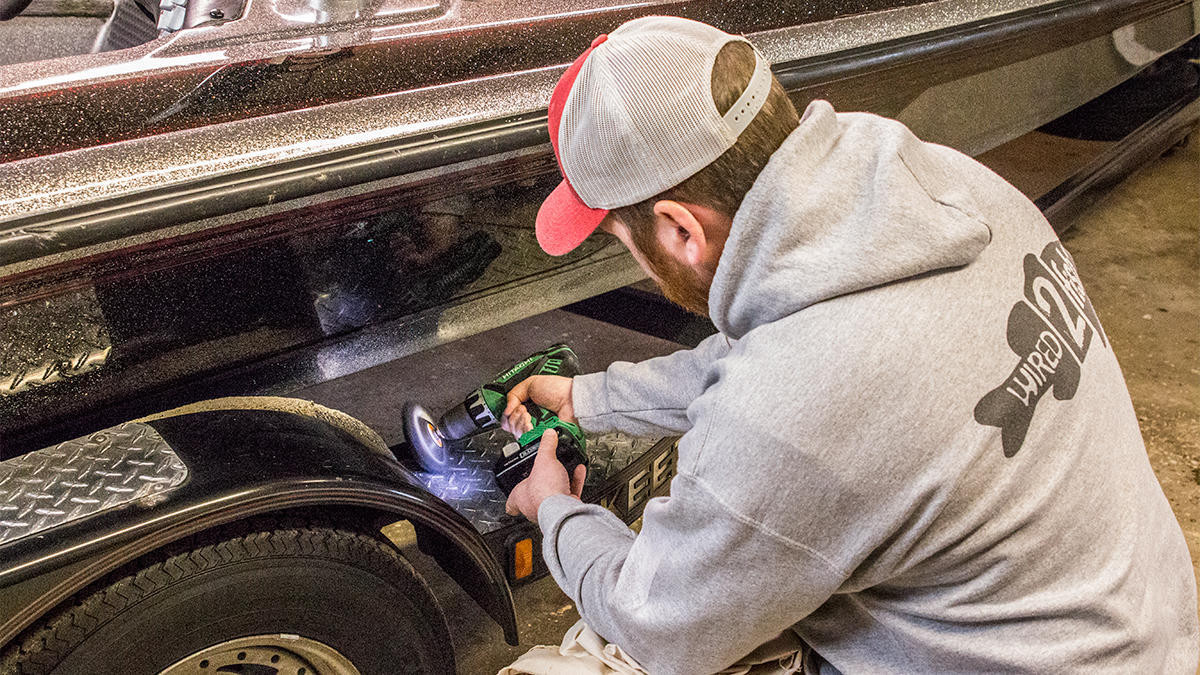
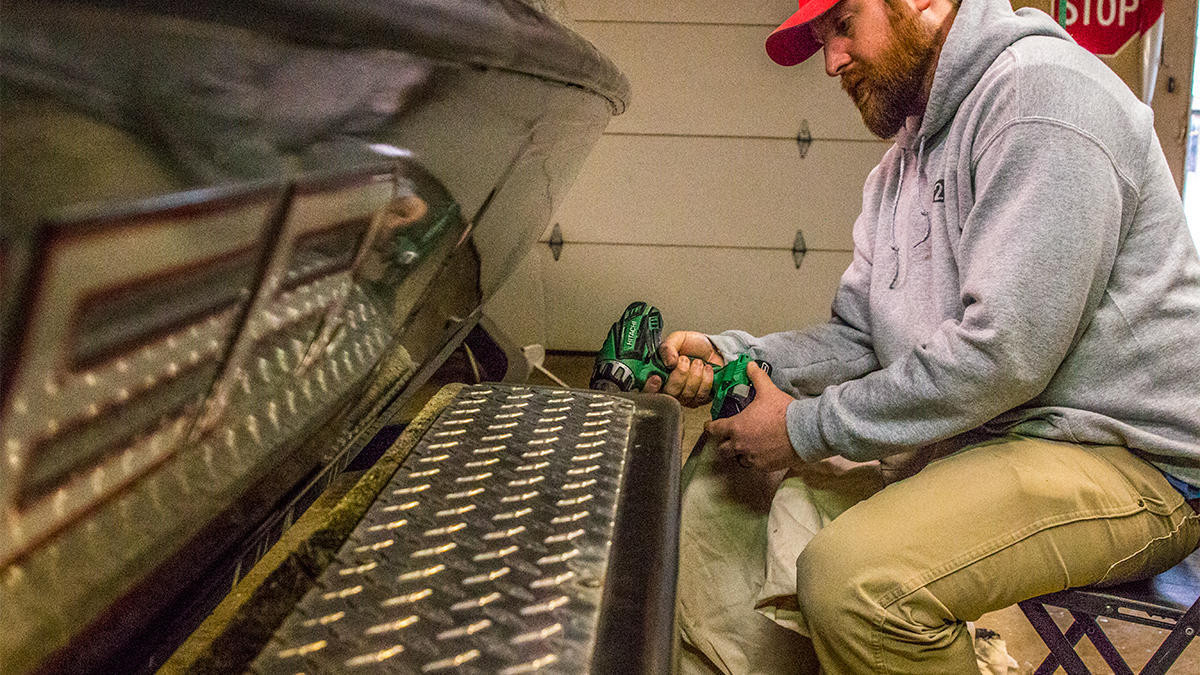
Step 2: Buff
I don’t think it’s really possible to “over-buff” diamond plate, so I’ll generally buff each section for a minute or two. You’ll notice a greasy, black residue on your diamond plate and on your wool buffing pad. That means it’s working-it’s totally normal.
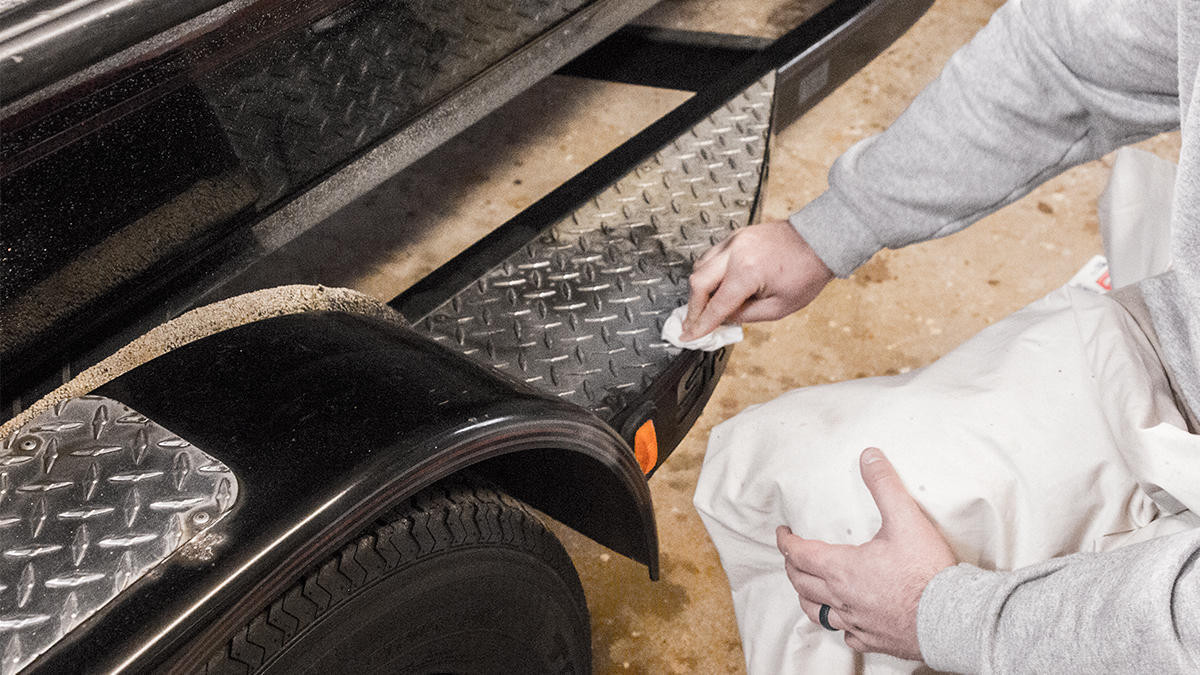
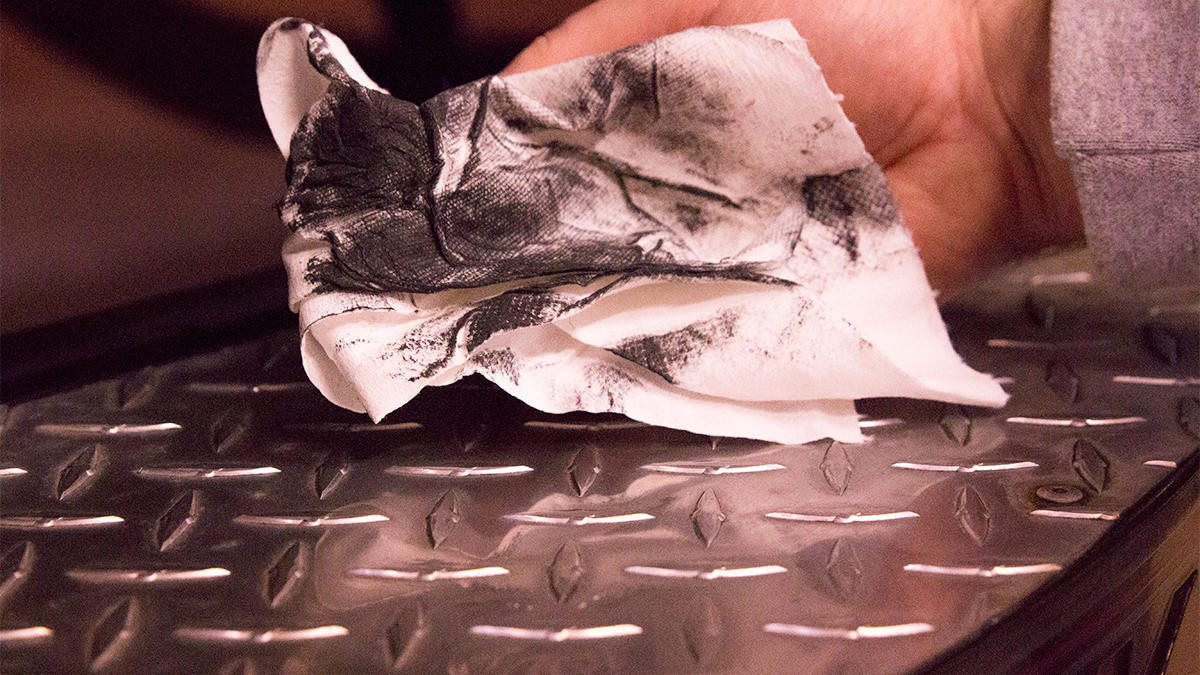
Step 3: Wipe
This is when you’ll really start to tell a difference. After a few minutes, turn off your drill and grab a clean rag and wipe off the black residue. Don’t freak out if it doesn’t look like a mirror on the first run. It will take you a few rounds to reveal that like-new diamond plate, especially if your rig is as nasty as mine was.
If you feel it’s necessary, you can dampen your rag to help with the removal of the black residue. I do not suggest using anything with ammonia in it, as it could potentially oxidize the diamond plate. Just stick with good ol’ water.
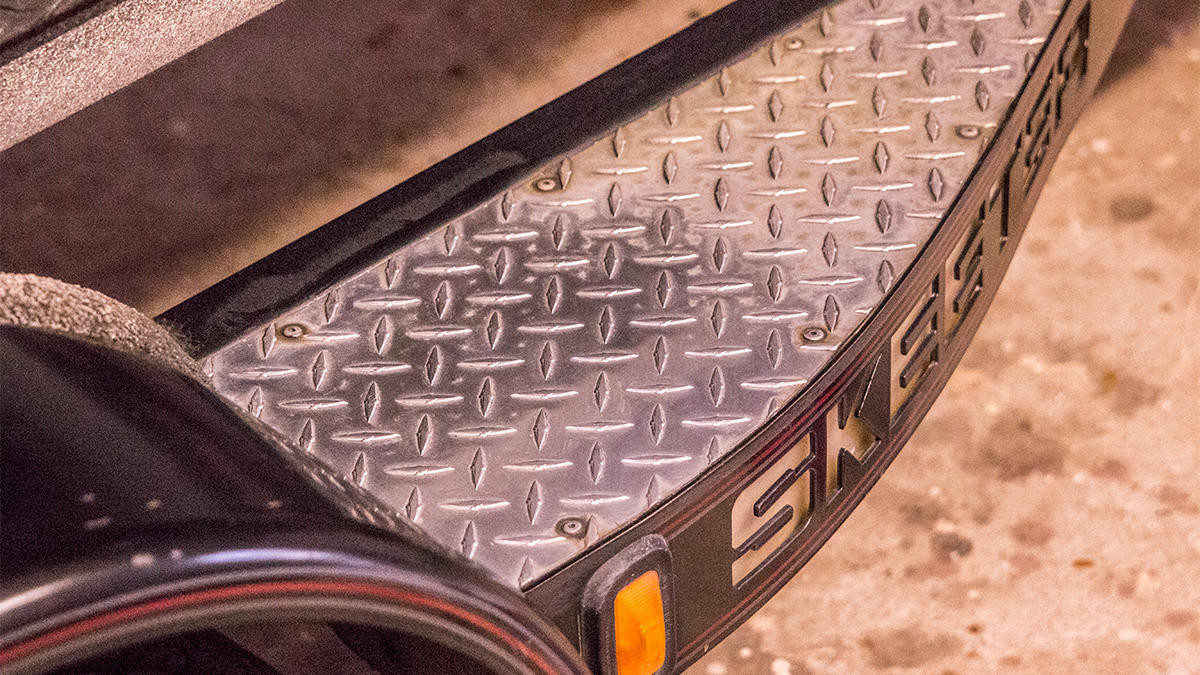
Repeat and watch it transform
After three rounds of the aforementioned process, I was astonished by how well my trailer looked. It made my whole boat look cleaner too, as I could see the reflection of my diamond plate in my gel coat for the first time since I’ve owned the boat.
A few additional notes and tips
I’d strongly suggest getting a chair to sit in. The whole trailer may take a few hours and you’ll kill your back if you try to bend over the whole time.
Put a drop cloth or old towel over your lap. I ruined a pair of pants by slinging black residue all over them with the buffer. My wife wasn’t pleased and yours probably won’t be, either.
Don’t use a foam polishing pad. It will tear to pieces when it runs across the jagged edges of the diamond plate. The wool pads hold up much better and they’re not expensive.