Re-spooling fishing reels is one of those things some people actually like to do… and I ain’t some people. For me, it’s a chore I neglect until my line has gotten pretty worn and raggedy and I’ve pushed it to the point of failure. In the past, I simply didn’t like to slow down long enough to re-spool. And now, I honestly just don’t want to take the little time that I do have to put towards fishing to sit down and re-spool a reel.
On top of all that, fishing line can be pretty expensive, especially when it comes to quality line, which I do believe is worth the investment. It’s also a big drain on the funds when you go to spool up a few reels and the spool runs out halfway through a reel which is an avoidable blunder.
So today we’re going to discuss three ways to solve some of these problems and alleviate at least a little of the financial strain fishing line can cause.
Flip your line
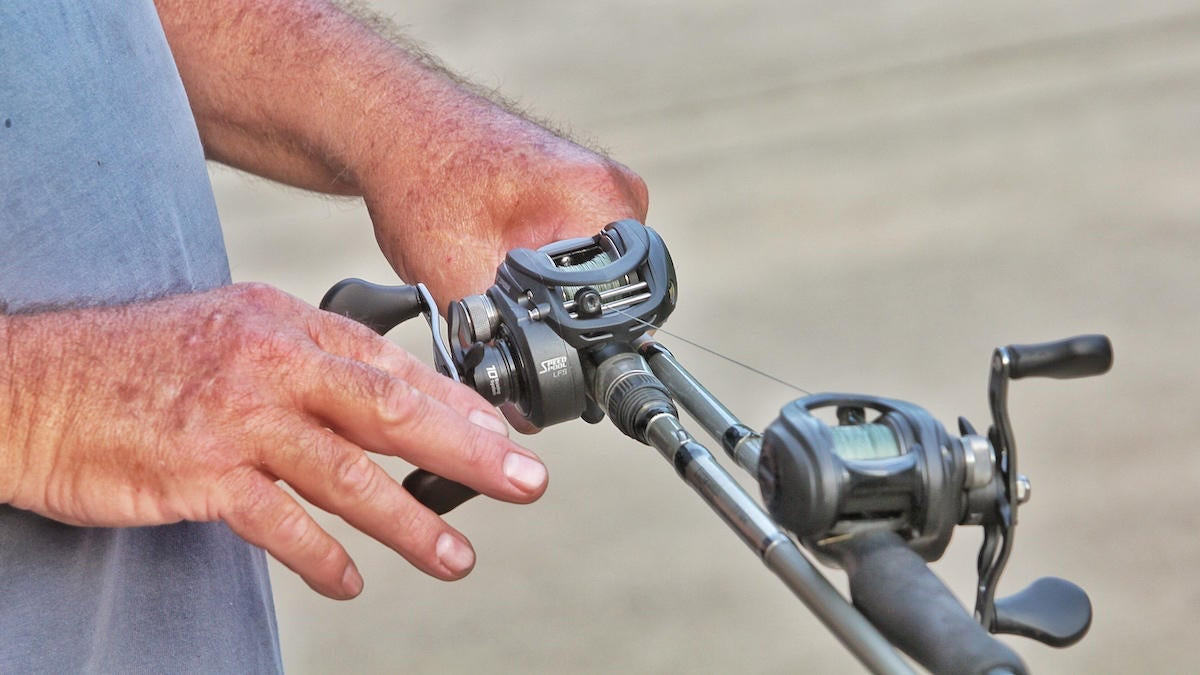
This is one dad taught me long ago and it’s particularly handy with braided line. Braided fishing line can be pretty expensive. So naturally it’s rarely a good idea to put it on a reel starting all the way down at the spool.
Instead, I’ll use monofilament as backing for braided line; putting several feet of mono on the spool first and then tying my braid onto that backing to finish spooling the reel. But you have to make sure there’s enough braid on the reel to cover the knot well where it’s joined to the mono. Otherwise, when you go to cast you’ll feel the knot and it will negatively impact the efficiency of your cast.
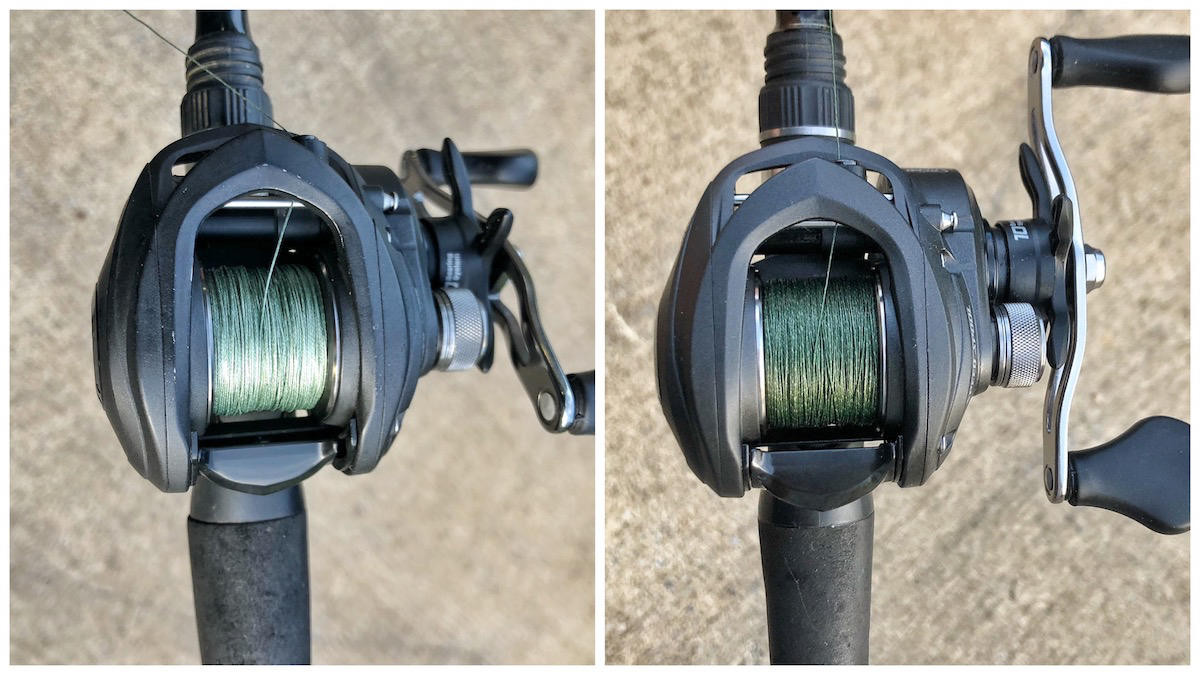
So what you end up with is half your braid near the top of the spool seeing a good bit of sunshine and use while the braid below never sees the light of day. This is actually a good thing though and gives you an opportunity to get twice the life out of your braid by simply flipping it. By “flipping” the braid, I mean getting the fresher line that’s on the bottom to the top and the worn line that’s on top down to the bottom. You can do this a couple different ways.
If you have an empty reel, simply run a little backing onto it, tie on the end of your braid coming out of the reel you’ve been using and then reel the line off the old reel onto the new one. This leaves you with the fresh braid at the top of the reel and the older braid down below where it will never again see the light of day or any strain. If you don’t have an extra reel but you do have a clean grassy area, you can take the old end of the line and peel it off your reel by walking out into the grass, then wrap it around something really smooth and walk the end back to the reel. Then cut the end of the braid that was tied to the backing, tie the used end to the backing and reel your line back in to fill the spool.
Flipping your line works really with braid but not as well with fluorocarbon and monofilament as those two lines have a tendency to dig into themselves and damage the line nearer to the spool. Reeling line from one reel to another also works better with baitcasters than spinning reels; spinning reels tend to get line twists if you try to reel from one to the other. But you can walk your line out and flip it with a spinning reel as well.
Split the spool evenly
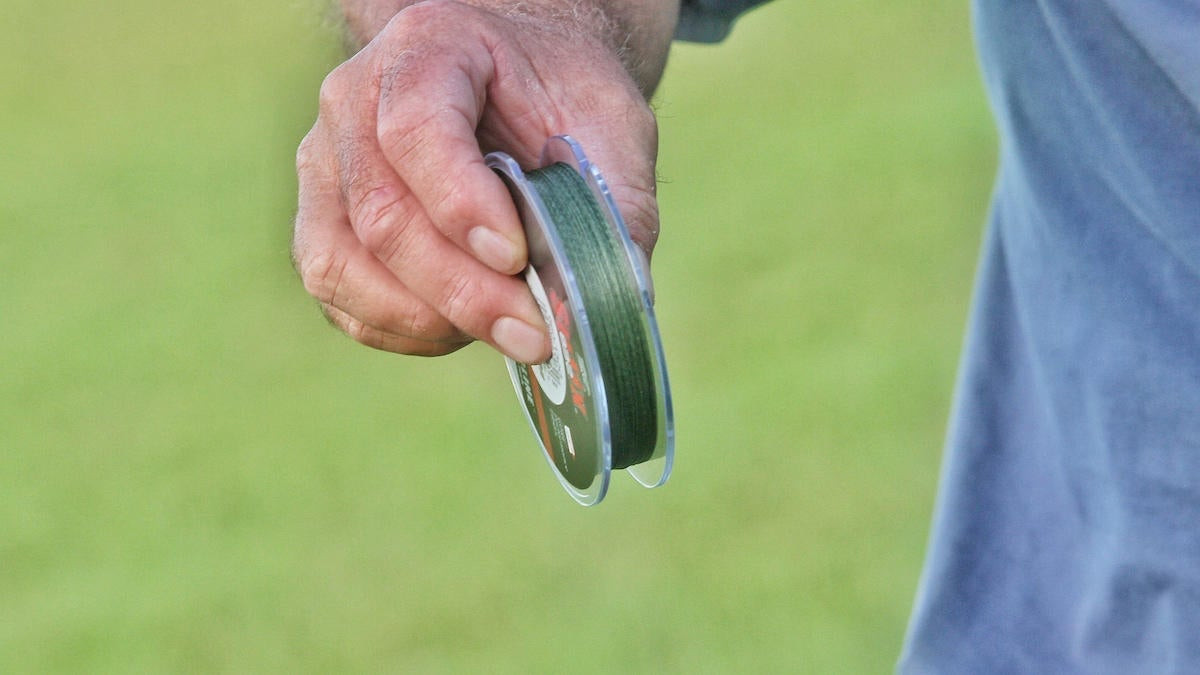
If a new spool of 12-pound test fluorocarbon has 150 yards of line on it and your reel has a capacity of 150 yards for 12-pound test, pretty simple math says you’re about to waste a lot of line if you put it all on that one reel. That is, unless, you’re capable of throwing a shaky head the length of a football field… and halfway back. You’re not. No one is.
So you’re never going to need 150 yards of 12-pound fluorocarbon on your reel. Instead, it’s best to divide that spool in half and re-spool two reels by starting with backing on each and then covering that backing with 75 yards of the new flourocarbon.
This is a really important thing to pay attention to if you’re operating on a budget. Even if you’ve got plenty of money, it’s just a good practice to implement so you’re not being super wasteful. And no matter the money, it helps avoid the headache of having to take even more time to re-spool when your new line runs out halfway through a reel. That’s one of the most annoying things in tackle prep, trying to spool up a reel and running out of line before the reel fills up.
To avoid this, you can split smaller spools exactly in half. To do this, it’s again great to have a clean and grassy area if possible. Then simply take the tag-end of the spool and start walking it out while the spool unwinds. Once you think you’re roughly halfway, wrap the line around something super clean and smooth and then start walking the end back.
If you do this perfectly, you’ll have the tag end of the line in your hand at the same time the other tag end comes off the spool. Then go back to where you wrapped the line around the smooth object and cut it and you have two equal pieces of line to spool up. This keeps you from putting 100 yards of line on the first reel and only being left with 50 yards for the second.
This will work with spinning reels as well.
Use a drill to peel
It’s good to have an efficient way to remove line as well. There are several tools out there now designed specifically for peeling line off of reels. Reason being, it is a time-consuming and messy process when done by hand, especially when re-spooling several reels at one time.
I’ve had a few of these tools over the years and they worked great. But for this piece I decided to try a DIY project I’ve talked about testing out for years and I’m pleased to report it worked extremely well.
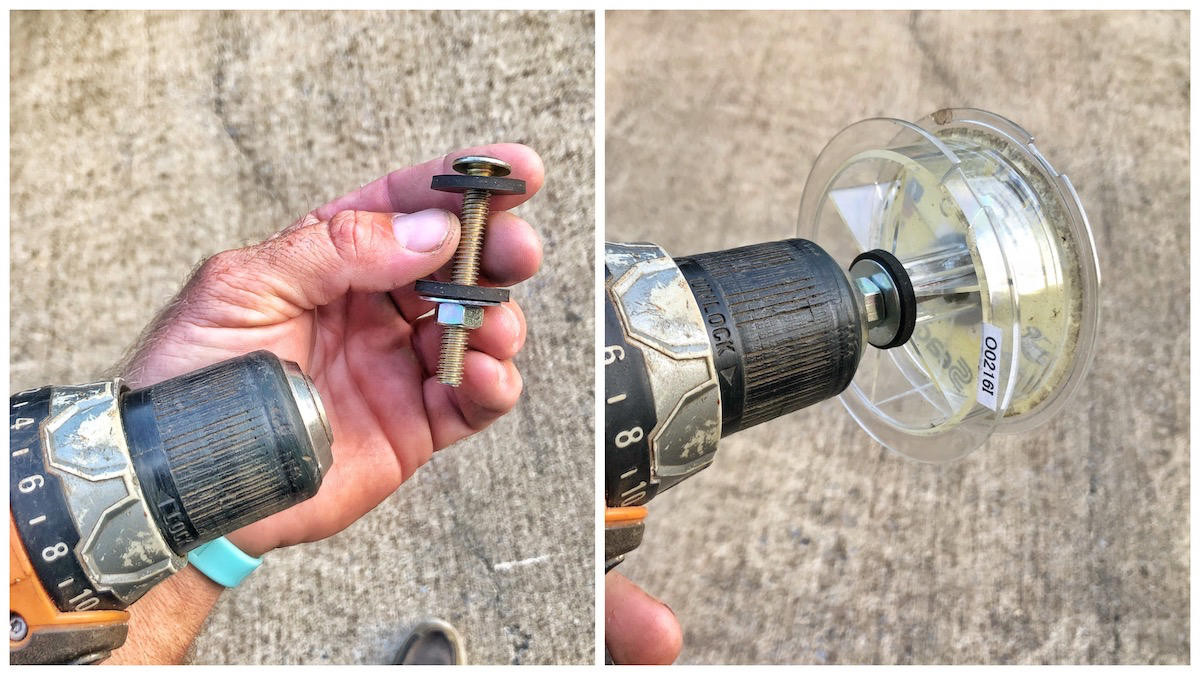
Taking a power drill, an old line spool, a bolt, a few washers and a nut, I built an extremely effective line-removing tool that burned the line off my reels just as fast as I could have possibly wanted it to. It’s important to make sure the bolt stays right in the center of the spool to keep it from wobbling. I actually had a couple rubber washers to use which helped with this, keeping the metal bolt head and metal washer from slipping against the plastic of the spool. If you don’t have the rubber washers though, you can crank down on the nut and tighten it up enough to keep the spool from slipping, but you just want to do it carefully to avoid busting the spool.
Once you get this little tool going though, you’ll have all your line peeled off in no time and no tangled up messy ball of old line to deal with. Then simply take the bolt out and toss the spool with the old line, or just put the drill over the trash can and reverse the direction of the drill to unspool the line into the trash and you’re ready to peel off the next reel.
Saving time and money are two of the biggest challenges when it comes to fishing. Making sure you’re getting the longest life you can out of your braided line is a big deal on the financial front. Splitting a spool evenly ensures you won’t waste money as well by ending up half a spool shy of a full reel. And speeding up the process of peeling line off reels helps save you some time. Adding power tools to anything makes it much less boring of a task as well, so that doesn’t hurt either. Hopefully these three tips will save you some time and money the next time you need to re-spool.